1. Creamy French with micro-beads near the cuticle
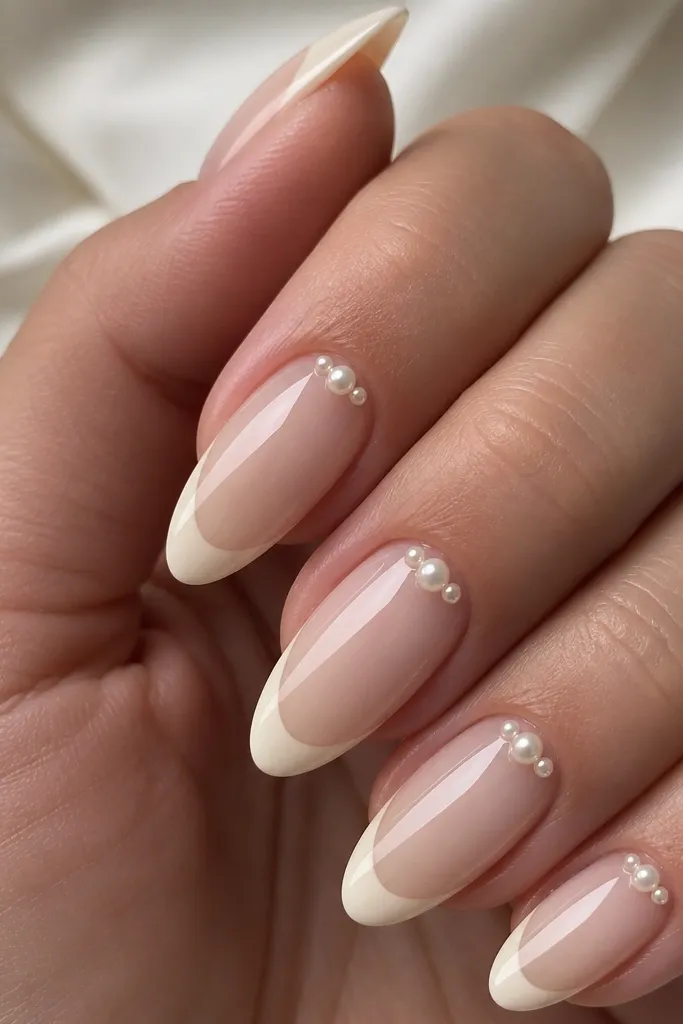
This one is cozy because the white is creamy, not neon-bright, and the bead placement stays small. The French tip starts around the middle of the nail and stays thin, so your nail bed still looks long. I’ve worn it with warm-toned sweaters and it looks like “done” without looking heavy. It flatters most skin tones because off-white warms up cool undertones, and the beads give just enough sparkle for evenings without screaming glam.
Start by applying a thin nude-pink base on the nail and curing it, then build your extension with an almond or soft squoval form. Paint the French line with creamy off-white gel, keeping the smile line smooth and thin — about the width of a credit card edge when you imagine it. Add 2-3 micro-beads per nail right above the cuticle on the center and one side, leaving gaps so it doesn’t turn into a chunky ring. Finally, seal with a glossy top coat and cap the free edge so the white stays crisp when you wash your hands.
If your beads pop off in the first week, use a tiny dot of thicker gel under each bead before you cure.
Don’t drag the bead gel into the French line or it will look messy and cloudy.
2. White cable-knit tips with sheer nude base
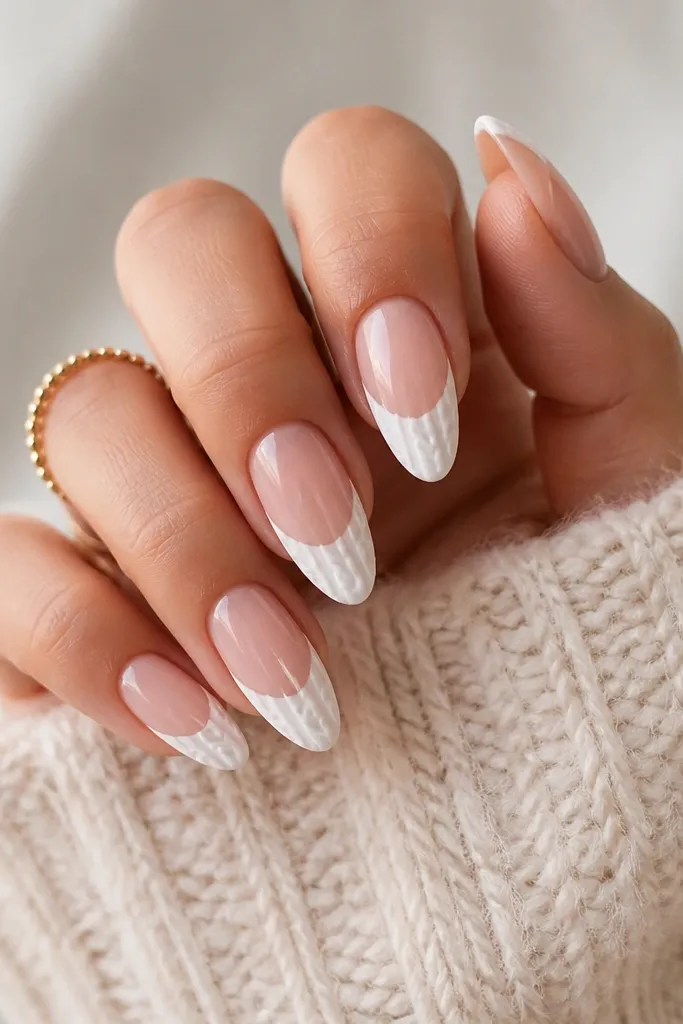
Build your extensions first — I like medium oval because it gives you enough curve for the knit lines. Paint the tip area with opaque white gel, then cure. With a striping brush or a dotting tool, draw two diagonal “columns” of raised lines and connect them with small cross strokes to mimic cable knitting. Keep the pattern on the tip only, roughly the last quarter of the nail length. Finish with a satin-matte top coat so the texture reads like fabric instead of glossy plastic.
Cable-knit nail art looks cozy because it mimics texture you already wear. The sheer nude base makes your nail look airy, while the white tip carries the pattern where your eye naturally focuses. This design flatters short-to-medium nail beds because the nude base keeps the overall length visible. It also looks great on hands with longer fingers because the knit pattern adds warmth and dimension instead of lengthening your nails more.
Skip thisDon’t cover the entire nail in knit texture or it turns bulky fast.
Editor's noteUse a slightly thicker white gel for the knit lines so they stay raised after curing.
3. Snow-dust white ombré (matte) over nude
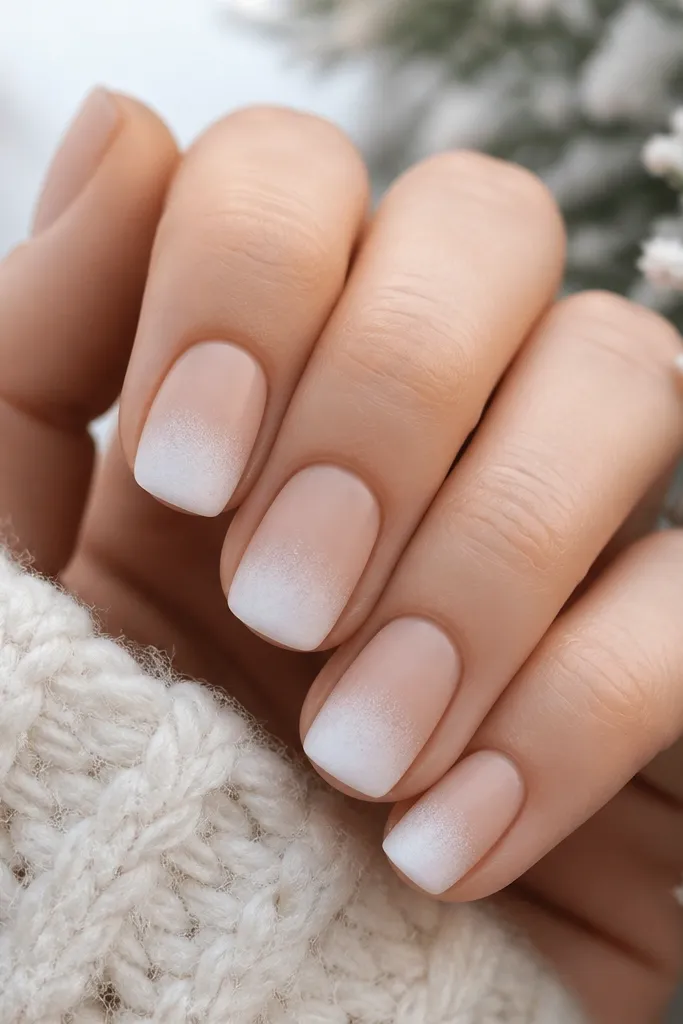
Apply a nude gel base and cure it, then extend to short squoval. Use a sponge (the kind made for nail gradients) to dab matte white gel at the tip — start light and build opacity gradually. Blend upward until the white reaches about one-third of the nail length. Cure between layers if you need more control. Top with a matte top coat, then gently wipe the surface with a lint-free wipe after curing so it doesn’t look patchy.
This is the most forgiving cozy design when you want white but hate sharp lines. The ombré fades in gently, so the white doesn’t fight your skin tone, and the matte finish makes it feel like soft snow. I wear this when I want my nails to look “clean winter” without looking holiday costume. It flatters hands with thinner nail beds because the fade creates a smooth gradient instead of a hard cutoff.
Skip thisDon’t leave the gradient raw under gloss or it will look streaky and uneven.
Editor's noteIf your sponge leaves streaks, switch to a finer gradient sponge and use fewer dabs.
4. White half-moon with tiny gold foil flecks
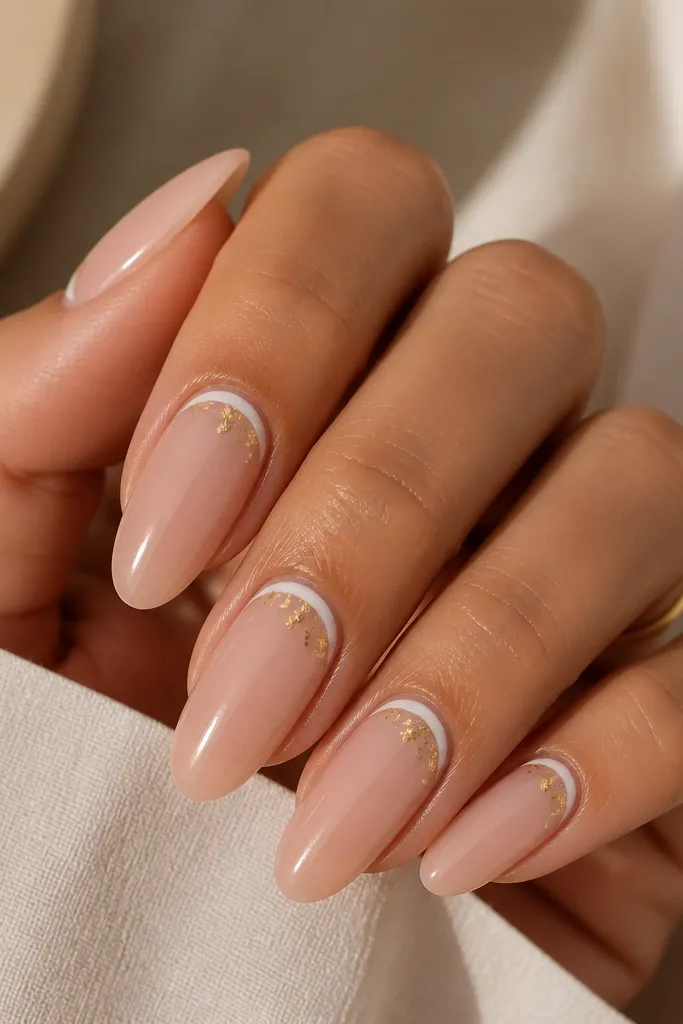
Half-moon designs feel cozy when the white is soft and the accent is tiny. This one sits near the cuticle, so it doesn’t take over the whole nail, and the gold flecks make it look like warm candlelight. I love it for medium skin tones and deep skin tones because white shows up clean without needing heavy coverage. The gold flecks add dimension without making the nail look busy.
Start with nude base gel and cure. Create the half-moon with a small detail brush: paint a crescent shape in warm white right at the cuticle line, leaving a thin gap so it doesn’t flood the skin. Add a few micro pieces of gold foil using a tacky layer — place them only around the half-moon edges. Cure, then seal with glossy top coat and cap the free edge. Keep the half-moon width about one-third of the nail — wider makes it look like a coaster sticker.
Use foil tweezers or the tip of a toothpick so you don’t over-place the flecks.
Don’t make the half-moon too thick or it looks like a sticker line.
5. White marble swirls with clear negative space
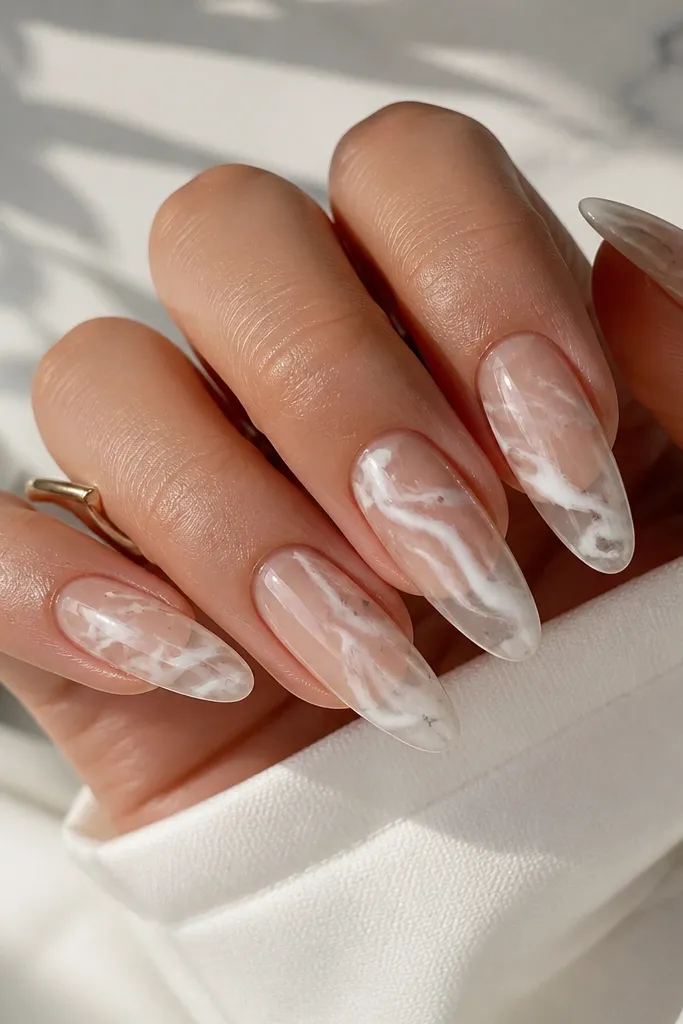
Build long oval extensions and keep the base semi-clear or sheer nude so the negative space shows. Drop white gel in thin streaks, then drag through it with a fine brush to create swirls. Add two or three ultra-thin gray lines (not more) so the marble looks dimensional instead of flat. Clean up the edges with a brush dipped in alcohol wipe solution before curing. Finish with glossy top coat and cap the free edge so the marble lines stay smooth.
Marble looks cozy when it’s airy and not fully opaque. Clear negative space keeps it light, and the white swirls give that winter-stone vibe. This flatters pretty much everyone, but it’s especially good if your nails are short because the clear base makes the nails look longer. On hands with cool undertones, the thin gray lines keep the marble from turning pure white and harsh.
Skip thisDon’t paint the whole nail opaque white or you lose the cozy airy effect.
Editor's noteIf your marble blobs, wipe your brush clean and drag again in one direction — quick and controlled.
6. White bow-tie accent on one nail per hand
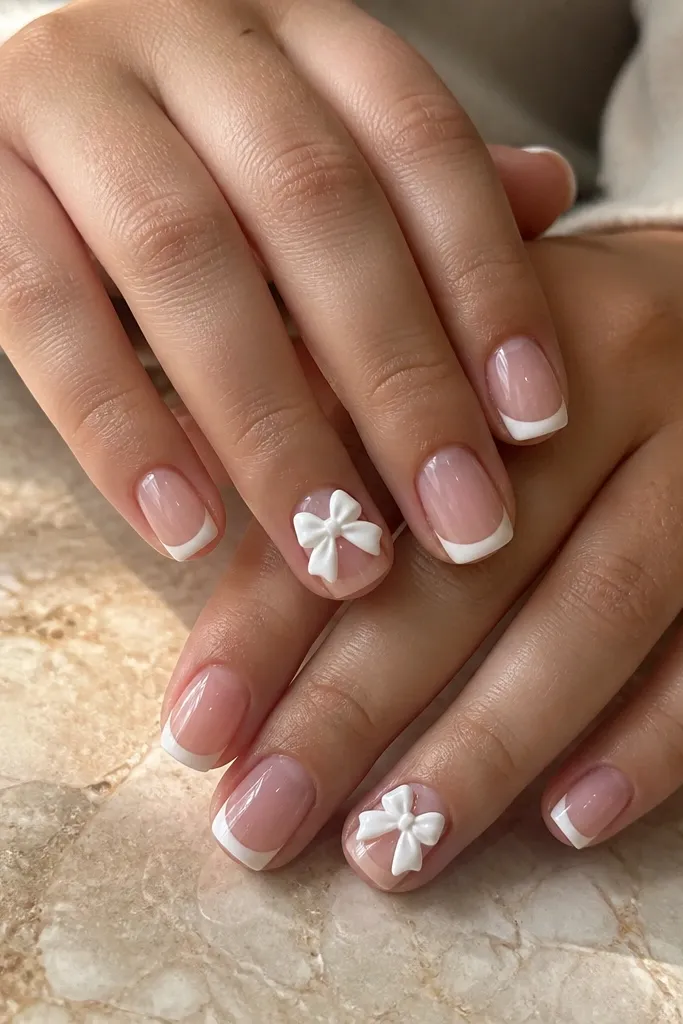
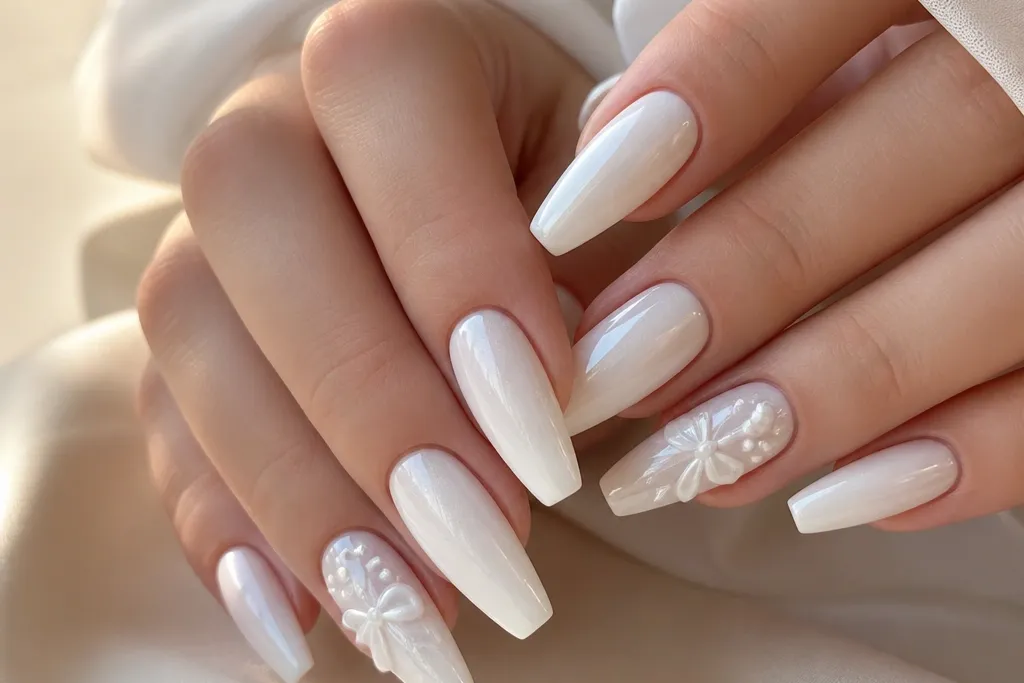
Do a thin French tip on every nail using warm white and cure. Leave one accent nail per hand with the same base and tip, then build a small 3D bow: outline the bow with white gel, cure, then add a second layer to create depth. Add a tiny bow knot in the center using a slightly thicker white gel. Use a detail brush to place the bow about 2-3 mm from the cuticle so it reads like an accessory. Seal everything with glossy top coat and make sure the bow edges are fully covered so it doesn’t catch on hair.
This is cozy because it feels like a scarf tied at the wrist — cute, not overdone. The thin white tips keep the base clean, and the bow adds a focal point without turning every nail into a decoration. I like it for people who want “pretty nails” for weekends but still need them to look office-friendly. It flatters shorter fingers because the bow sits on one nail and the thin French line keeps the rest elongated.
Skip thisDon’t put the bow on every nail or the look goes from cozy-cute to costume.
Editor's noteIf you’re not confident with 3D shapes, use a pre-made bow nail charm and secure it with thick gel.
7. White lace linework over sheer pink
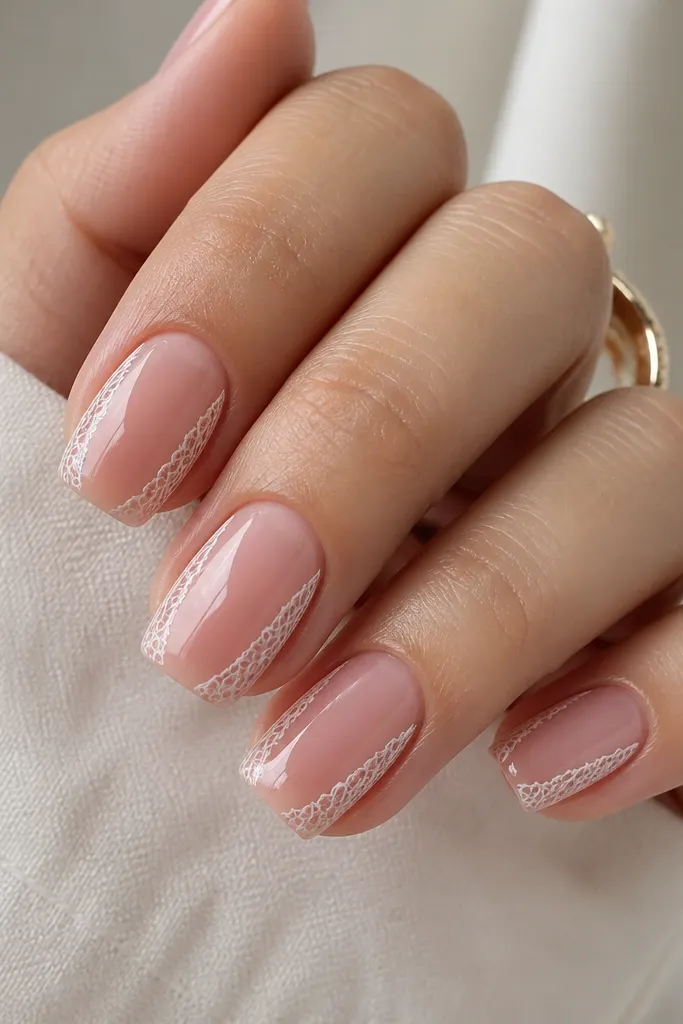
Start with a sheer pink base and cure. Paint thin white lace lines along both sidewalls of the nail — use a striping brush so the lines stay hair-fine. Add small loops and dots like lace knots, but keep the center area mostly clear. If you want more coverage, add lace only on the outer half of the nail, not across the middle. Cure and then apply glossy top coat in thin layers so the lace lines don’t flood.
Lace linework feels cozy because it’s delicate, not bold, and it looks like knitwear for your nails. The sheer pink base warms the white, and the lace stays mostly on the sides so the nail still looks clean and long. I like it for fair to medium skin tones because the sheer base gives a soft glow. It also works on hands that hate heavy opaque white — you get the white look without the blocky coverage.
Skip thisDon’t thicken the lace lines — thick lace turns into a sticker outline.
Editor's notePractice lace dots on a scrap nail tip first; your pressure controls how crisp the lines look.
8. White chrome crescent tips with foggy base
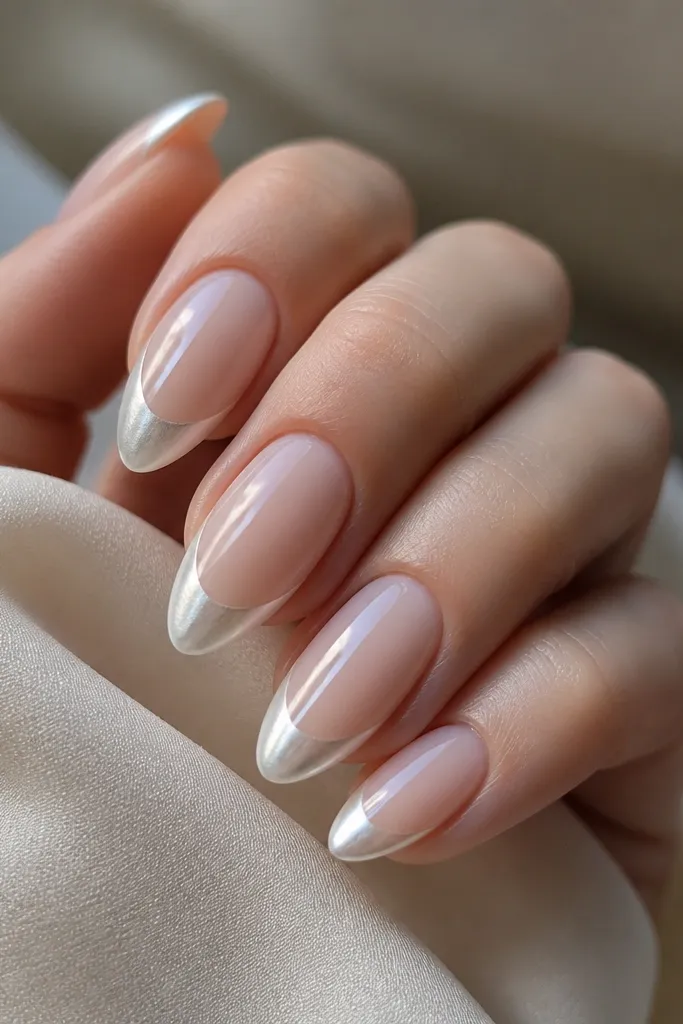
Chrome crescents feel cozy when the base is milky and foggy, not mirror-clear. You get that winter “ice” vibe without the harshness of full chrome nails. This flatters every nail shape, but I especially love it on almond because the crescent curves look smooth. If your skin tone runs warm, the milky base keeps the chrome from looking too icy and blue.
Apply a milky nude base (think cloud-like) and cure. Create a crescent at the tip — leave about 1-2 mm of space between the crescent curve and the free edge so it looks intentional. Use a tacky layer or chrome gel on the crescent area, then buff white chrome powder into it. Brush off excess and seal with a high-shine top coat, then cap the free edge. Keep the crescent thin — about the width of a pencil eraser — so it stays classy.
Seal chrome in two thin top coat layers if you want extra scratch resistance.
Don’t apply chrome on a fully glossy base — it can look patchy.
9. Snowflake micro-pattern on a sheer white base
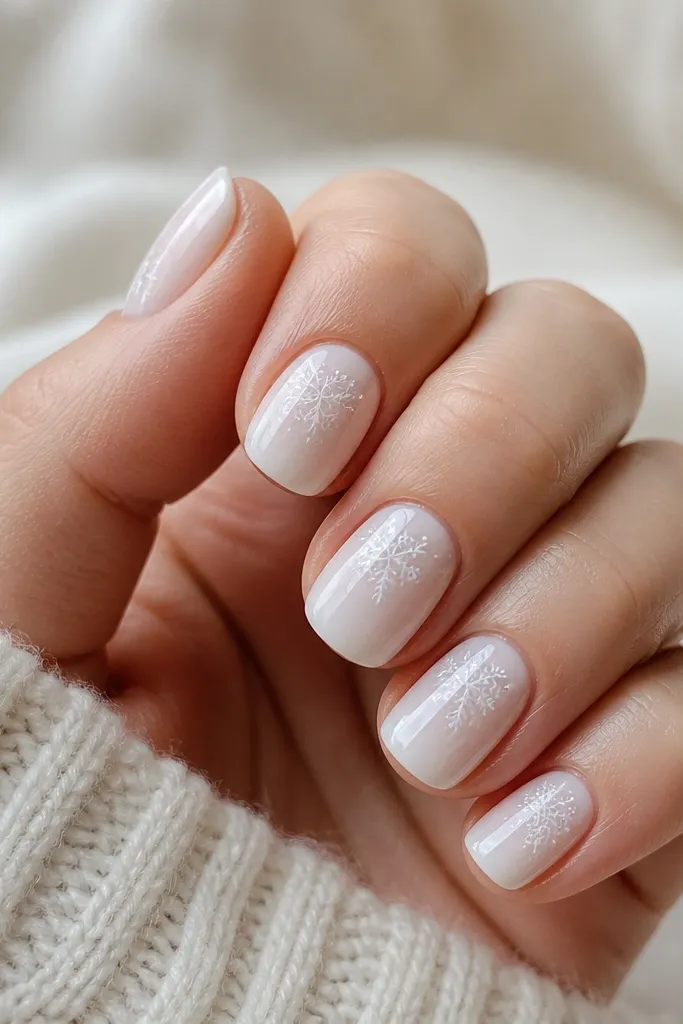
Build short oval extensions and apply a sheer white gel base, curing it fully. Use nail stamping with a snowflake plate or a fine-detail brush to place tiny snowflakes across the top half only. Keep spacing consistent: one snowflake centered, then smaller ones on the left and right corners. Cure and then top coat glossy, making sure you cap the edges around each snowflake. Clean up the cuticle line with a tiny brush so it stays crisp.
Micro snowflakes look cozy because they feel like winter without turning into big holiday decals. The sheer white base gives you that soft winter glow, and the snowflakes stay small enough to look neat with everyday outfits. I’ve worn this on short nails and it still looks intentional because the pattern is only on the top half. It flatters most skin tones since the base is sheer — you see your natural warmth through it.
Skip thisDon’t stack snowflakes too close; crowded patterns look messy fast.
Editor's noteIf stamping smears, let the base fully cure and use a firmer press when picking up the stamp.
10. White dipped tip with latte-brown accent stripe
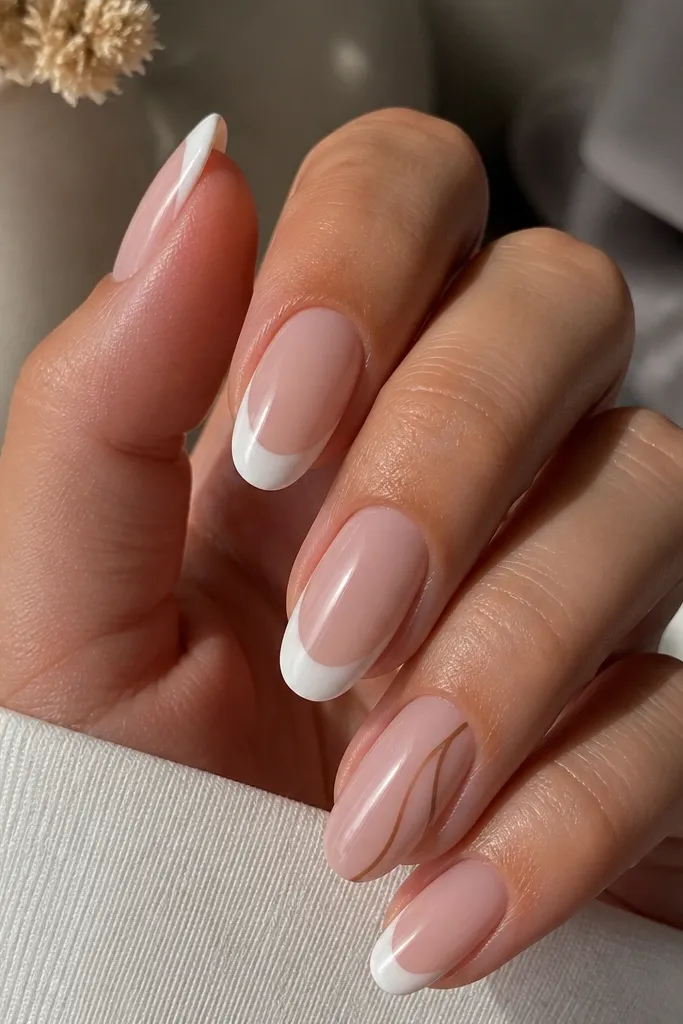
Start with nude base gel and cure. Dip the tips in warm white — keep the dipped area about half the nail width, with a clean smile line. On one accent nail per hand, add a thin latte-brown gel stripe diagonally from upper side to lower side, staying within the white tip area. Cure each layer if your gel is runny. Finish with glossy top coat and cap the free edge so the dipped white doesn’t chip at the corners.
This design is cozy because the brown stripe makes the white feel warm instead of cold. I treat it like a latte moment: creamy white tips plus one thin brown accent gives you that fall-to-winter vibe. It flatters people who want white but don’t love stark contrast, especially on medium to deep skin tones where pure white can feel too sharp. The diagonal stripe also pulls the eye across the nail, which makes nails look a little longer.
Skip thisDon’t use dark brown that’s too black — it will fight the white and look muddy.
Editor's noteUse a striping brush with a tiny amount of gel so the brown line stays hair-thin.