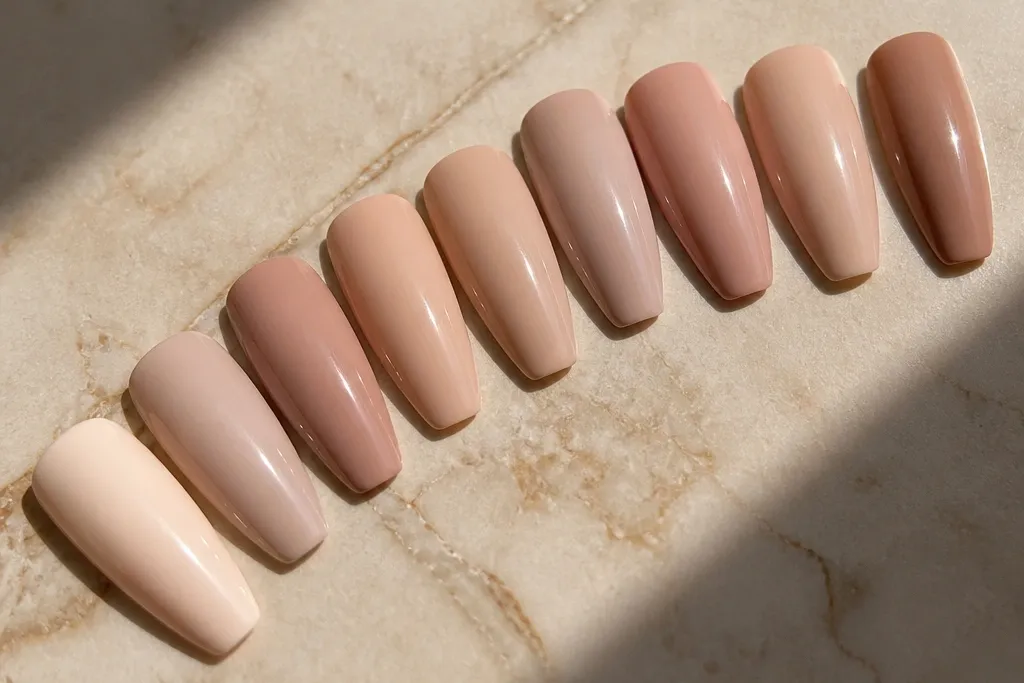
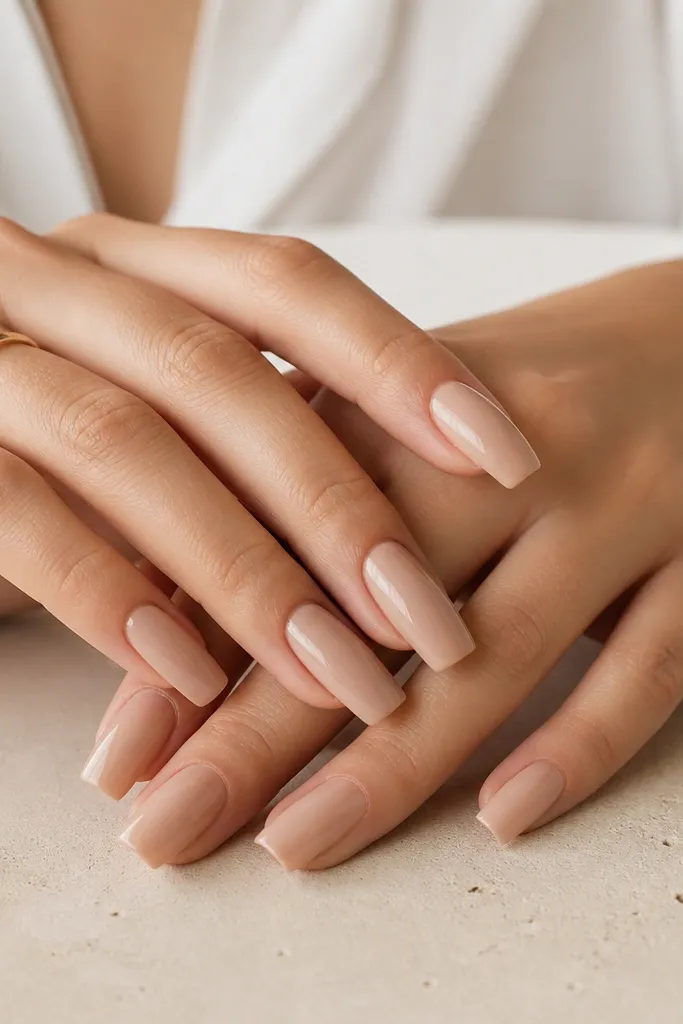
1. Milky Pink Nude with a Whisper Gloss Tip
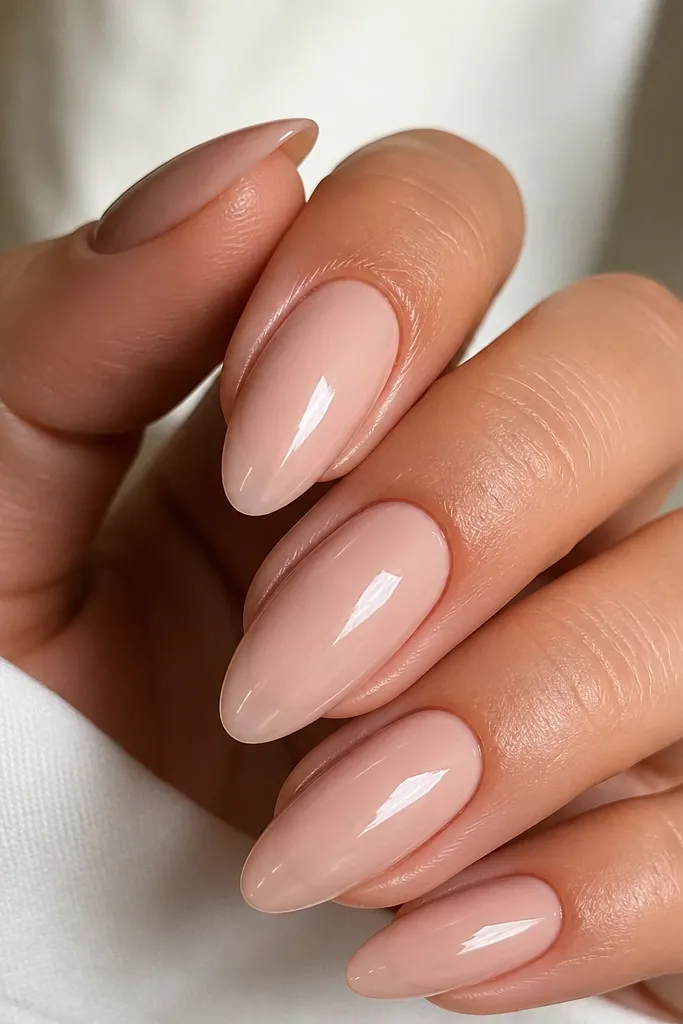
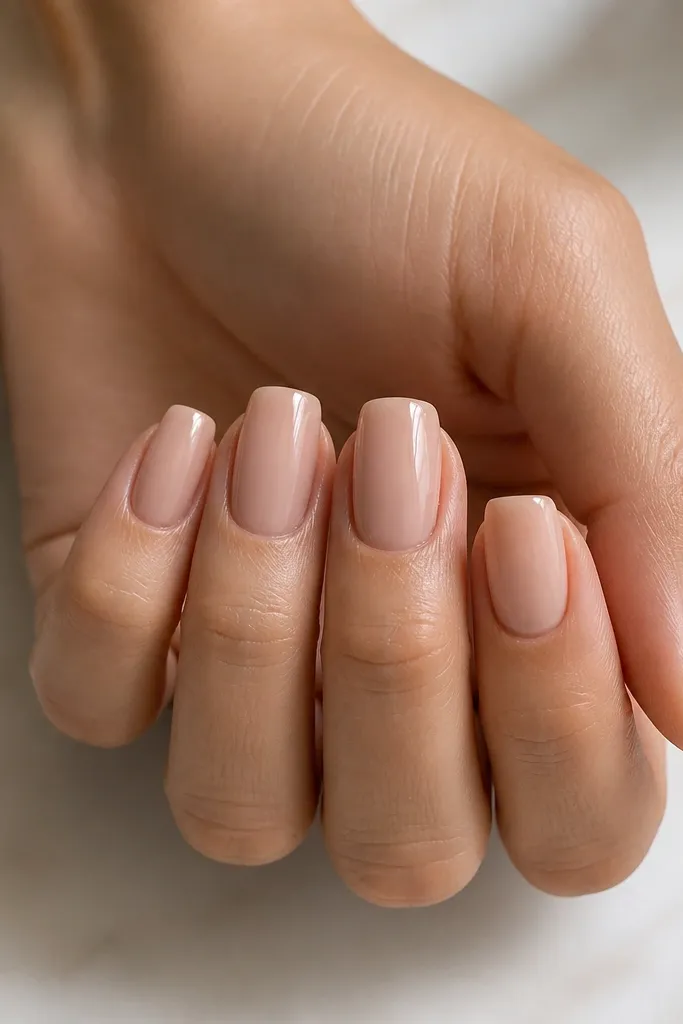
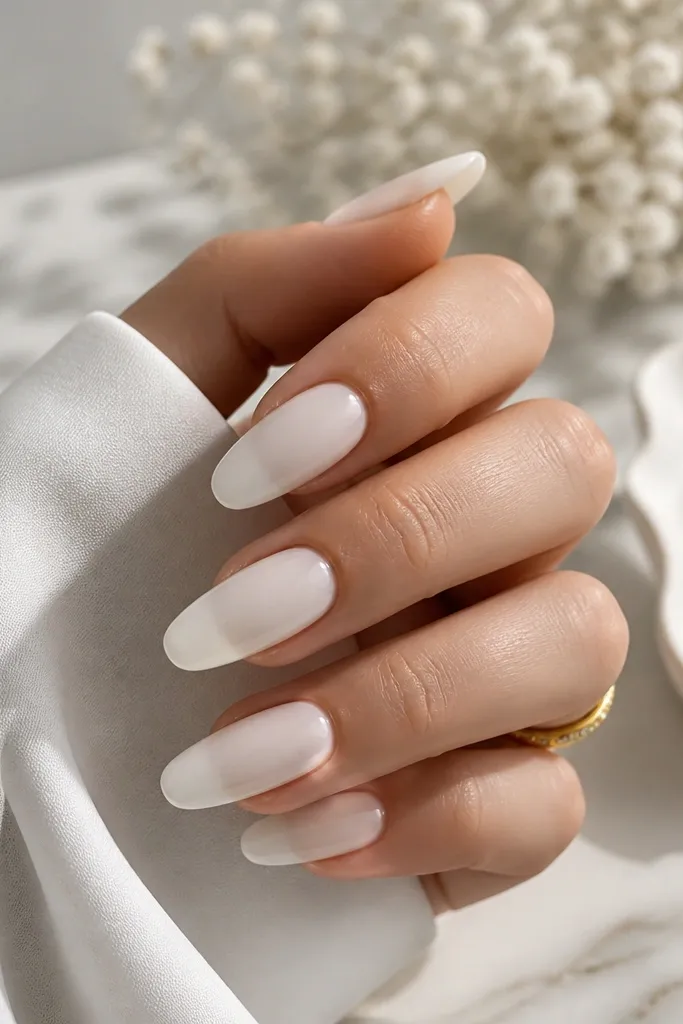
This is my go-to when I want nude extensions to look expensive without adding art. The base is a milky pink nude (think sheer yogurt pink with a beige lean), and the tip gets only a hairline of glossy clear. That tiny shine at the edge makes the nail look freshly shaped and keeps your hands looking polished for work or photos. It flatters most skin tones, especially fair to light-medium, because the milky pink keeps the nude from disappearing into your skin. If you wear silver jewelry a lot, this one also looks extra clean next to it.
Start by building your nude extension with a milky pink-beige builder gel or acrylic that stays sheer but covers evenly. Shape it in almond, then file the surface so it has a gentle hourglass curve, not flat. Next, apply a thin strip of clear gel only on the extreme free edge — I mean 1mm wide, not a full French band. Cure, then top coat the whole nail in a soft-gloss top coat so the base looks satin-smooth and the tip line stays crisp.
Ask for the tip line to be hand-painted, not a pre-made strip, so it follows your nail curve.
Skip a wide French tip on this one — it turns classy nude into obvious French every time.
2. Caramel Beige Nude with Micro Dot Cuticle Glow
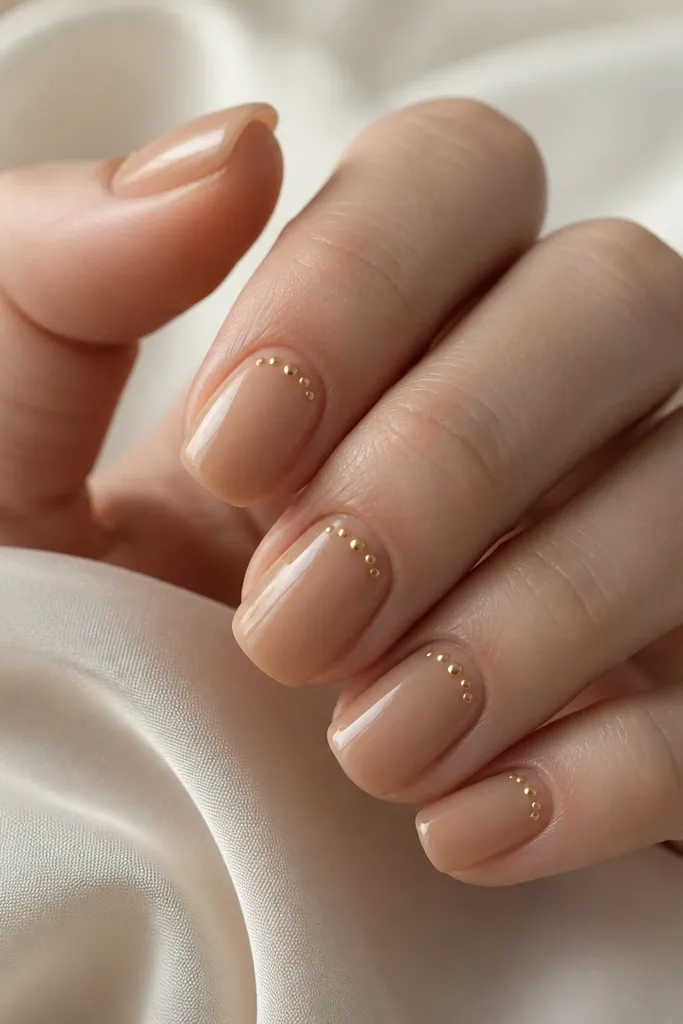
Warm caramel beige nude is the shade that makes your nails look like your skin, but better. I like it on medium to deep skin tones because the warmth keeps the nude from looking chalky. The design is a tiny cuticle crescent made from micro dots, not glitter. It reads like a subtle light reflection, which looks classy in daylight and even better under warm indoor lighting. This design also looks great if you wear gold rings often, because the dots catch the metal without looking flashy.
Build your extensions in a warm caramel-beige nude that covers in two thin layers so it doesn’t get thick at the cuticle. Shape squoval and keep the sidewalls slightly tapered, so the nude looks long and clean. For the accent, use a dotting tool and metallic gold gel or chrome powder mixed with gel to place 4-6 micro dots in a small crescent at the cuticle — leave a clean gap between dots and the skin line. Cure, then seal with a glossy top coat that fully levels the dots.
Use chrome gel for the dots so they look like tiny reflections instead of chunky glitter.
Don’t drag the dots into lines — a smudgy cuticle accent looks messy fast.
3. Soft Square Nude with One Thin Rose-Gold Line
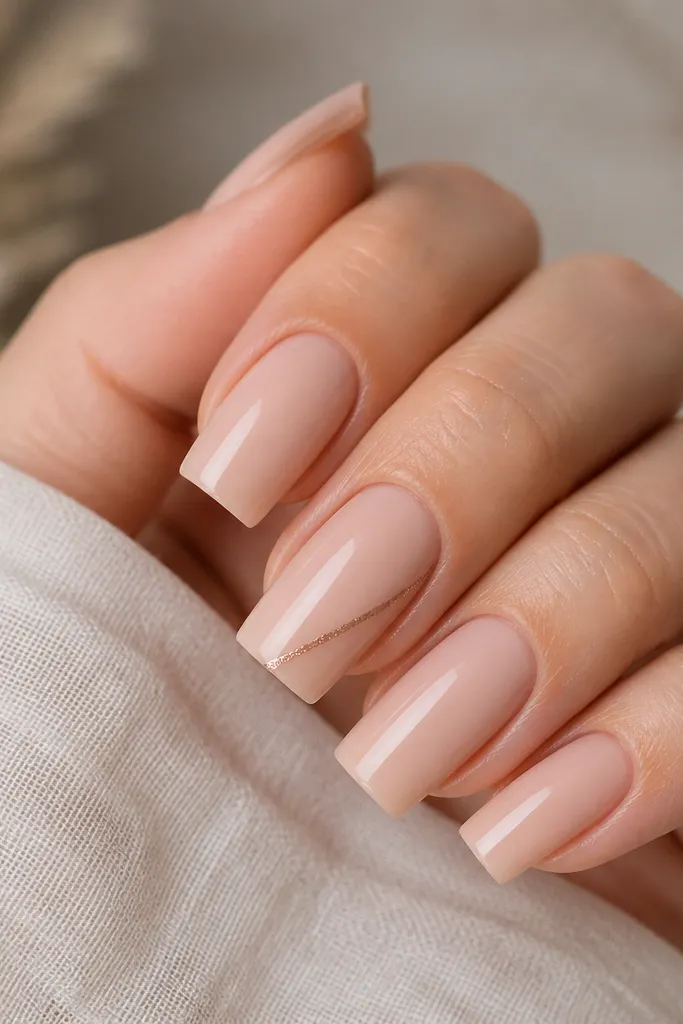
This is the cleanest “aesthetic” look when you want nude extensions that still feel styled. The base is a neutral beige-pink nude (not too warm, not too rosy), and only one nail gets a single thin rose-gold line. Because the line is straight and narrow, it creates a gentle lengthening effect without drawing attention away from your hands. It looks gorgeous on olive and medium skin tones, and it also works on fair skin if you keep the nude slightly pink. It’s also perfect for minimalists who hate full art.
Start with a neutral beige-pink builder gel and build to medium thickness, then file into soft square with rounded corners. Keep the surface smooth and shiny so the line sits on a clean base. Paint one accent line on one nail using rose-gold striping gel or a thin liner brush: place it from about 1/3 up the nail, angled slightly toward the center, and keep it under 1mm wide. Cure, then top coat all nails glossy, making sure the line doesn’t get flooded.
If your lines wobble, rest your hand on the table and pull the brush in one steady motion.
Avoid multiple lines or thicker strokes — they make nude look like a “nail wheel” design.
4. Nude Ombre with Clear Negative Space Half-Moon
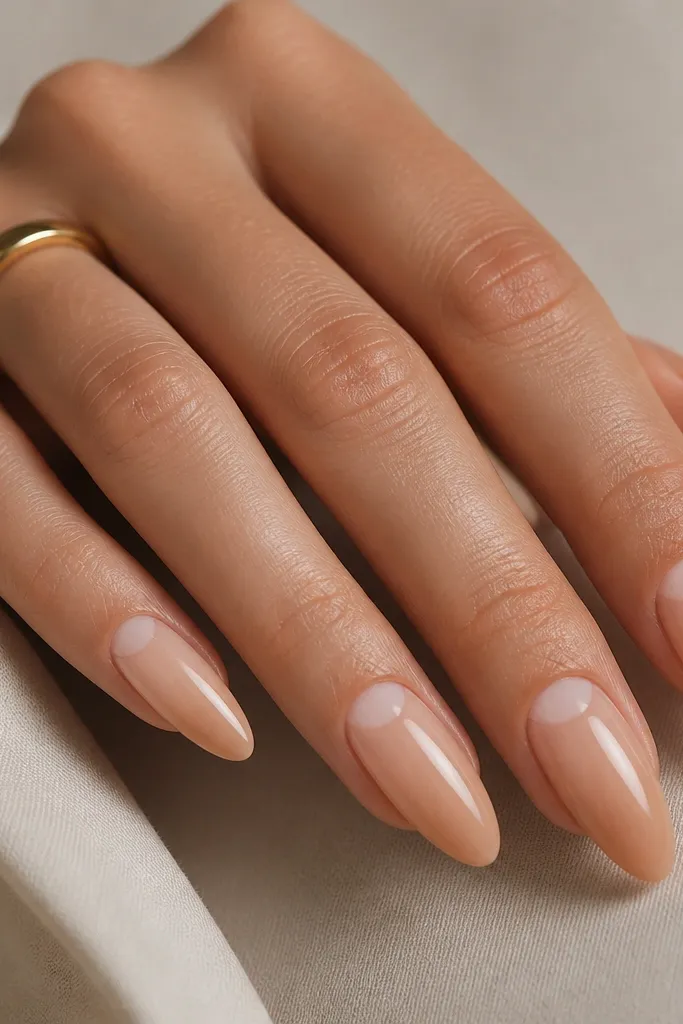
Build the extension in your nude ombre base by applying a sheer nude at the cuticle, then blending a slightly deeper nude toward the free edge. Keep the blend smooth — no hard line. For the negative space, use a small cuticle stencil or freehand with gel: mask a half-moon centered at the cuticle and keep it totally clear. Cure the nude around it, remove the mask, then apply top coat over everything except the negative space area, which stays glossy naturally from clear gel.
Negative space makes nude look modern and expensive. This design uses a nude ombre that deepens slightly toward the tip, but it leaves a clear half-moon at the cuticle center so your nail looks airy. I like it on almond shapes because the half-moon sits nicely along the nail’s natural curve. It’s flattering on every skin tone because the clear area is neutral and clean. If you get bored with full nude coverage, this gives you that “designer” feel without adding color.
Skip thisDon’t let nude creep into the negative space — any haze makes the clear area look cloudy.
Editor's noteIf you’re doing this at home, practice the half-moon shape on one finger first — the center placement is what makes it look intentional.
5. Matte Nude Base with Glossy Micro French at the Tip
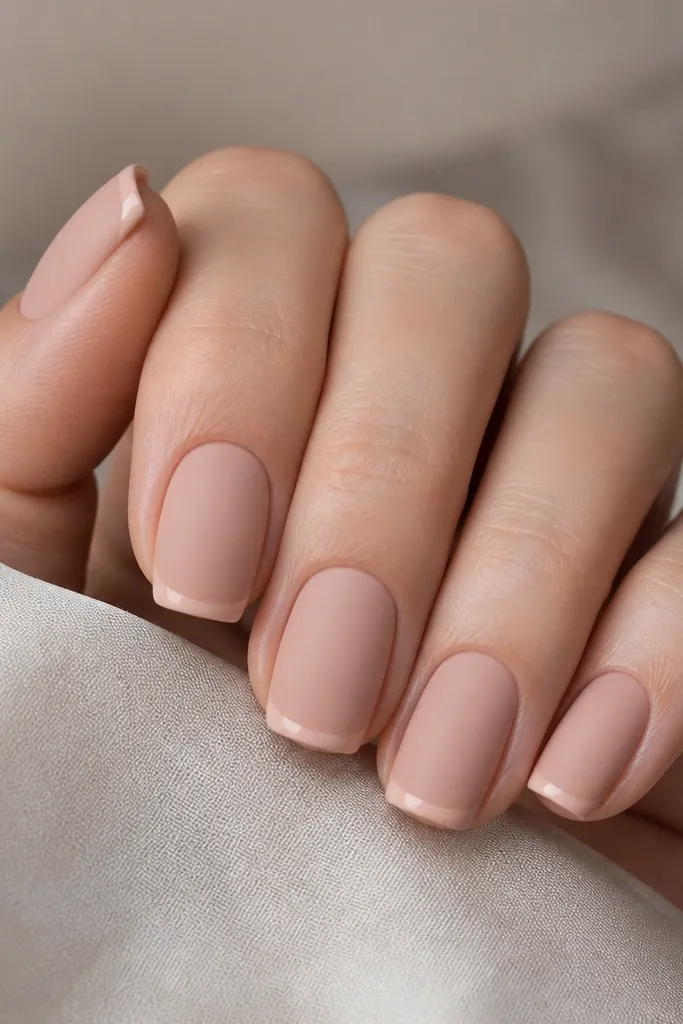
Start with a glossy nude base builder gel, build your extensions, then file to squoval. Wipe with alcohol and apply a matte top coat over the entire nail. After the matte is cured, add a very thin glossy French line at the free edge — keep it about 1mm wide and centered along the tip. Cure again, then check under light for any fuzzy edges and clean them with a small brush dipped in cleaner.
Matte nude plus a glossy micro French is the fastest way I know to make nude extensions look styled. The matte hides any tiny surface imperfections and makes the nude look soft and velvety. Then the micro French adds a crisp highlight that makes your nails look freshly filed. I wear this a lot in fall and winter because matte reads cozy without turning into dark colors. It flatters fair through deep skin tones — the key is choosing a nude that matches your undertone so it doesn’t go flat.
Skip thisSkip a chunky French band — matte makes thick tips look heavy.
Editor's noteUse a gel matte top coat, not a spray, so it stays even over extensions.
6. Sheer Nude with Tiny Pearl Clusters on Two Nails
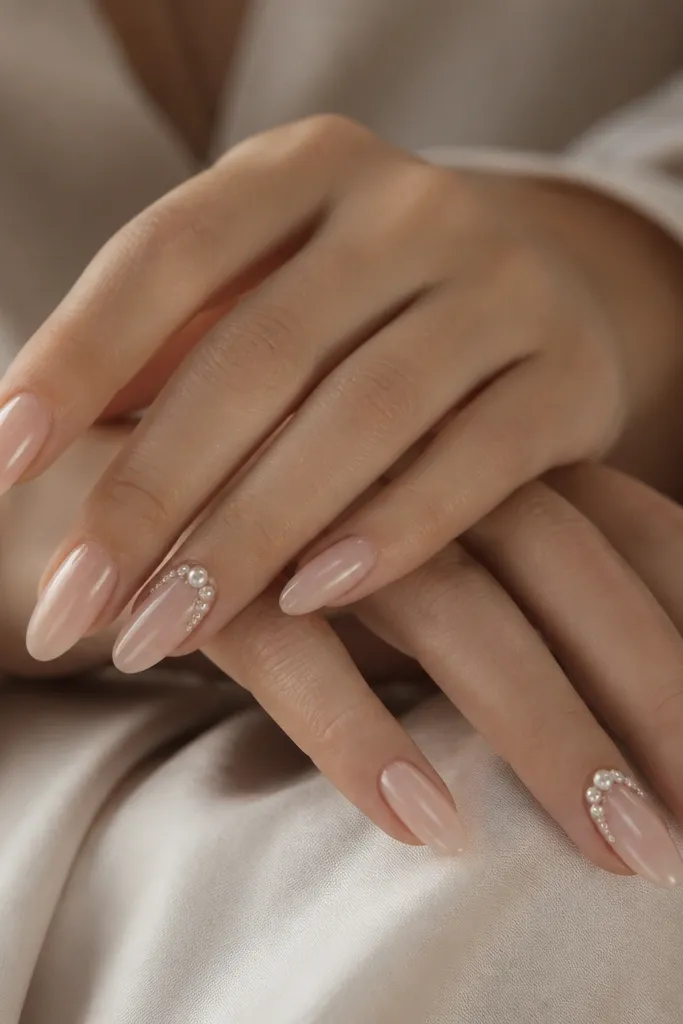
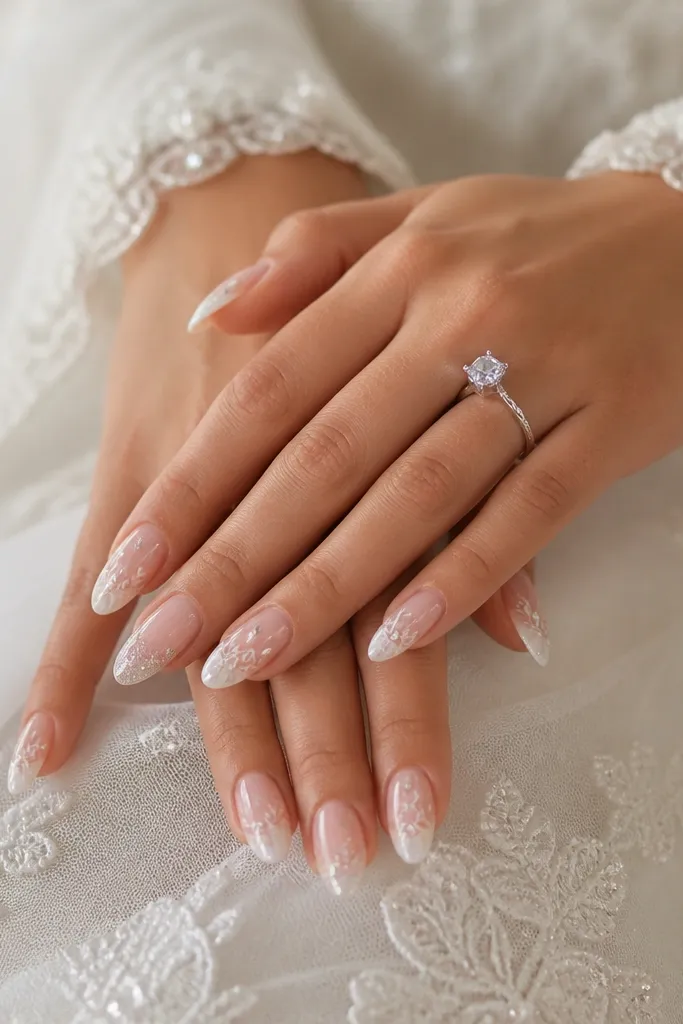
Pearls on a sheer nude base look classy when the placement is small and controlled. I use a very sheer blush nude so the pearls don’t look like they’re sitting on top of a thick base. The pearl clusters go on two nails only, usually the ring finger and middle finger, so it feels intentional. This design flatters hands with longer nail beds because the sheer nude makes the nail look longer. It also looks great for bridal events, but it’s not only for weddings — it works for holiday dinners too.
Apply a sheer blush nude base in thin layers so you keep that airy look. Build your extensions in almond and keep the apex centered so the nail still feels strong under the pearls. Pick two accent nails and place 3-5 tiny flatback pearls near the cuticle, using gel as the adhesive. Press gently, then cap each pearl with a thin layer of clear gel so nothing catches on fabric. Finish with glossy top coat on all nails, keeping the pearl area fully sealed.
Choose flatback pearls in 1.0-1.3mm sizes; bigger ones overwhelm the nude look.
Don’t put pearls on every nail — it reads costume fast.
7. Beige Nude with One V-Shape Negative Space at the Tip
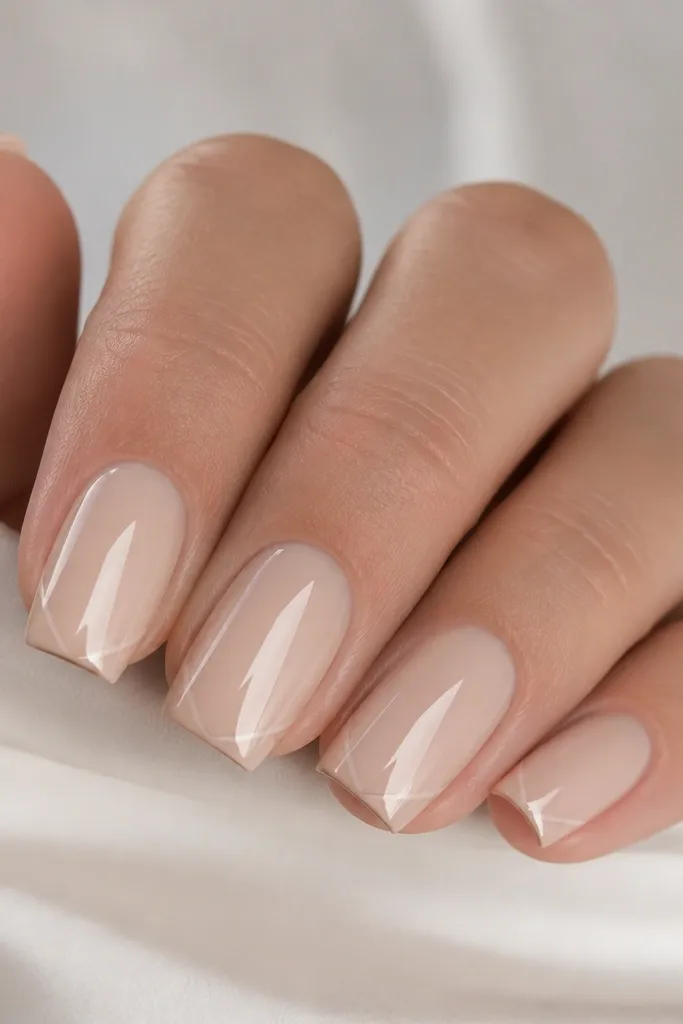
Build your nude extensions in a beige shade that matches your undertone and file to soft square with rounded corners. Apply top coat and cure, then map the V shape at the tip using a fine liner brush and gel. Keep the V narrow: about 2mm wide at the outer edges and taper to a point in the center. Cure, then top coat over the nude and around the V, leaving the V clear and glossy from the negative space gel edge.
This is a geometric take on nude that still feels timeless. The beige nude base is slightly deeper than your skin, so the nail doesn’t blend away. Then you cut a small V-shaped negative space at the tip, which creates a crisp highlight line that makes nails look longer. I like it on short-to-medium soft square because the geometry balances the shape. It works for both warm and cool undertones when you match the beige shade — the clear V stays clean either way. It’s also a great option when you want something different from a standard French.
Skip thisDon’t make the V too big — it turns into a half-failed French and looks unfinished.
Editor's noteUse a stencil strip to keep the V symmetrical left and right on each nail.
8. Nude Marble Fade with a Single Milky Vein
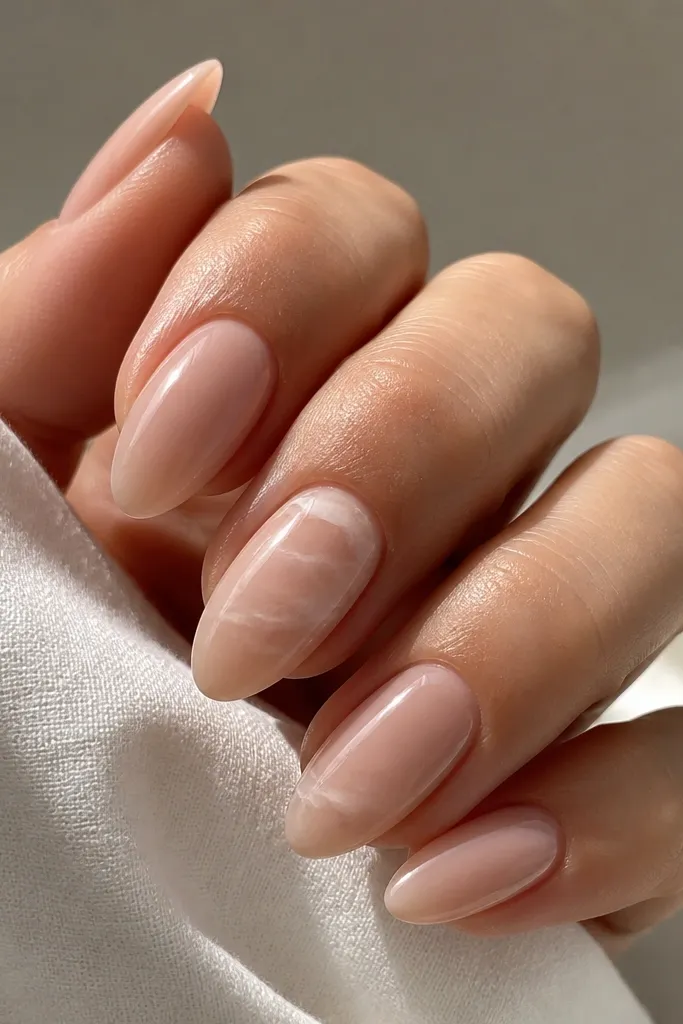
Marble looks classy when the pattern is whisper-thin. Here, the base is a nude that’s sheer enough to show natural nail texture, then you add one milky white vein on one or two nails. The vein is not a full marble swirls — it’s a single tapered line with tiny breaks, like cracked porcelain. This design flatters medium to deep skin tones because the milky vein pops without turning bright. It also looks great with neutral outfits and gold accessories, since marble reads soft and expensive.
Apply a sheer nude base builder gel and keep the layers thin for transparency. Shape almond and file smooth so the marble doesn’t look like it’s floating. On one or two accent nails, paint a milky white vein using a liner brush — start near the lower sidewall and drag upward in a light zig pattern, then stop before reaching the tip. Add tiny micro flecks at the vein breaks, cure, then top coat glossy to seal and smooth the pattern.
Thin your milky white gel with a drop of clear gel so the vein stays translucent instead of opaque.
Skip heavy white marble blocks — they look thick and cheap on nude.
9. Nude Gradient with Rose-Gold Foil Edge on the Ring Finger
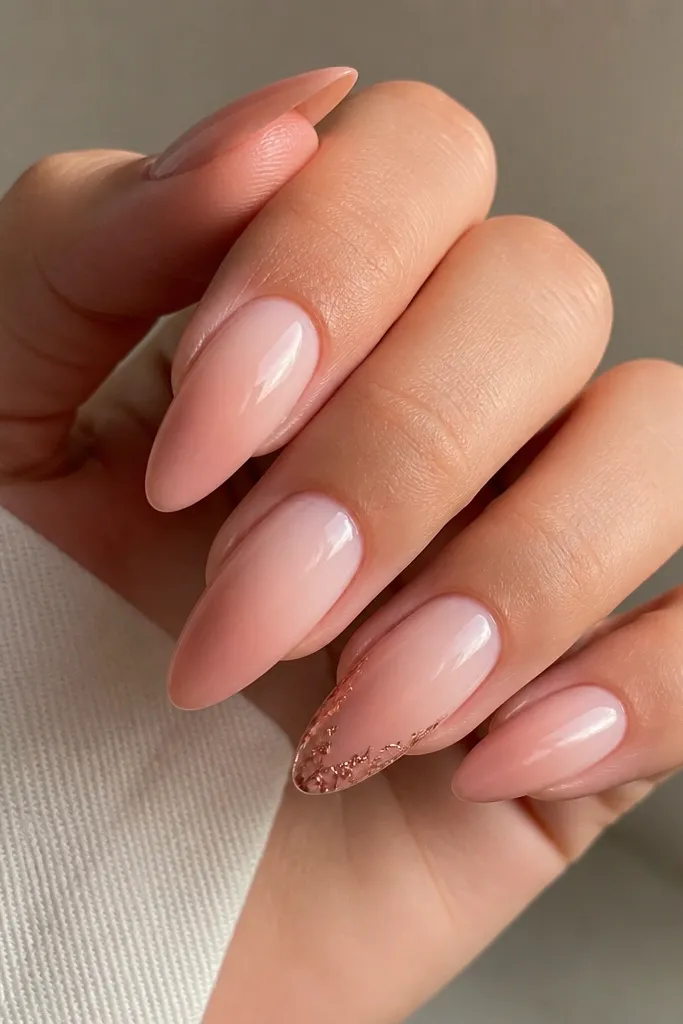
Build almond extensions with a nude gradient using three steps: sheer nude at the cuticle, mid nude in the center, and deeper nude at the tip. Blend until there’s no visible line. For the ring finger, apply a thin layer of gel on the free edge only, then press small rose-gold foil pieces onto it with tweezers. Leave about 1-2mm of nude at the very center so the foil stays like a border, then cap with clear gel to lock everything down. Finish with glossy top coat on all nails.
If you want nude extensions that still feel special, foil at the edge is the move. The nude gradient is subtle: sheer near the cuticle, slightly richer at the tip, with a clean blend. Then the ring finger gets a thin border of rose-gold foil fragments placed along the free edge, not across the whole nail. The foil catches light when you move your hand, which looks expensive without looking loud. This works on fair through deep skin because the foil is warm and the gradient keeps everything cohesive. It also looks great for parties when you still want your nails to look “classy,” not glittery.
Skip thisDon’t cap too thick — thick capping makes foil look like a bump.
Editor's notePress foil with a lint-free pad or silicone tool so you don’t smear the fragments.
10. Nude French with a Micro Rhinestone Spark at the Cuticle
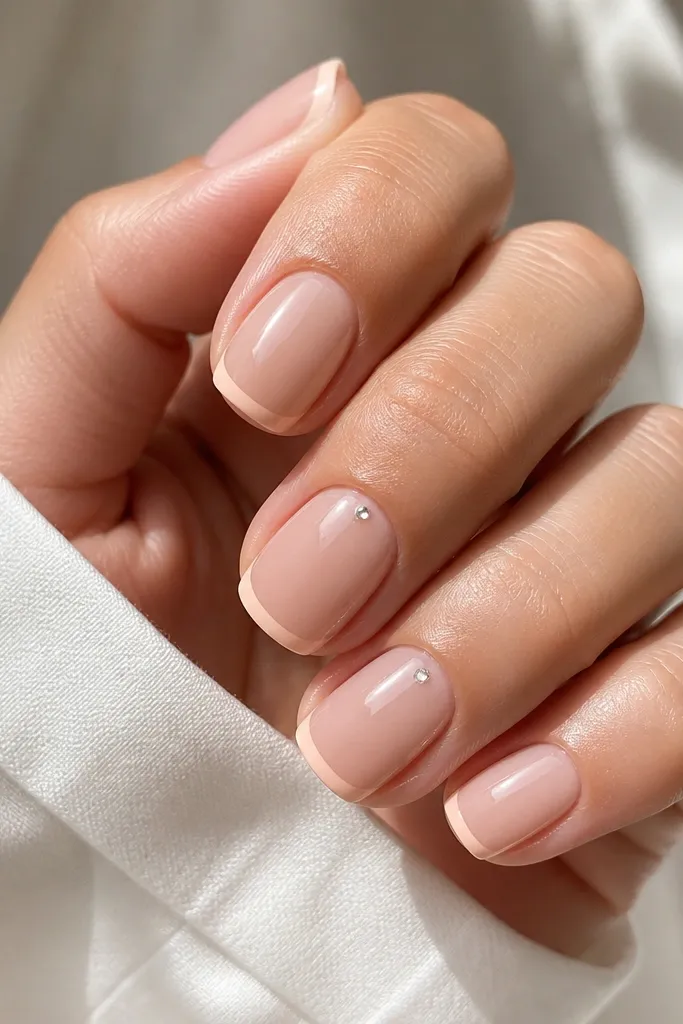
Build extensions in a nude that’s sheer and even, then file to soft square. Paint a micro French tip: keep the band narrow and place it right at the free edge, not too high. Cure, then place one tiny rhinestone (around 1.3-1.6mm) at the cuticle center using a dot of gel. Keep the rhinestone perfectly centered and flush — cap with a thin clear gel layer so it doesn’t lift. Top coat the whole set glossy and check the cuticle line for smoothness.
This is the version of French that looks timeless instead of old-school. The base is a nude that matches your skin undertone, and the French tip is a micro band in a slightly deeper nude — almost like a contour. Then you add one tiny rhinestone at the cuticle center on one nail only. That single spark makes your hands look more “done” while keeping the overall look calm. It’s flattering for short-to-medium nails because micro French visually lengthens without taking over. I wear it when I want something clean that still photographs well.
Skip thisAvoid multiple rhinestones — one stone reads classy, three starts reading busy.
Editor's noteChoose clear AB rhinestones if you want the sparkle to match silver and gold jewelry.