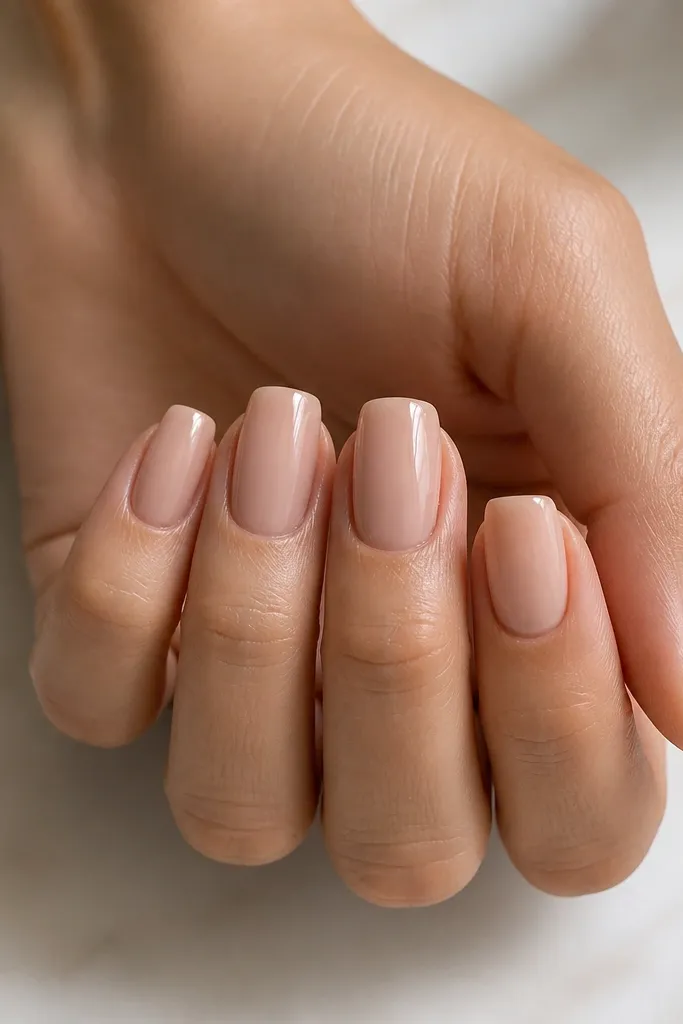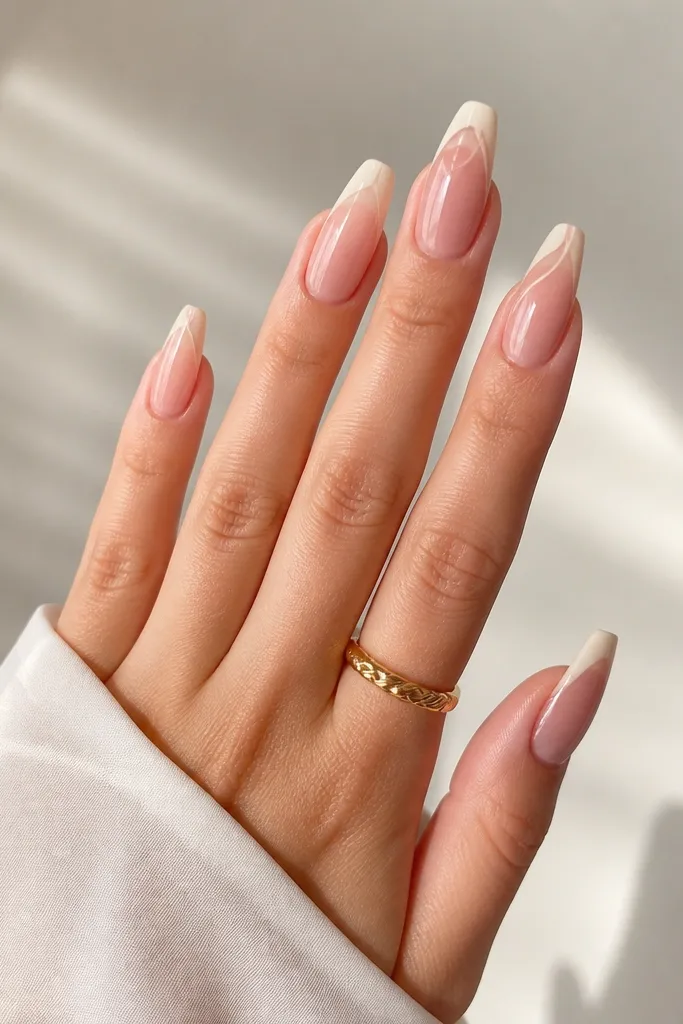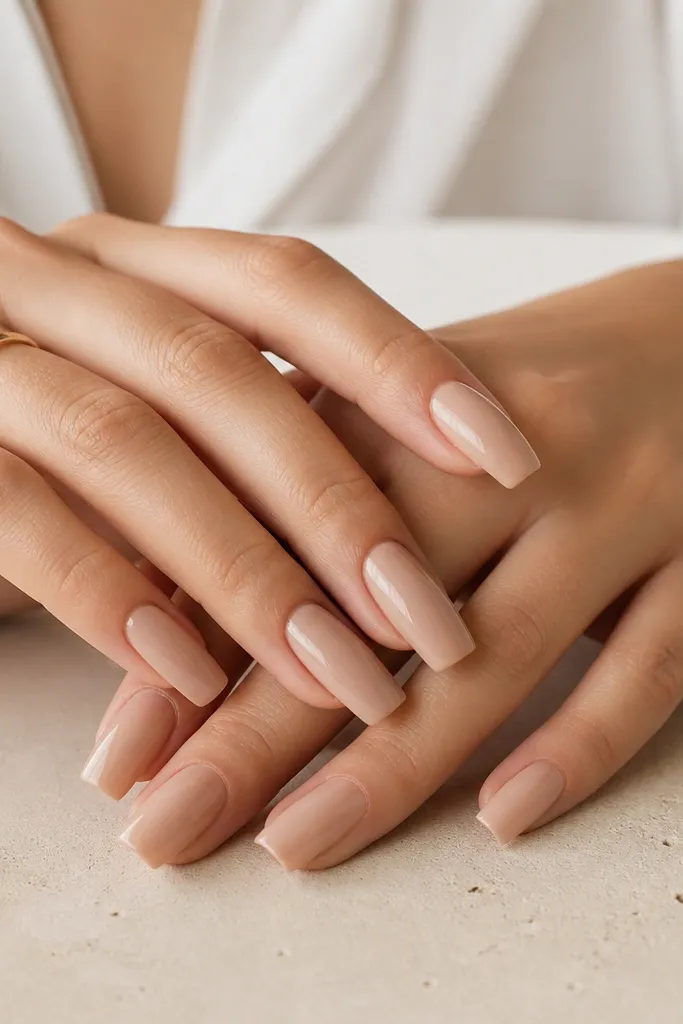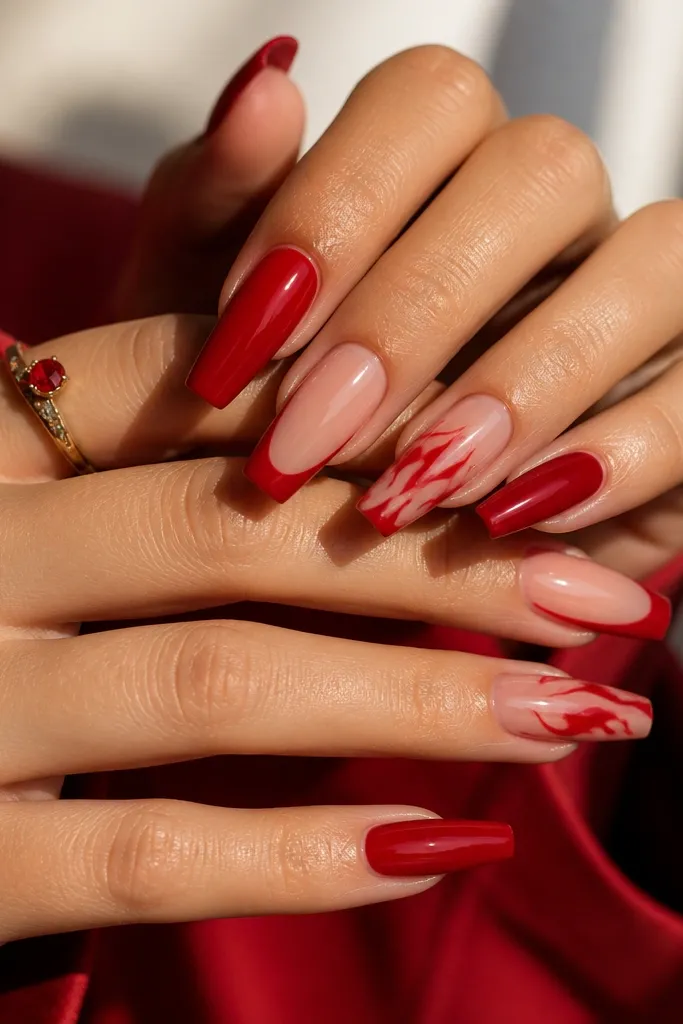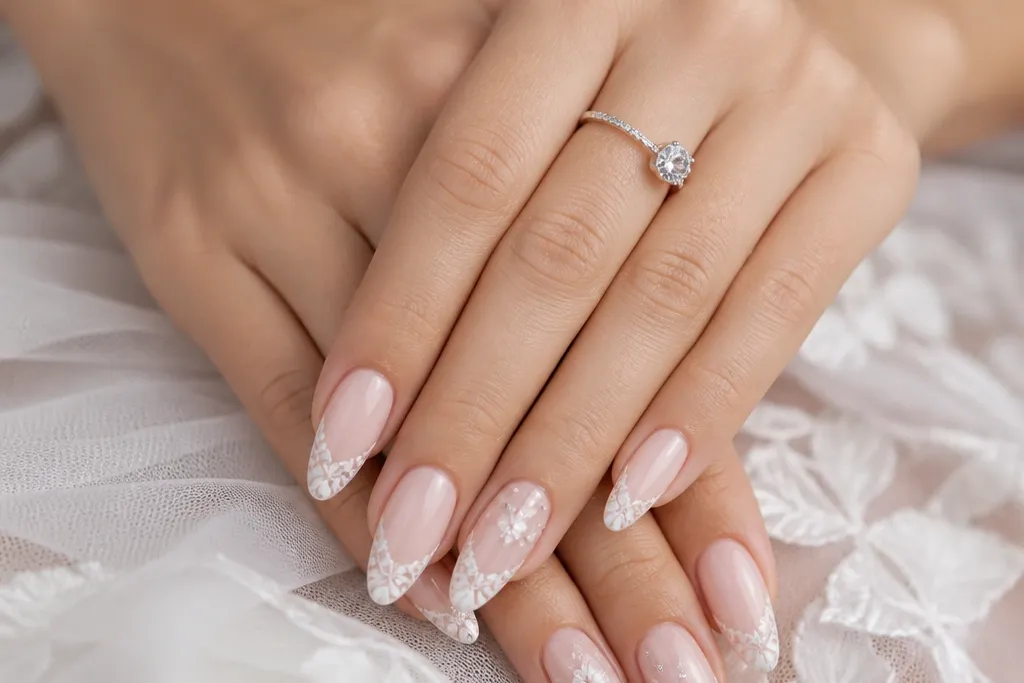
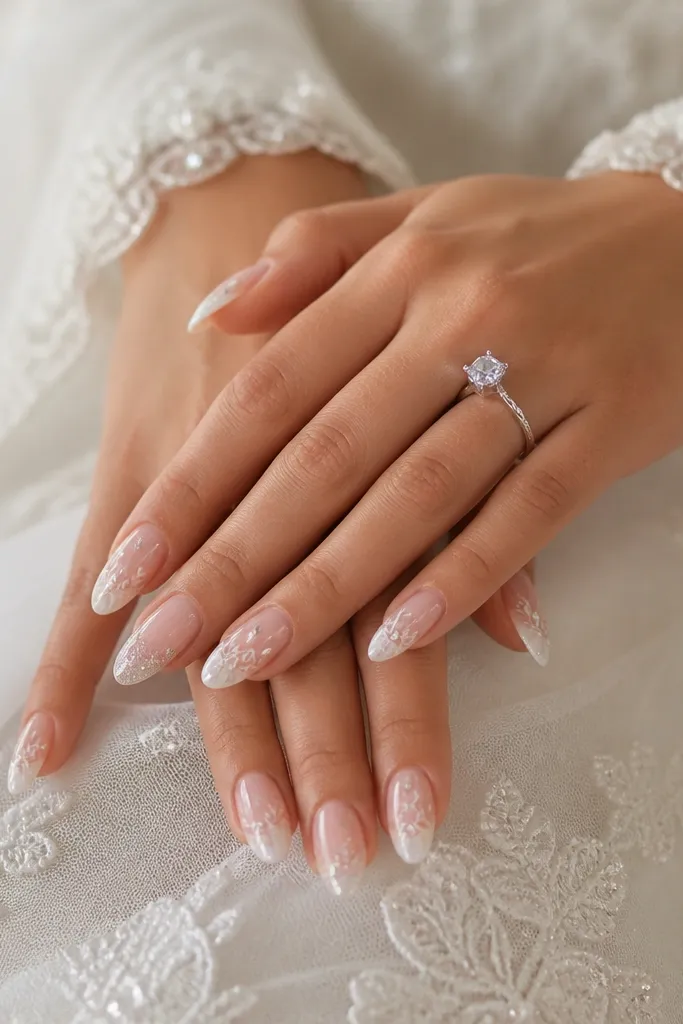
1. Sheer Rose Classic French with Micro Rhinestone Cuticle Line
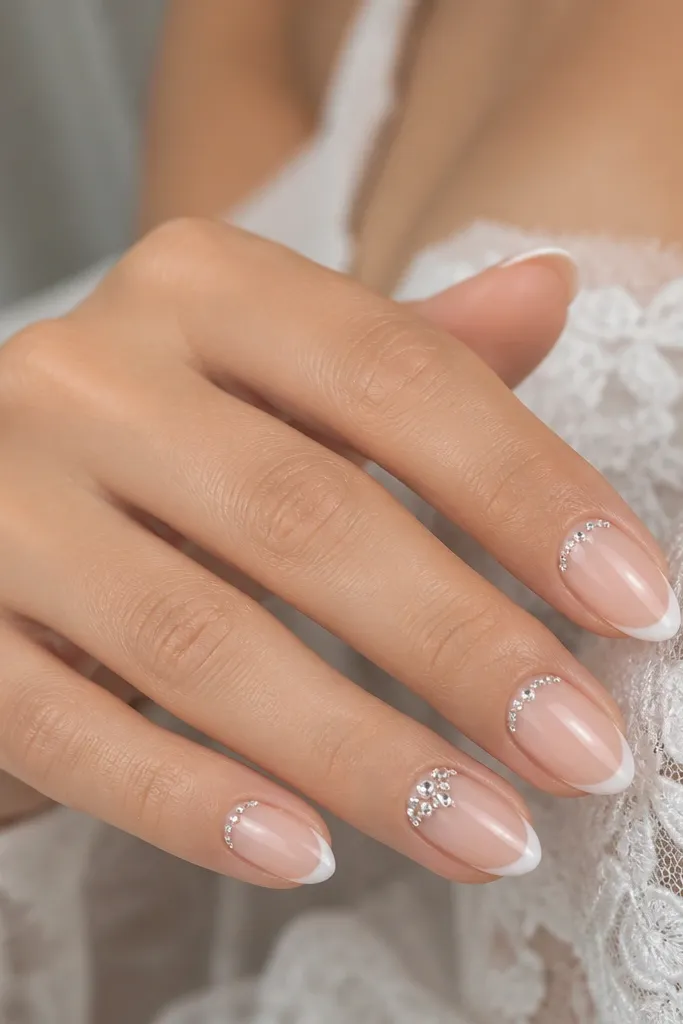
This design works because it keeps the nail bed looking real while the French tip gives that bridal “clean” feel. The sheer rose base warms up your skin on camera, especially if you’re wearing a white dress with cool undertones. The thin French edge looks crisp without needing heavy gel thickness, so your nails don’t look bulky. Add a micro cuticle rhinestone line so the sparkle sits where light naturally catches — near your fingers when you’re holding your bouquet.
Start by prepping and lightly buffing your natural nail, then apply a sheer rose builder gel as your base. Cap the free edge with a thin layer so the French line stays sharp. Paint a classic French using a striping brush and milky white gel, keeping the tip width around 1/8 inch for a natural look. Place tiny rhinestones along the cuticle line using gel adhesive, then cure and seal over them with a thin top coat for a smooth surface. Finish with a glossy top coat and wipe with cleanser after curing so the rhinestones look glassy.
Editor's noteAsk for rhinestones in 2 sizes only (like 1.5mm and 2mm) so the cuticle line looks uniform instead of random sparkle.
Skip thisAvoid thick French tips — they make the nail look like a sticker edge in photos.
2. Pearl Dust Ombré with One Gold Foil Accent on the Ring Finger
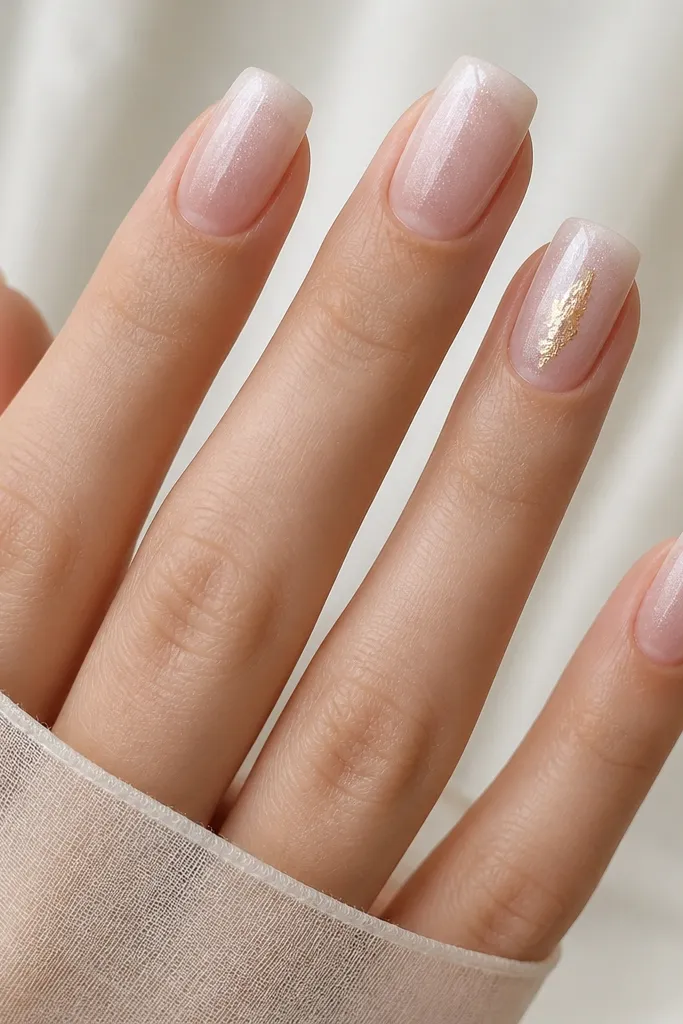
Pearl dust ombré photographs beautifully because it creates depth without hard lines. The shimmer is strongest near the cuticle and softens outward, which visually elongates your fingers. Gold foil on only the ring finger gives you that “wedding detail” moment without turning the whole set into a party manicure. This works especially well if your dress has gold-toned jewelry or if your skin reads warm — the gold looks intentional, not out of place.
Start with a sheer nude or sheer peach-pink base, then apply a thin layer of pearly shimmer gel from cuticle to mid-nail. Use a makeup sponge to feather the shimmer outward so it fades cleanly, then cure. Repeat once more for even coverage, keeping the ombré subtle — you want “glow,” not “stripe.” On the ring finger only, press small pieces of gold foil using tacky gel, then seal with a glossy top coat. Wipe and check under daylight; if you see patchiness, add one more thin shimmer layer over the whole nail.
Use a sponge for the ombré — brush-only gradients look streaky when the light hits.
Skip chunky glitter — it catches on fabric and looks uneven in close-up wedding photos.
3. Thin Silver Foil Veil on Milky Nude Extensions
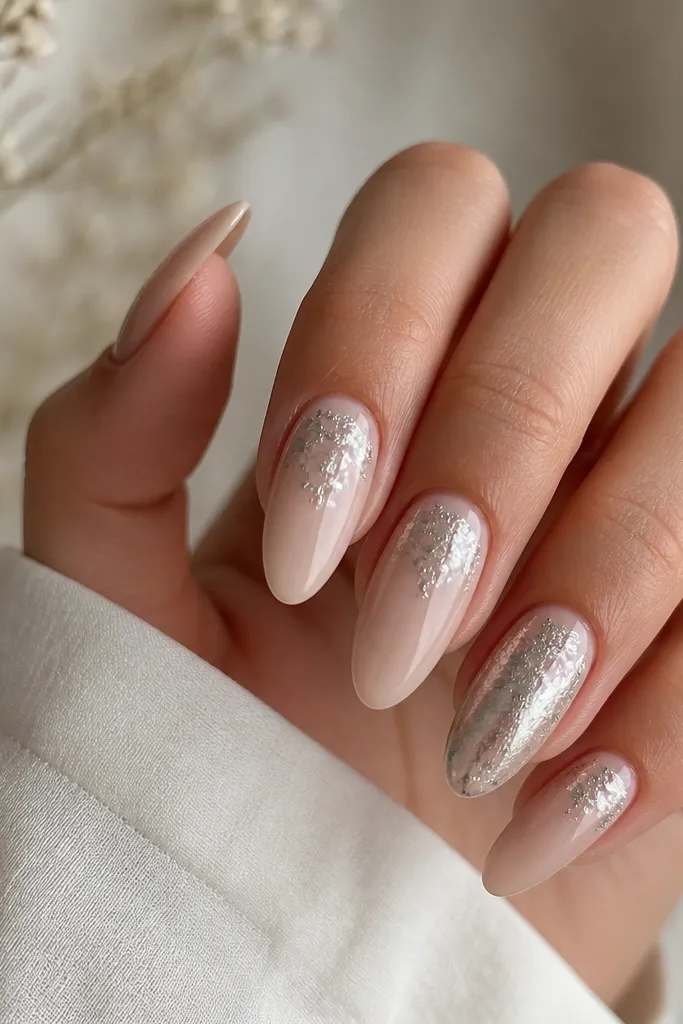
This one is a wedding hack for brides who want something “extra” without going full 3D. Milky nude gives you the bridal milky look, and the silver foil veil adds movement like light through tulle. Because the foil is thin and feathered, your nails still look smooth and high-end. This suits cool undertones and silver jewelry perfectly, and it also flatters hands that look short — the foil placement in the top third draws the eye upward.
Apply a milky nude builder gel base and cure. Next, add a thin tack layer only on the upper third of the nails where the foil will go. Tear silver foil into small pieces, press lightly, then use a soft brush to push away any excess so the foil stays wispy. Repeat on each nail with slightly different placement, but keep the overall area consistent. Seal with two thin coats of glossy top coat so the foil doesn’t lift.
Editor's noteKeep the foil away from the sidewalls — that’s where cheap sets show because the foil sticks too thick.
Skip thisDon’t cover the whole nail in foil. It looks heavy and turns “veil” into “chrome sheet.”
4. Soft Pink Base with Hand-Painted Tiny Daisies (No Stickers)
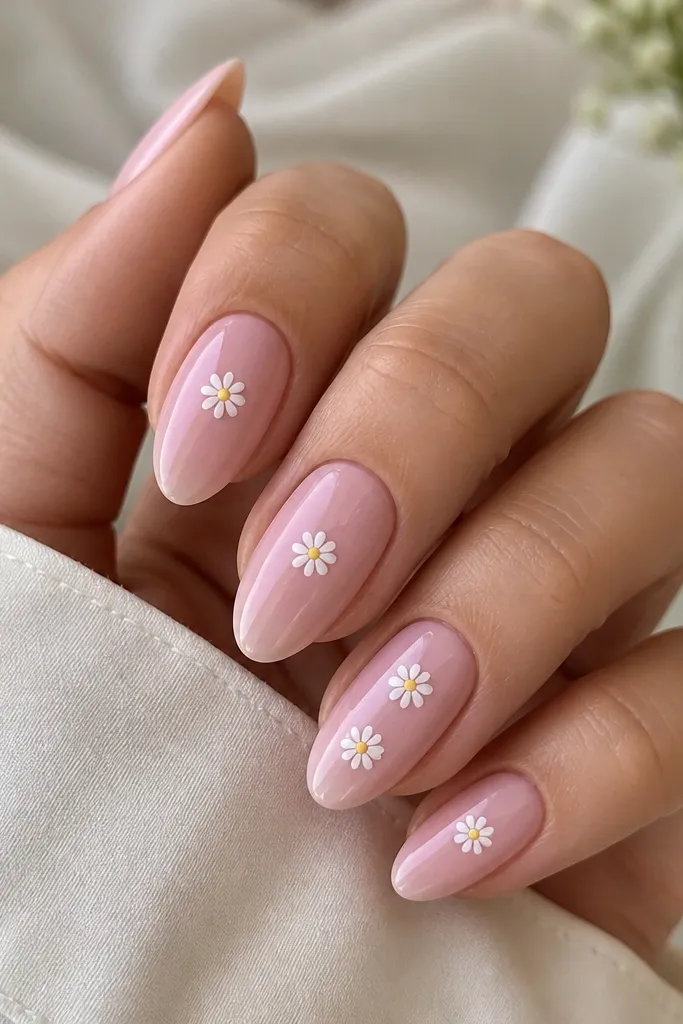
Tiny daisies look bridal when they’re small, spaced, and painted with restraint. A soft pink base keeps the set romantic and makes white petals look bright without turning stark. Hand-painted flowers add a real-person touch that stickers never match, especially when the petals have slightly uneven edges like real petals. This design fits garden weddings, outdoor ceremonies, and brides wearing floral hairpieces because it echoes the theme without copying it.
Start by creating a sheer soft pink base and cure. With a fine detail brush, paint one daisy per nail using white gel, keeping each flower about the size of a rice grain. Dot the center with a warm yellow gel, then add a tiny highlight dot if you want extra dimension. Place daisies closer to the center of the nail so the bloom reads clearly in photos. Seal carefully with a glossy top coat, using a thin layer first around the flowers so you don’t smear the petals.
Use a dotting tool to place the center — it keeps the daisy looking symmetrical even if your petals aren’t perfect.
Don’t crowd the flowers. More daisies makes it look like nail art practice, not bridal.
5. Blush Marble Swipe with Clear Gloss and One Tiny Star on Each Ring Finger
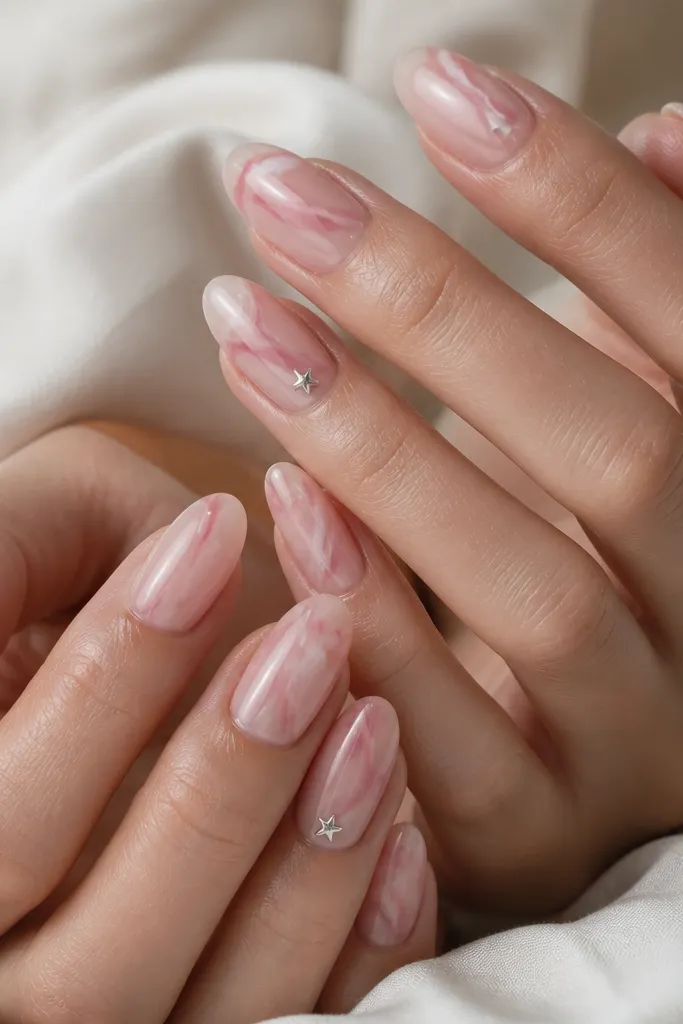
Marble works for weddings when it stays airy. This blush marble swipe uses translucent layers, so you see glow underneath instead of a thick “paint” look. The clear gloss makes the marble look like it’s suspended in glass. Tiny stars add a sweet, slightly playful bridal detail that still feels classy because they’re minimal. This flatters most skin tones since blush sits in the universal middle — and it looks great with both pearl and silver jewelry.
Build the nail with a translucent clear or sheer blush base, then cure. Add blush marble by dragging two or three shades of blush gel with a thin brush — keep the swipes vertical and leave gaps so it looks like natural marble, not confetti. Cure, then repeat one more layer only if the swipes look too faint. Add one tiny flat star charm on the ring finger near the cuticle line using gel adhesive, then seal over it with top coat. Finish with a full glossy top coat for that wet-look shine.
Keep your marble swipes long. Short, choppy swirls look like smudges in wedding lighting.
Avoid matte top coats. Marble plus matte can look chalky in flash photos.
6. Classic Nude Extension with 3D Pearly Bead Border on Tips
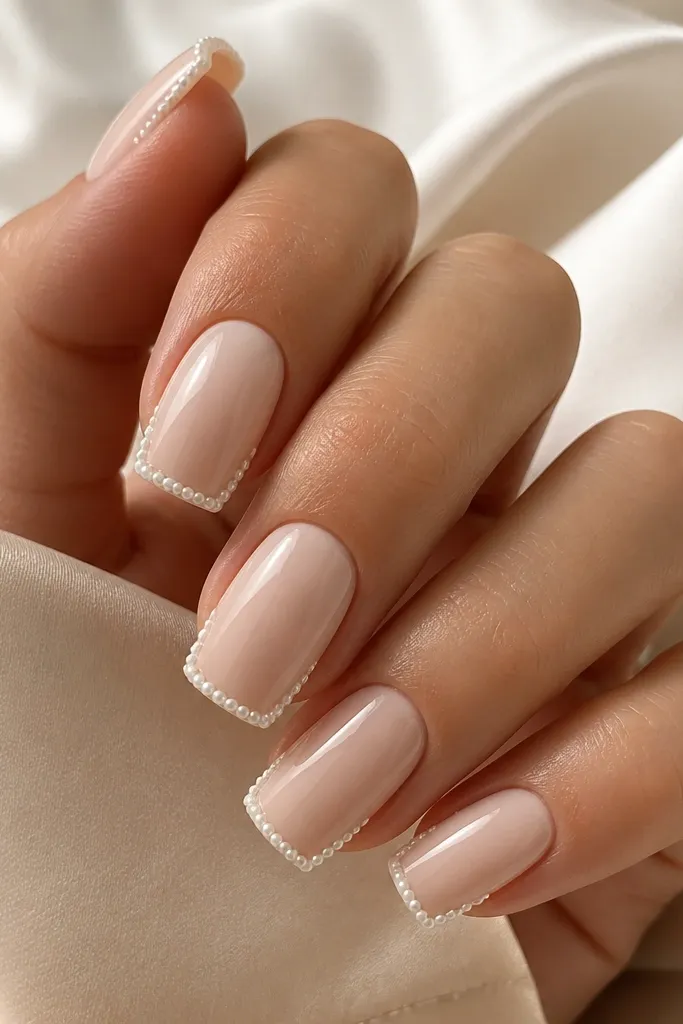
This design reads bridal because it frames the nail without covering the whole surface. A creamy nude base looks clean against wedding dress fabric, and the tiny pearly bead border gives texture that catches light when you move your hands. I like it for brides who want “statement” but still want a wearable set for the reception. It flatters hands with wider nail beds because the border is focused at the tips and doesn’t visually widen the middle of the nail.
Apply a creamy nude gel base and cure. Create the extension shape first, then lightly buff the surface to remove any ridges. Place tiny pearly beads or bead-like gel dots along the outer tip edge in a straight line, then cure. Use fewer beads near the sidewalls if you want a slimmer look. Seal with a top coat in two thin layers: first to lock beads in place, second for full gloss and smoothness.
Use a dotting tool and press each bead lightly so it sits flat and doesn’t snag on hair or veil tulle.
Don’t make the bead border too thick. Thick borders feel heavy and look messy in close-ups.
7. Champagne Chrome with Soft Cuticle Glow and No Other Accents
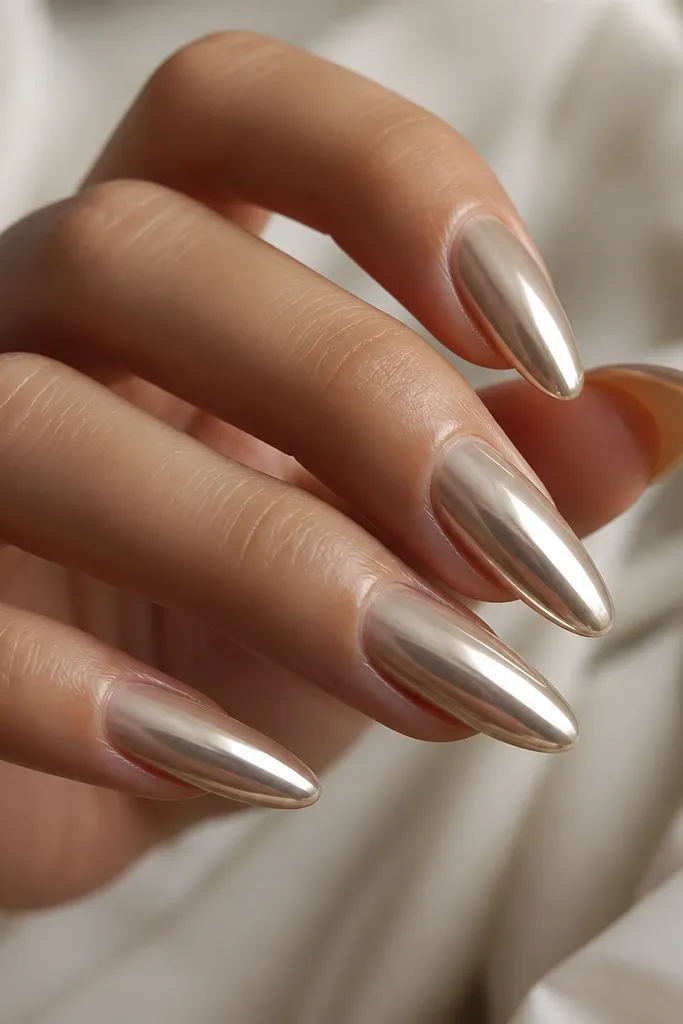
Chrome sounds loud, but champagne chrome reads bridal when it’s smooth and warm. The soft cuticle glow makes the nail look like it’s lit from inside, which looks amazing in daylight and in flash photos. No other accents means your set looks polished instead of busy. This is a great choice if you want a modern bride look or if your dress has clean lines and minimal embroidery. It also flatters olive and warm skin tones because champagne isn’t icy white.
Start with a sheer nude or pale champagne base and cure until it’s fully hard. Apply a thin chrome gel layer (or chrome base) and cure per your brand timing. Rub champagne chrome powder over the nail with a soft applicator, then buff lightly to remove excess so it stays smooth. Focus extra attention near the cuticle to create the glow, then keep the rest even. Seal with a high-shine top coat that’s compatible with chrome so you don’t dull it.
Editor's noteTest the chrome on one nail first. Some chrome bases look darker after top coat, and you want the warm champagne tone.
Skip thisSkip thick top coat layers on chrome — they can dull the mirror effect.
8. Milky White Gel French with Tiny Bow on the Ring Finger
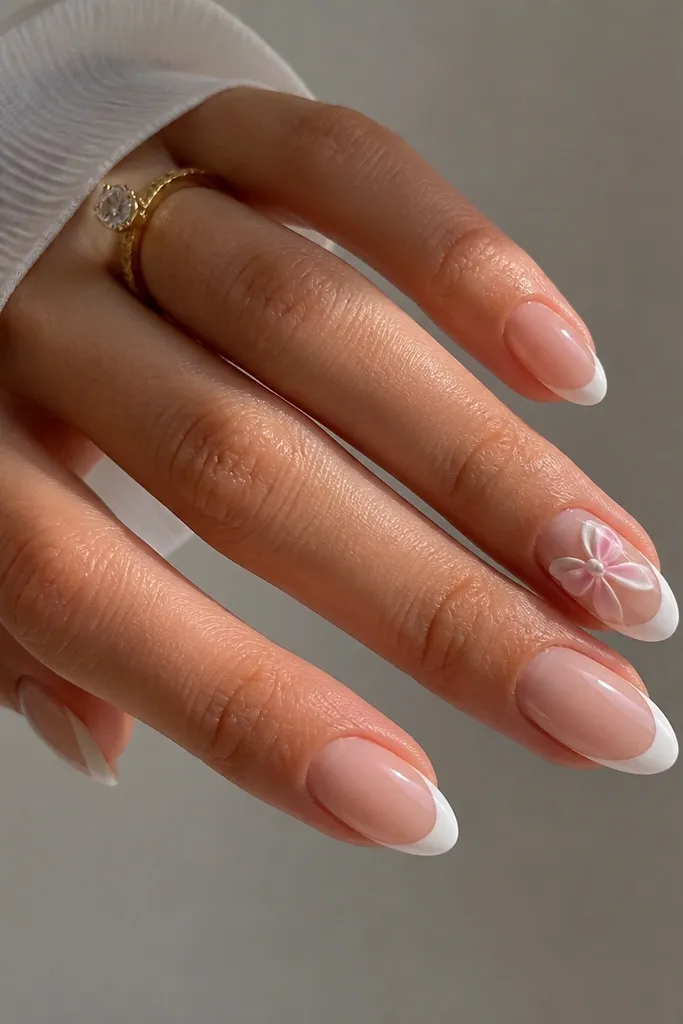
This design is classic bridal with a cute twist. Milky white French looks softer than bright opaque white, so it matches wedding whites without looking harsh. The ring-finger bow gives you a focal moment that still feels tasteful because it’s small and placed near the center of the nail. This works for brides who wear bows in their hair, on their dress, or on their veil — the nail detail feels coordinated. It also flatters petite hands because the bow is compact and the French line stays slim.
Apply a sheer glossy nude base and cure. Paint the milky white French tips with a thin brush, keeping the tip line slightly rounded and even across nails. For the ring finger, create the bow using gel: draw two loops, then a small center knot with a tiny dot. Cure each part if your gel needs it, then add a thin top coat around the bow so it stays smooth. Finish all nails with a glossy top coat for consistent shine.
Keep the bow size small — about 1/6 of the nail width — so it reads cute, not cartoonish.
Don’t use heavy 3D gel that makes the bow sit too high. It catches on fabric and looks bulky.
9. Rose Quartz Half-Moon at the Cuticle with Clear Negative Space
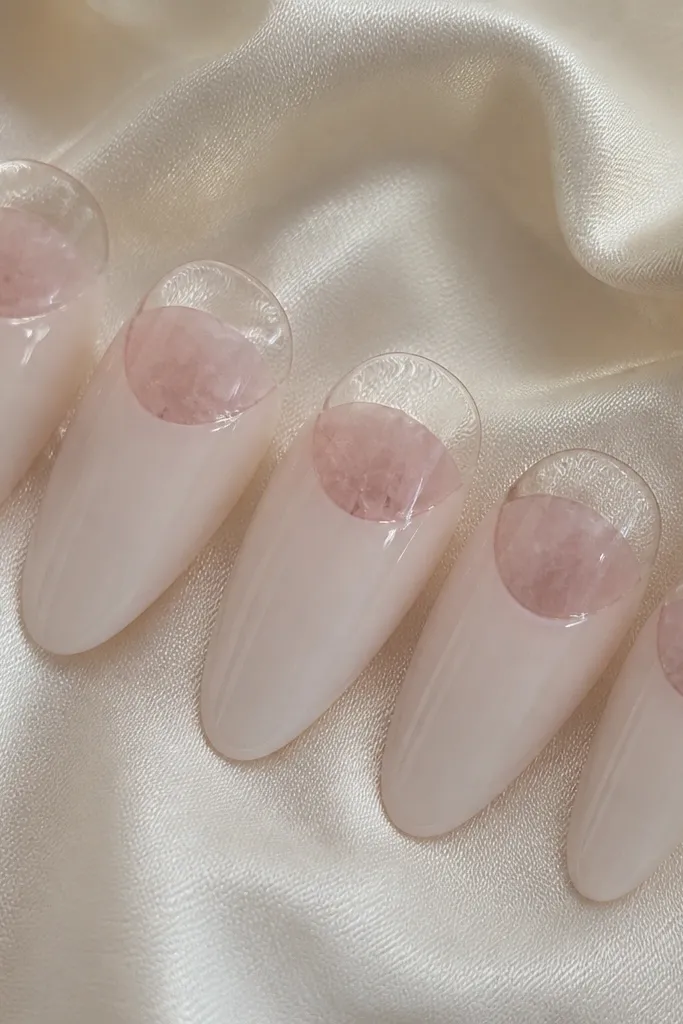
Negative space looks expensive when it’s intentional. Leaving a clear half-moon near the cuticle makes the nail feel lighter and keeps it from looking too heavy for a wedding. The rose quartz marbling inside that half-moon gives the bridal “stone” vibe without adding gems or bulk. This design is flattering for brides with shorter nail beds because the clear area visually lifts the nail and makes the fingers look longer. It also works with pretty much any jewelry because it’s mostly transparent and soft pink.
Build your extension with a sheer nude base, but stop the color about 1mm away from the cuticle line so you keep the clear half-moon. Cure, then add rose quartz marbling only inside that half-moon using translucent white and pale pink gel. Use a tiny brush to drag thin swirls, then cure. If the marbling looks too faint, add one more translucent layer only in the half-moon area. Seal with a glossy top coat, keeping it light around the cuticle so you don’t flood the negative space.
Use a small stencil or tape guide to keep the half-moon curve smooth and symmetrical across nails.
Avoid filling the whole nail with pink marble. You lose the negative space effect that makes it look clean.
10. Soft Pink Glitter Fade with Pearlized Top Coat and No Sparkle Overload
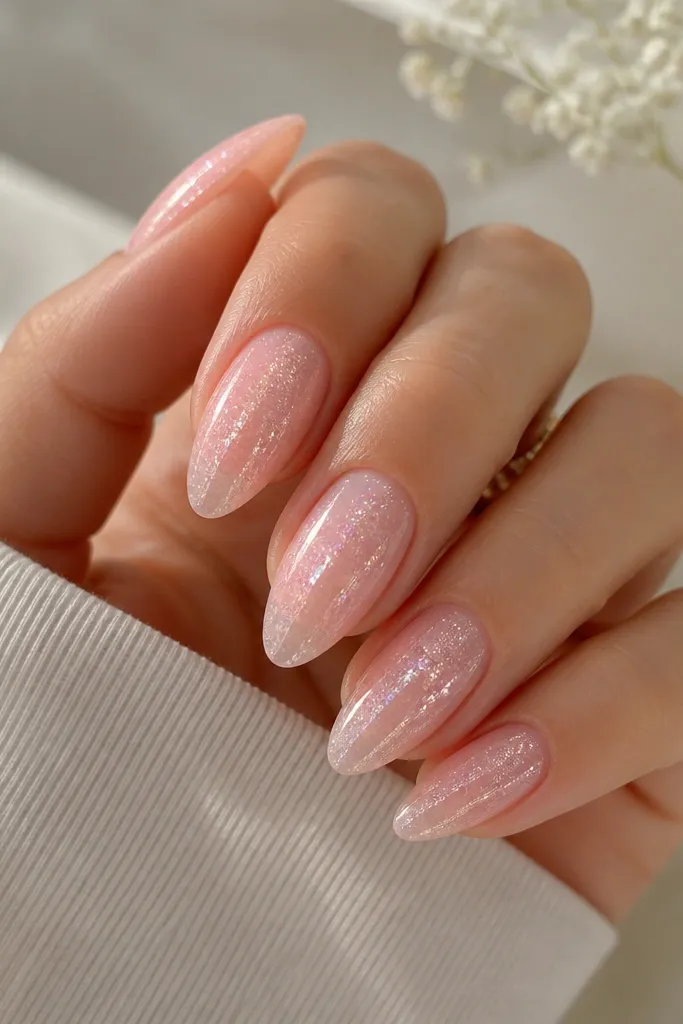
This is the “bridal sparkle” set for people who want shine but hate scratchy glitter. Fine soft pink glitter fade gives you a flattering gradient that makes nails look smooth and long, because the shimmer is strongest where your fingers catch light in photos. A pearlized top coat keeps the sparkle from looking glittery-dusty and makes it look like satin light. This set is great for evening receptions and for brides wearing satin, silk, or sequined accents because the nails echo that glow.
Start with a sheer soft pink base and cure. Apply a fine pink glitter gel or loose glitter mixed into a clear gel starting at mid-nail, then feather it toward the cuticle so it fades naturally. Use a sponge or a flat brush to avoid glitter clumps, then cure. Seal with a pearlized top coat that smooths the surface and locks everything in. Check the nails from the side to confirm there are no ridges before your final cure.
Use fine glitter or a glitter gel — loose chunky glitter always looks messy under close-up wedding flash.
Skip a thick glitter layer. It lifts and causes uneven shine after a few hours.