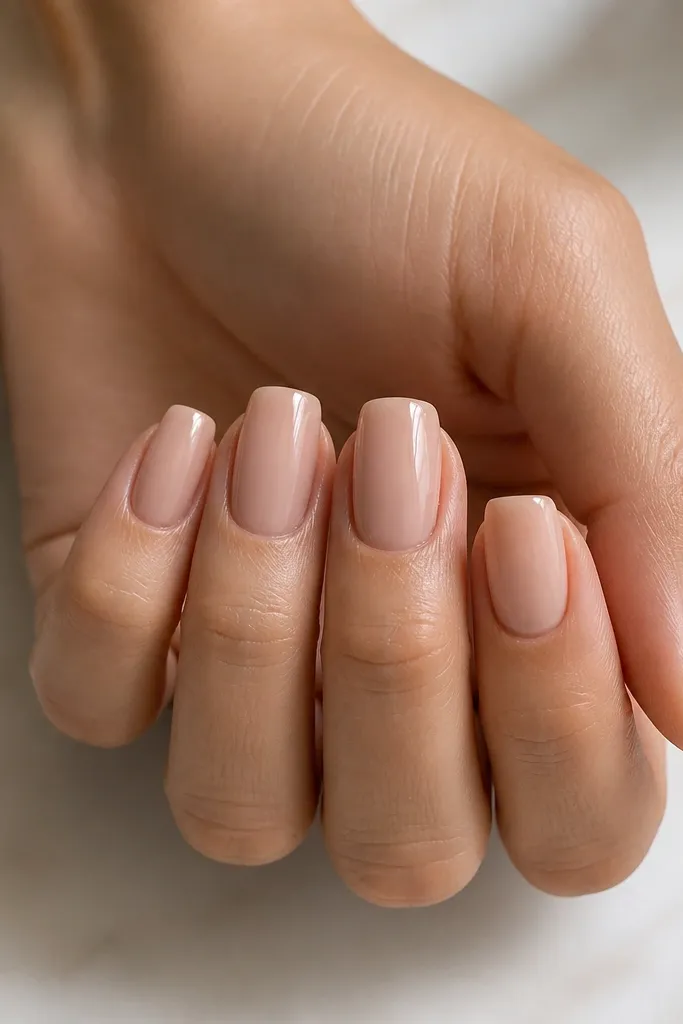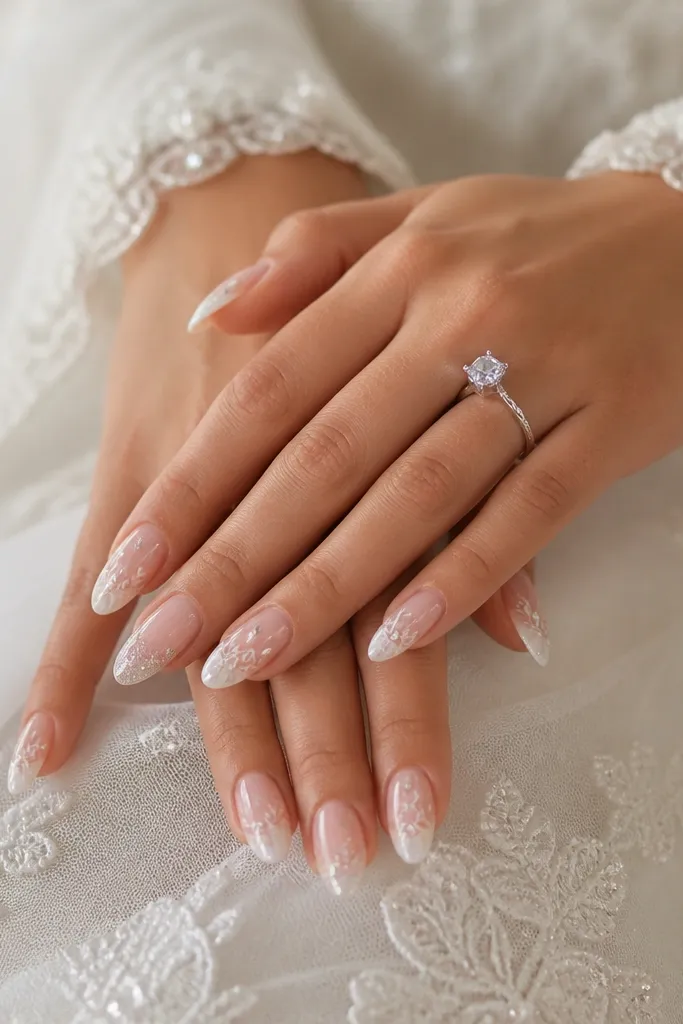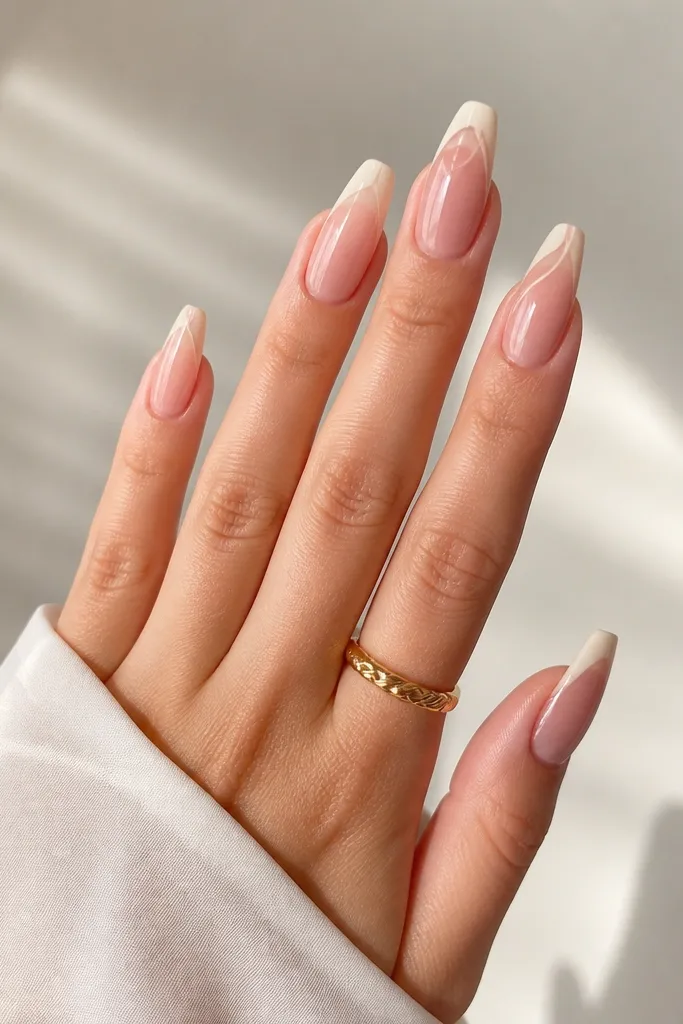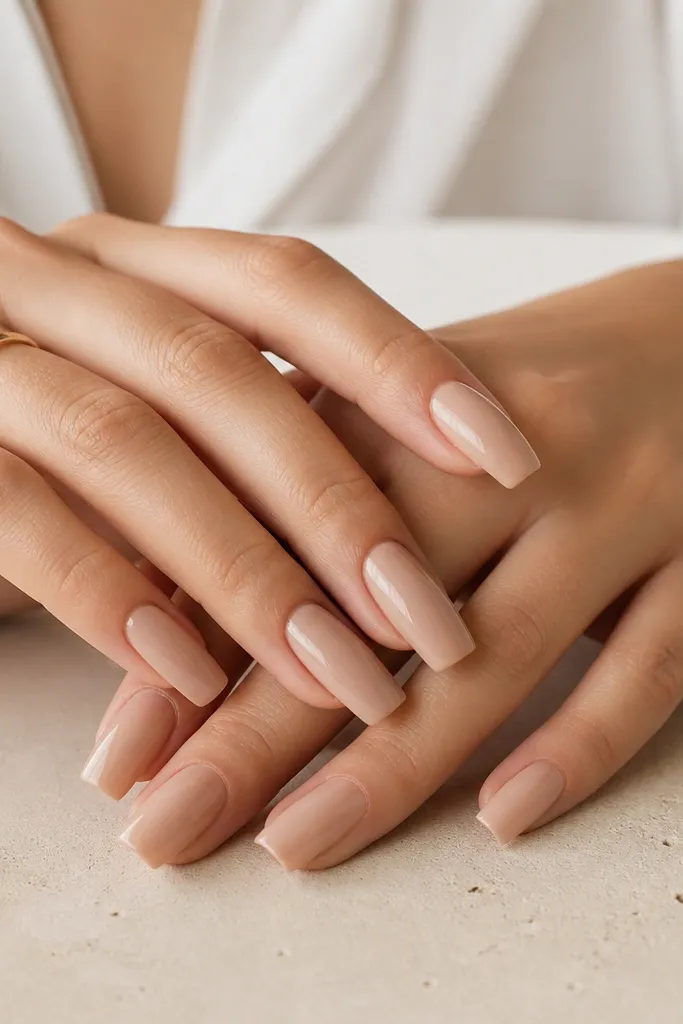
1. Classic Pink French Arc on Short Squoval
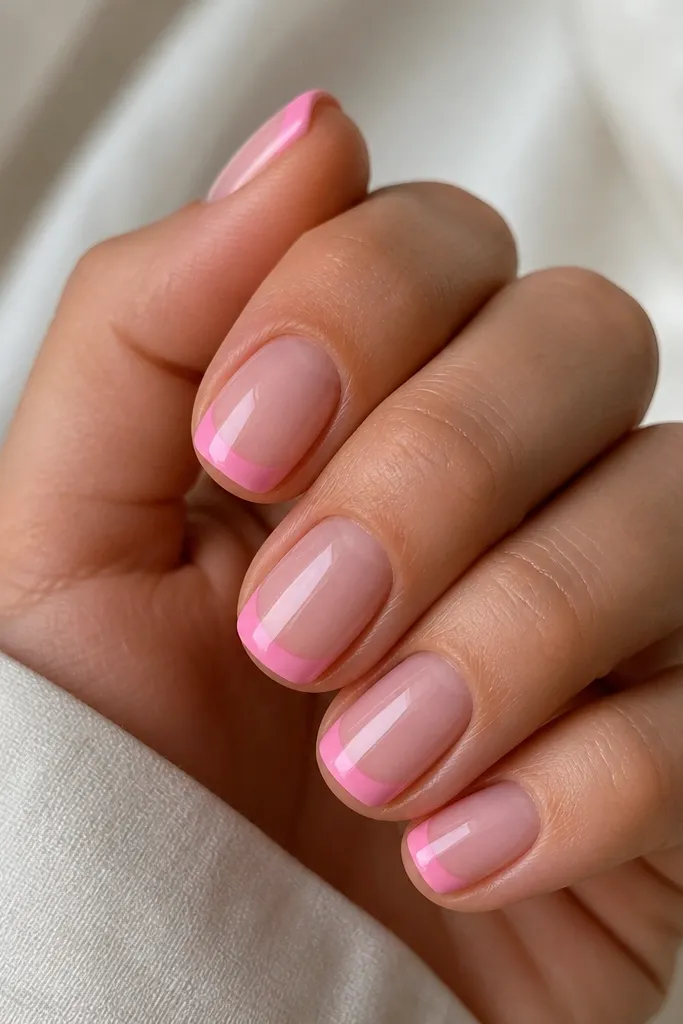
This is the French style I reach for when I want “polished” without thinking. The nude base stays quiet, and the pink arc sits right at the tip where growth is least noticeable. I like it most on medium-light to light skin tones because a bubblegum pink tip brightens the hand without looking harsh. If you’re on the fairer side, keep the nude slightly warm so the pink doesn’t look gray. For deeper skin tones, a rosy nude base and a more saturated pink arc make it look crisp instead of washed out.
Start by building or applying your extensions to a short-to-medium squoval shape. File the free edge so it’s straight across, then round the corners gently so it doesn’t catch. Apply a sheer nude base, cure, then paint the pink arc with a fine striping brush. Keep the arc thickness around 1/3 the width of the nail tip — thin enough to look clean, thick enough to hide imperfections. Cap with a soft-gloss top coat, then wipe with cleanser after cure so the edges stay crisp.
Use a striping brush and do one steady stroke per side of the arc, then fill the middle — it keeps both halves even.
Skipping edge detailing — if the arc doesn’t seal into the sidewalls, it lifts and chips faster.
2. Milky Pink Base with Clear Tips (Glass-Tip Look)
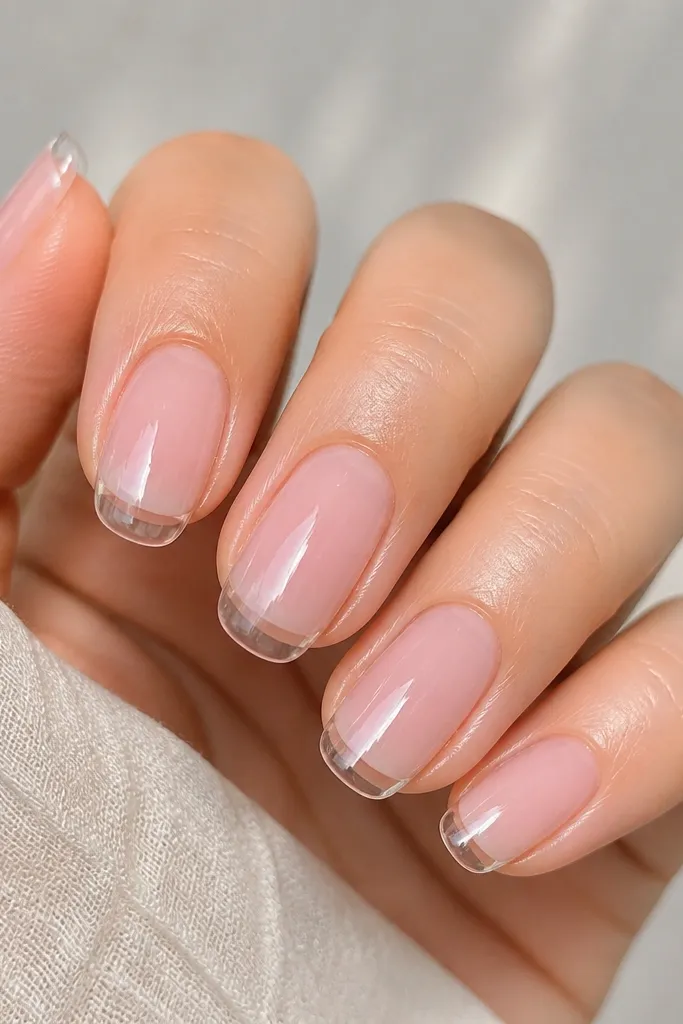
This design looks fancy but grows out gracefully because the “statement” is the clear tip. The milky pink base blends smoothly, so you don’t get a harsh line at the cuticle. I wear it when I want something soft and feminine that still looks modern. It flatters a wide range of skin tones because milky pink reads neutral — not too warm, not too cool. If your hands look dry, the milky layer makes your nails look smoother and more even.
Start with a medium rounded shape so the clear tip looks like a rounded dome instead of a sharp cap. Apply a milky pink builder gel or opaque milky gel to about 70% of the nail, leaving the last 15-20% for the clear tip area. Cure, then float a clear layer on the tip with a thin bead centered so it levels. Use a fine brush to define the clear-pink boundary — a soft curve, not a straight line. Finish with a high-shine top coat for that glass reflect.
Keep the clear tip thin and even — thick clear layers trap bubbles and look cloudy after curing.
Using a fully opaque pink over the tip — you lose the glass contrast that makes it low maintenance.
3. Rosy Nude Base with Thin Pink Side Stripe
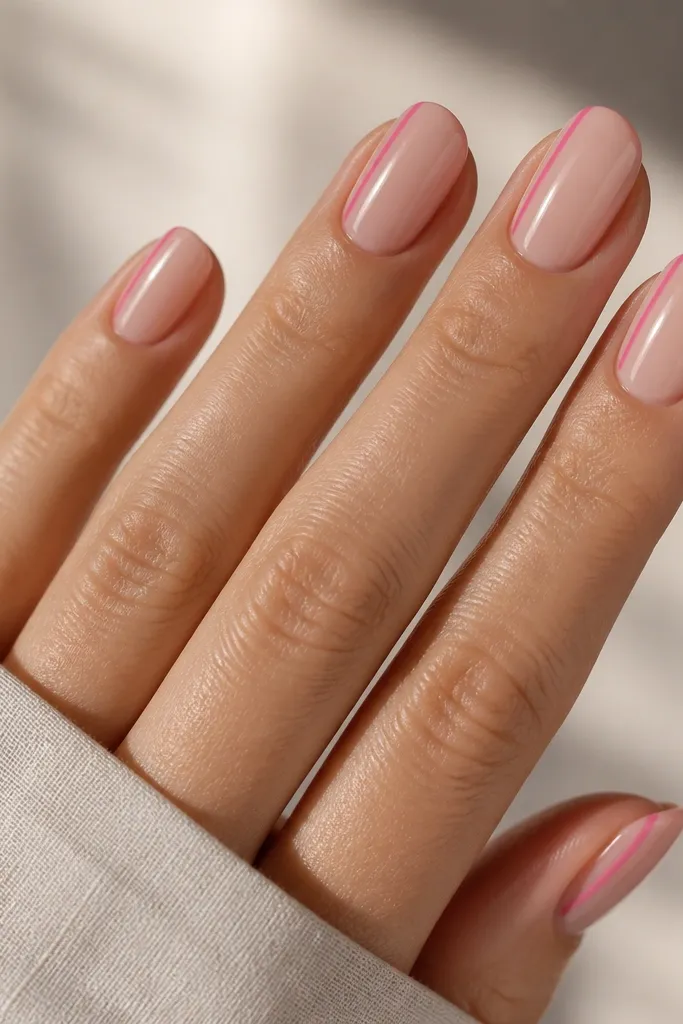
This is my go-to for hands that need “something” but not full-on nail art. A thin side stripe makes the nail look longer and more delicate, and it’s forgiving as your nail grows because the stripe is only one line. I like it on short-to-medium lengths because the stripe visually elongates without adding bulk. On warm undertones, a rosy nude base looks natural, and the pink stripe adds a gentle pop. On cool undertones, choose a nude base that’s slightly more peach so the stripe doesn’t look icy.
Editor's noteIf you’re worried about uneven lines, use a striping tape for one nail as a guide, then remove and repeat freehand.
Begin with a rosy nude base layer and cure it fully so the stripe sits on stable color. Apply a builder or extension to your preferred length, then file for a consistent shape across nails. Paint one thin pink line along one side — aim for about 1-2 mm from the sidewall so it looks intentional. Keep your stripe centered from cuticle to tip, then clean up edges with a brush dipped in cleanser. Seal with a glossy top coat, and cap the stripe edges so it doesn’t snag.
Skip thisPainting too close to the sidewall — it floods the skin and blurs the stripe.
4. Half-Moon Pink Cuticle Tint with Nude Remaining
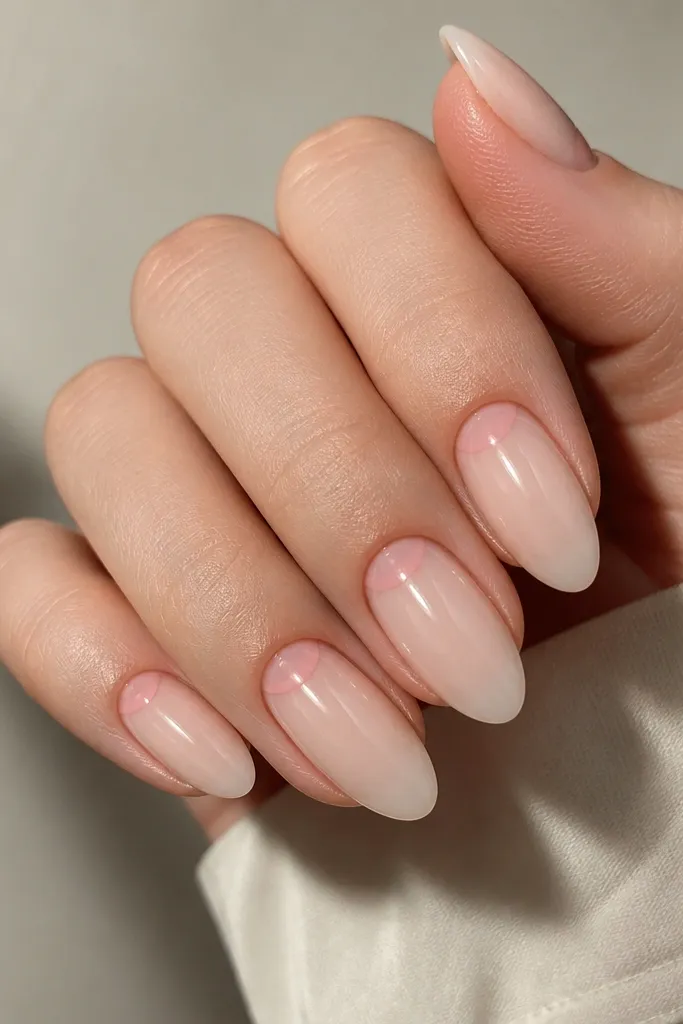
The half-moon cuticle tint gives that “French manicure energy” without needing a tip design. Since the art sits near the cuticle, you might think it would grow out quickly, but the trick is keeping the base sheer and letting the half-moon fade naturally instead of creating a hard border. I love this for low maintenance because you can do it in under an hour and it looks finished even when it’s grown. It works especially well on short nails because the crescent shape makes the nail look fuller at the base. For deeper skin tones, a rosy pink tint contrasts beautifully against a sheer nude base.
Start with a sheer nude base, cured and leveled so the surface is smooth. Apply extensions if needed, then file the cuticle line lightly so you don’t have bumps. With a small detail brush, paint a crescent of pink at the cuticle — keep it 1/2 to 2/3 the width of the nail and leave the center slightly lighter. Feather the edges so it looks tinted, not stamped. Top coat lightly over the base area, then cure and repeat if you need more shine.
Use a pink that matches your lip color undertone — it looks more natural than bright neon pink.
Making the crescent too thick — it can look like a band instead of a flattering tint.
5. Blush Pink Glitter Band at the Free Edge
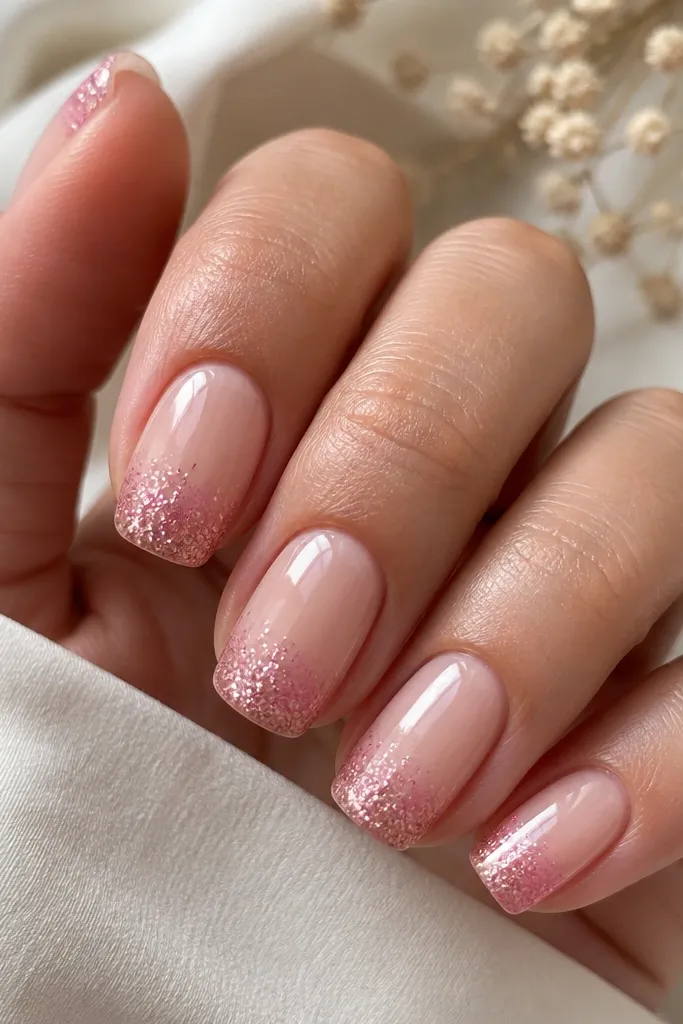
This is where I get the most compliments with the least effort. The glitter band is concentrated at the tip, so it hides chips and looks intentional even after growth. I keep the base nude or rosy nude so the glitter reads soft, not party. This works on almost every skin tone because blush pink sits close to natural warmth. If you hate heavy sparkle, use fine glitter in a pink-mauve mix instead of chunky pieces.
Editor's notePress the glitter gel lightly with the brush — it reduces gaps and makes the band look even.
Start with a nude base layer, then build extensions to medium length with a rounded or squoval edge. Mix or choose fine blush pink glitter gel so it applies smoothly without gritty texture. Paint the band across the free edge, starting at the tip and pulling it back about 3-4 mm. Fade the band softly into the nude base so you don’t see a hard step. Cure, then apply a clear top coat in two thin layers to smooth the glitter texture.
Skip thisUsing chunky glitter without a smoothing layer — it catches on fabric and can lift.
6. Dusty Rose Ombré Tips on Medium Almond
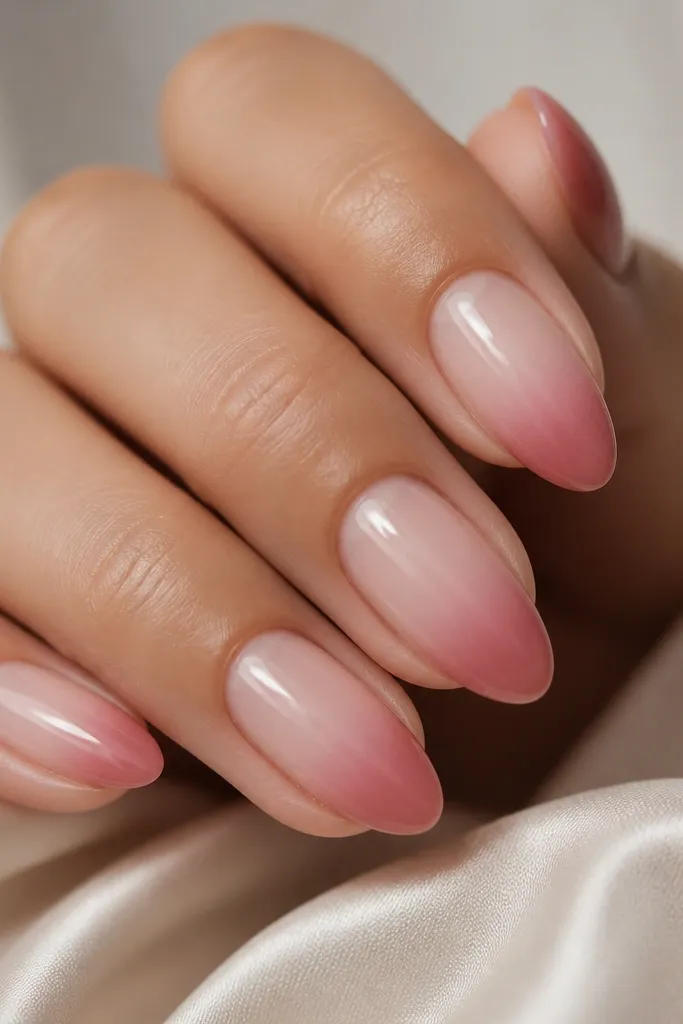
Ombre looks high-end, and this version stays low maintenance because the fade has no hard boundary. When your nail grows, the ombré just continues to look like a soft gradient. I prefer dusty rose because it flatters hands that look dry or tired — it adds warmth without looking neon. On fair skin, it looks romantic and calm. On medium to deep skin tones, it still reads feminine when the nude base is rosy rather than beige.
Editor's noteBlend in thin layers instead of one heavy application — it prevents the gradient from looking muddy.
File your extensions into a medium almond shape so the gradient has space to spread. Apply a nude base and cure. For the ombré, use a dusty rose builder gel or ombré powder — either works, but gel is easier for beginners. Sponge or brush the rose onto the tip first, then blend upward in light passes until you reach a soft haze. Keep the darkest point within 2-3 mm of the tip. Seal with glossy top coat and pay attention to the side edges so the fade doesn’t look patchy there.
Skip thisGoing too close to the cuticle — it makes regrowth obvious and kills the low-maintenance effect.
7. One-Accent Nail: Pink Marble Vein on Nude
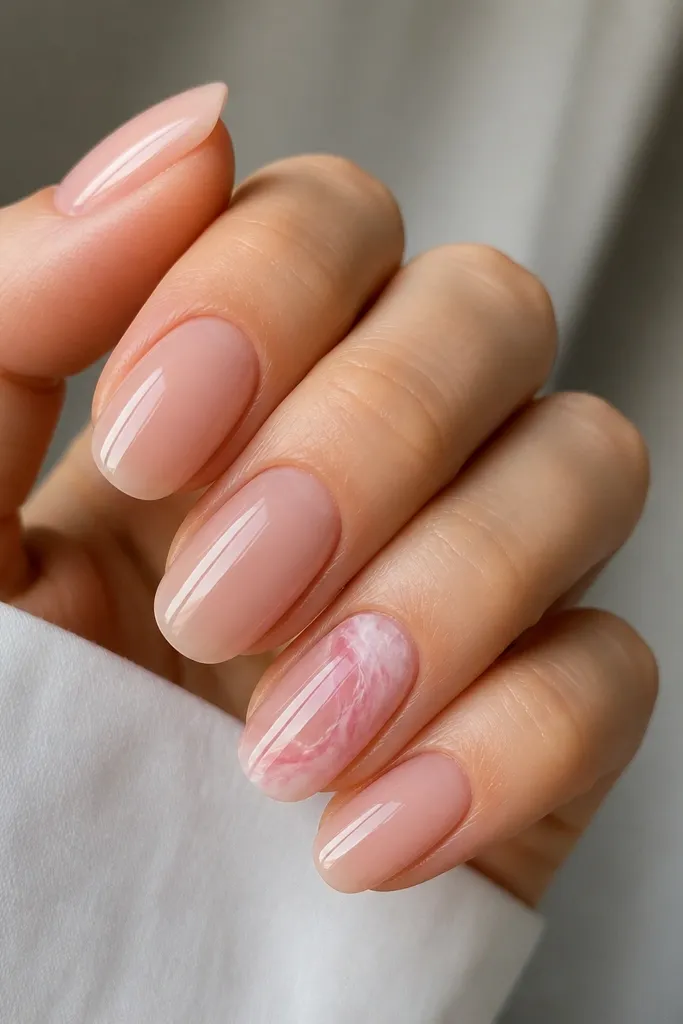
This design gives you nail art without turning every nail into a maintenance project. Keeping four nails plain means you can wear it longer between fills, and the marble accent stays cute even as it grows. I like soft pink marble because it reads feminine and doesn’t look aggressive like bold hot pink. It flatters short or medium nails because the marble veins can be scaled down. If your skin tone is cool, choose a slightly warmer pink for the marble so it doesn’t look gray.
Editor's noteKeep the veins thin — thick marble lines look heavy and chip at the edges sooner.
Start with nude sheer or rosy nude on all nails and cure. Choose one accent nail and apply a very light pink base patch near the tip — about 1/3 of the nail length. Use a thin detail brush with white gel to draw 2-3 wavy veins that branch slightly, then add thin pink lines over parts of the white so it looks layered. Drag the lines lightly with a clean brush tip to soften edges. Cure, then top coat all nails with a glossy layer that smooths the marble texture.
Skip thisMarbling across every nail — it looks busy fast and regrowth becomes obvious.
8. Pink Micro-Glitter French Tips on Clear Nude
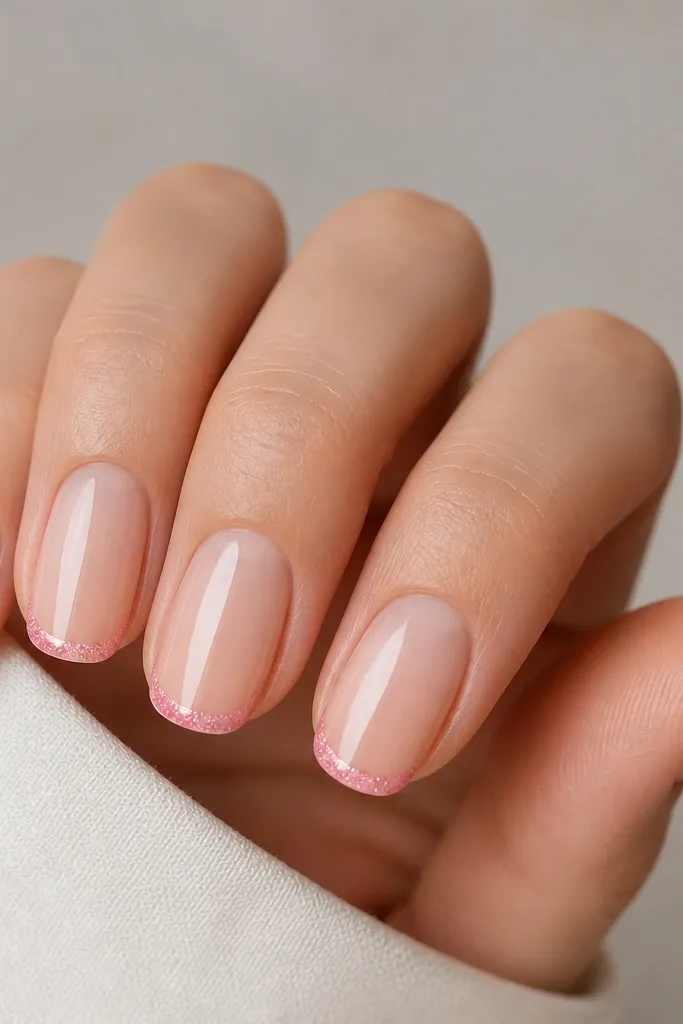
This is the French tip version for people who hate big glitter. The micro glitter stays fine and controlled, so it doesn’t snag and it doesn’t look messy as it grows. I use it when I want a clean manicure that still catches light when you move your hands. On fair skin, the clear nude base makes the pink line look delicate. On deeper skin tones, the transparency still works when you use an opaque pink micro glitter so the line shows clearly.
Editor's noteWipe the brush on a lint-free wipe before you pull the glitter across the tip — it reduces clumps.
Apply extensions in a short squoval or short almond shape. Use a clear nude base or very sheer builder gel, cure, and ensure the surface is level. Paint a thin French outline at the tip — leave a small gap so it looks like a line, not a full cap. Fill that outline with micro-pink glitter gel, then cure. Seal with a glossy top coat in two thin coats so the glitter surface feels smooth.
Skip thisBuilding the glitter too thick at the tip edge — that’s when it chips first.
9. Soft Pink Sidewall Fade with Nude Center
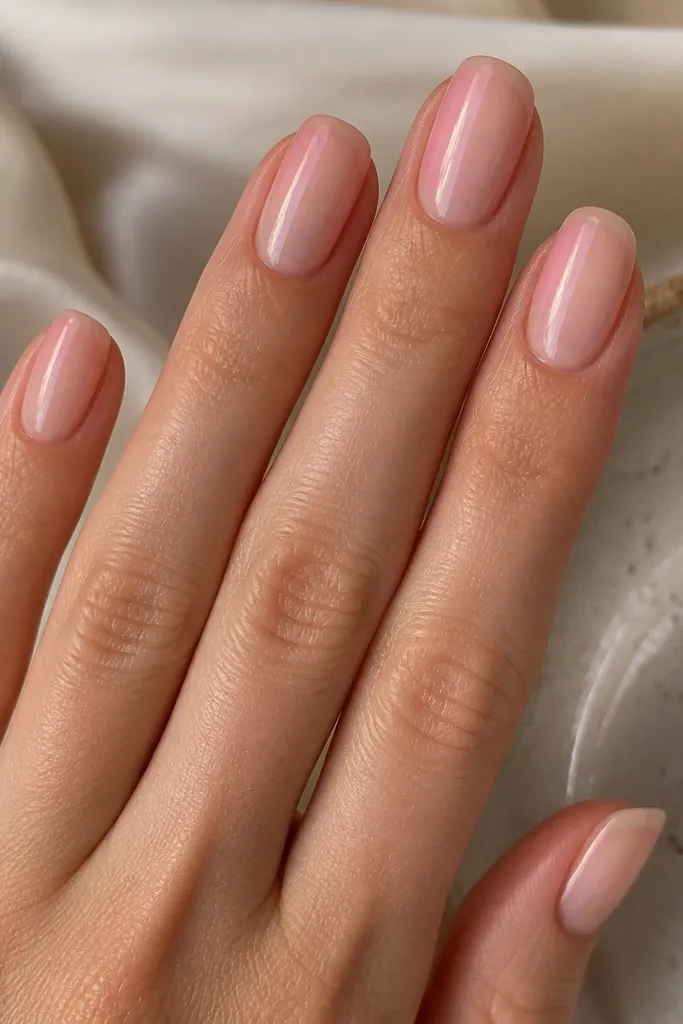
This is one of the most forgiving pink designs I’ve done because it hides uneven growth. The pink sits on the sides where your nail beds usually look fuller, while the center stays nude and clean. It creates a lengthening effect because the sides draw the eye outward, then the nude center keeps it airy. I love it on medium rounded nails for day-to-day wear, especially if you don’t want tip art. It flatters different skin tones because the nude center can match your natural nail color.
Editor's noteLet the pink fade overlap slightly into the center, then clean it up with a brush dipped in cleanser for a precise, airy look.
Start with a nude base that matches your undertone — rosy nude for warm hands, beige-leaning nude for cool hands. Cure and file the surface smooth. With a thin brush, apply soft pink gel on the left sidewall, feathering toward the center so it fades instead of stopping. Repeat on the right sidewall. Use a clean brush to blend the meeting point in the middle so it doesn’t look like two separate stripes. Top coat with a glossy finish, then cap the side edges lightly.
Skip thisStopping the pink abruptly — hard edges look patchy after a week.
10. Bubblegum Pink Speckle Dots on Nude Base
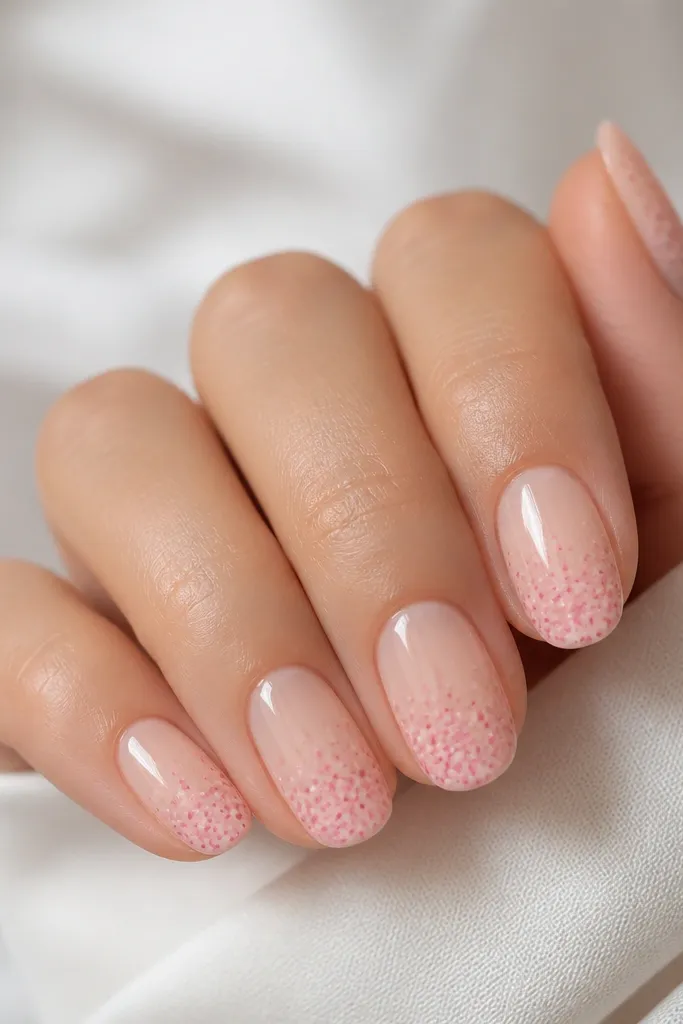
Dots are underrated for low maintenance. When the dots are clustered near the tip, you get that fun feminine look, and your regrowth doesn’t ruin the pattern because there’s no big boundary line. I like bubblegum pink speckles because they look playful without needing complicated art. On fair skin, they pop nicely against nude. On medium to deep skin tones, they still read soft when you keep the dots small and spaced, not packed in tightly. This one is also great if you’re rough on your nails — dots don’t create bulky ridges.
Editor's notePractice dot spacing on a clear practice nail first — consistent spacing makes it look expensive.
Apply extensions in a short-to-medium rounded shape. Paint a glossy nude base and cure completely. With a dotting tool or the back of a small brush, add bubblegum pink dots starting at the last 3-4 mm of the nail. Place fewer dots on the upper half and increase density near the tip so the eye reads “intentional cluster.” Keep dot size consistent — about the width of a small pen tip — and leave breathing space between dots. Finish with a glossy top coat, and cap each dot lightly so it doesn’t snag.
Skip thisOvercrowding the nail with too many dots — it starts to look like a smear instead of speckle.