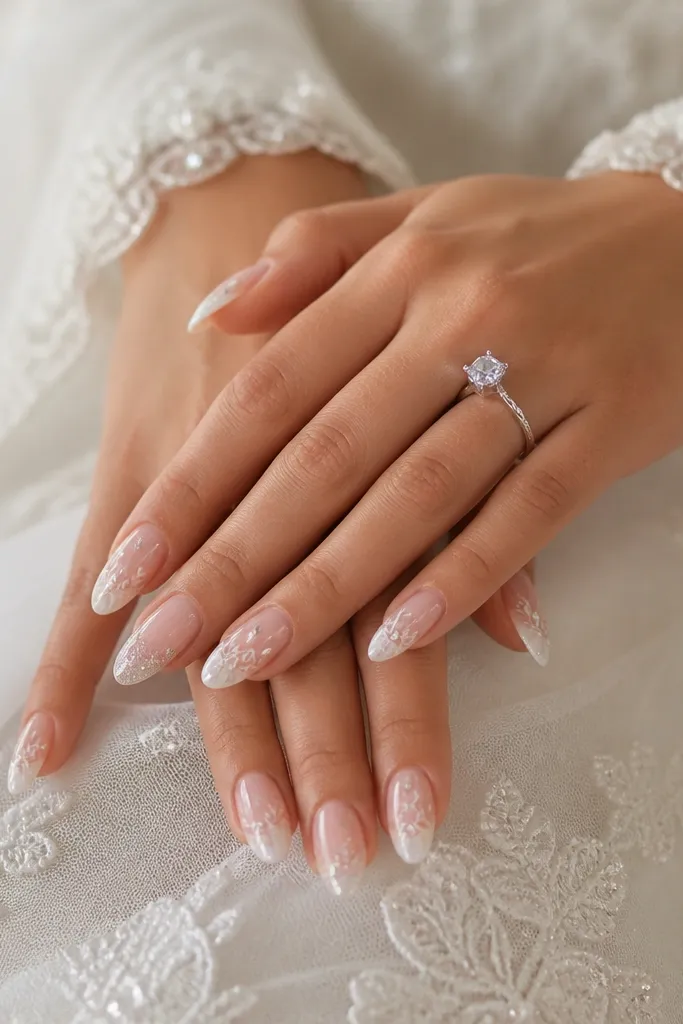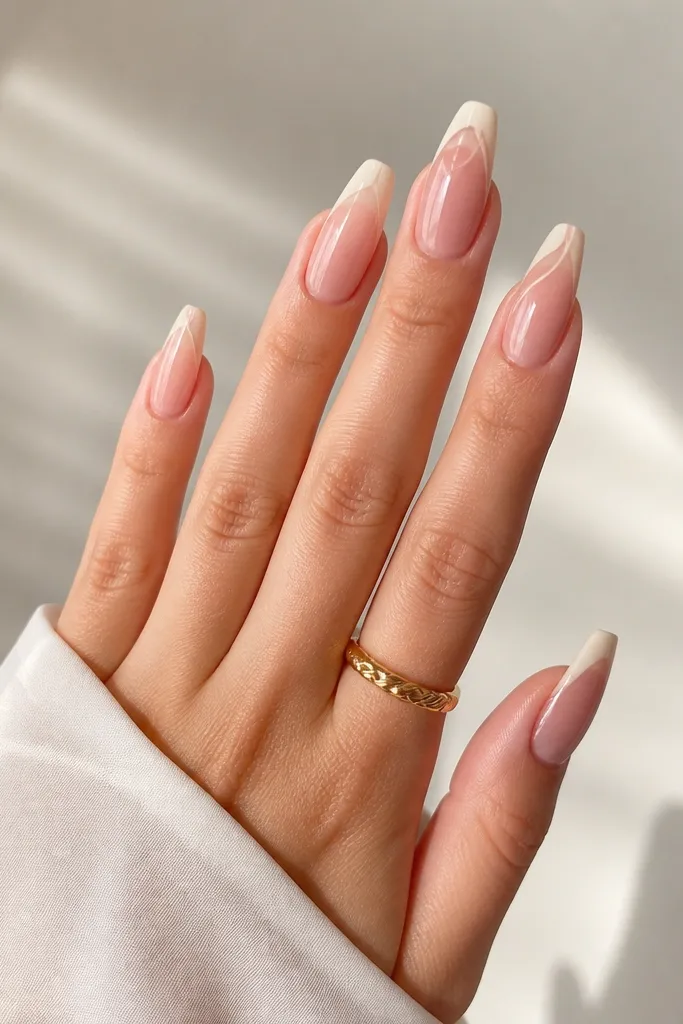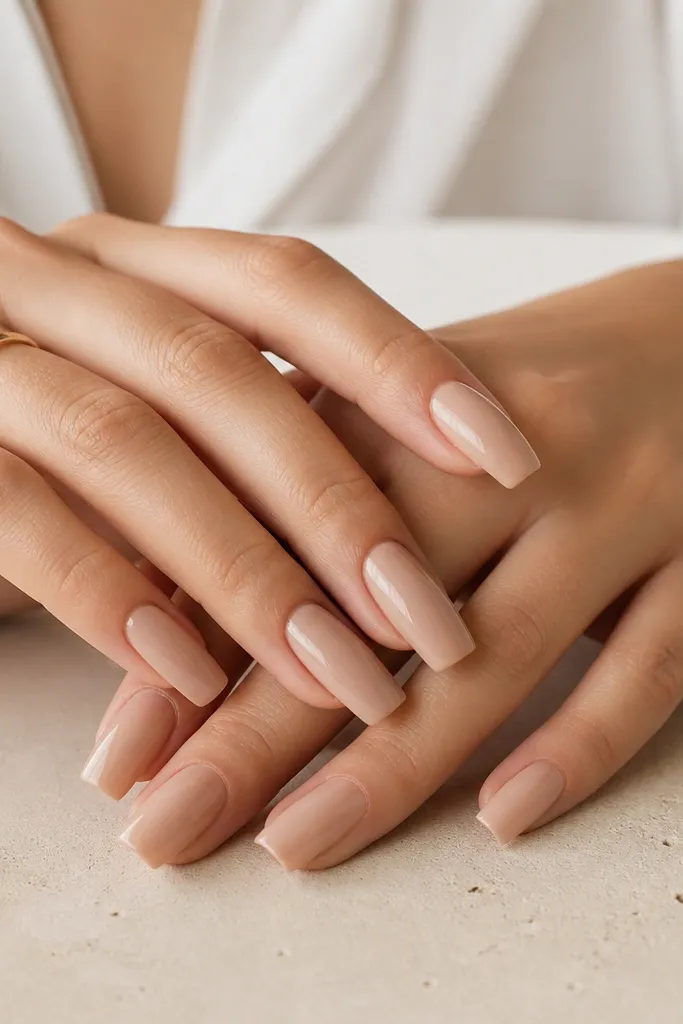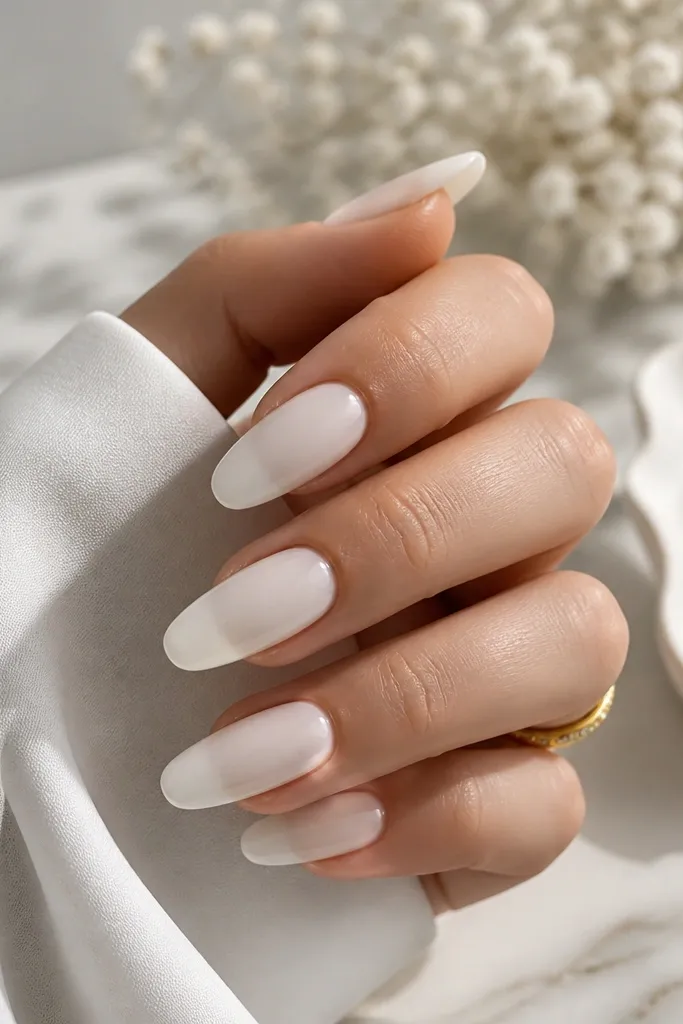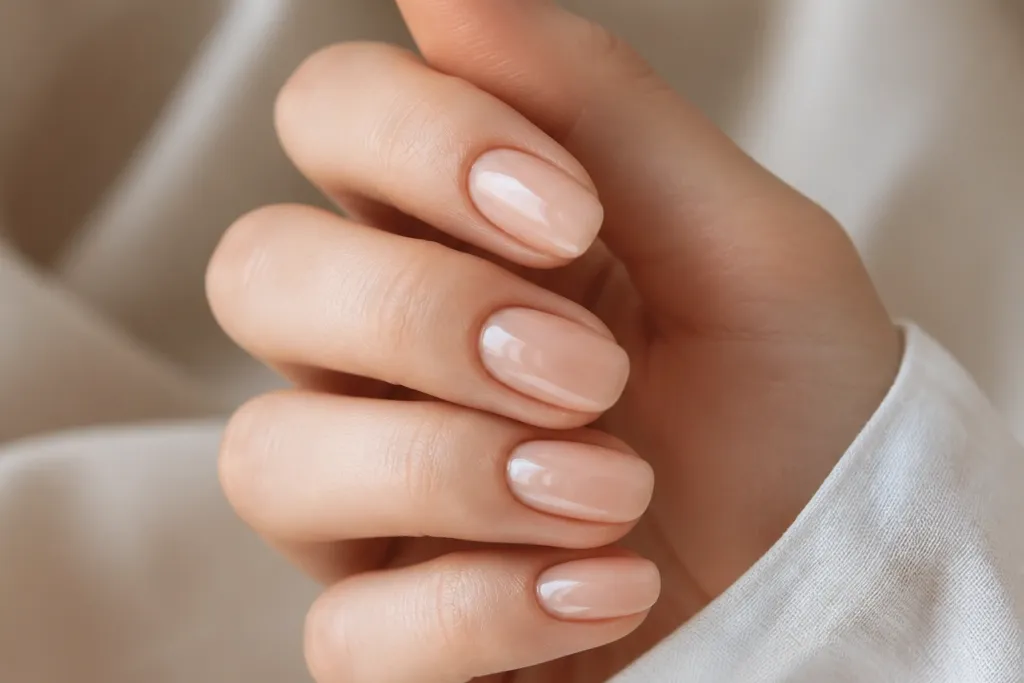
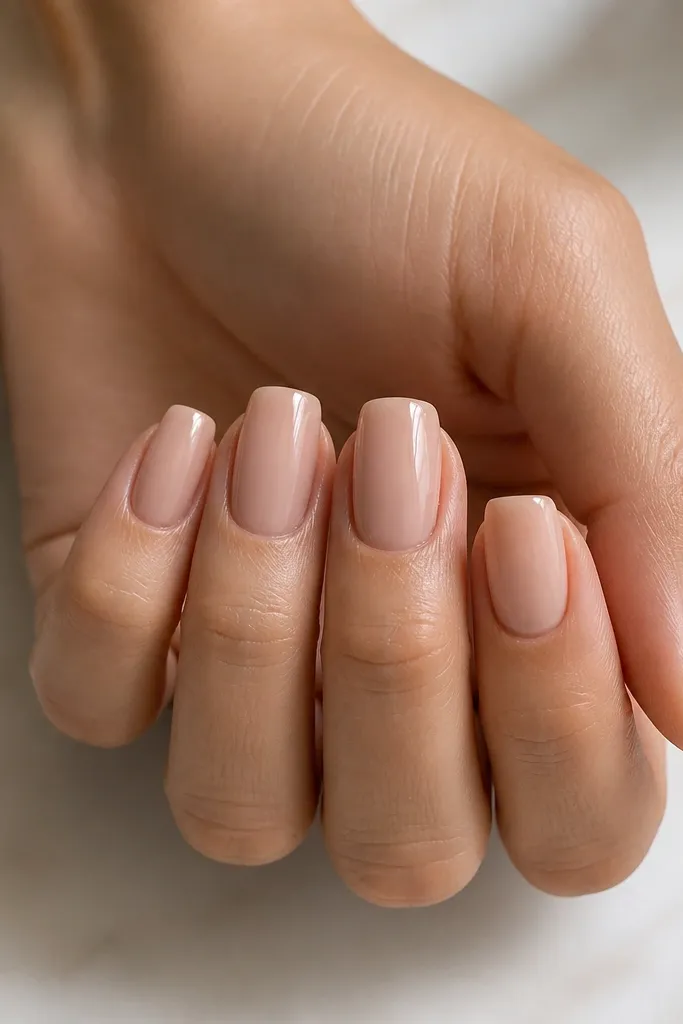
1. Classic Micro French on Rose Nude
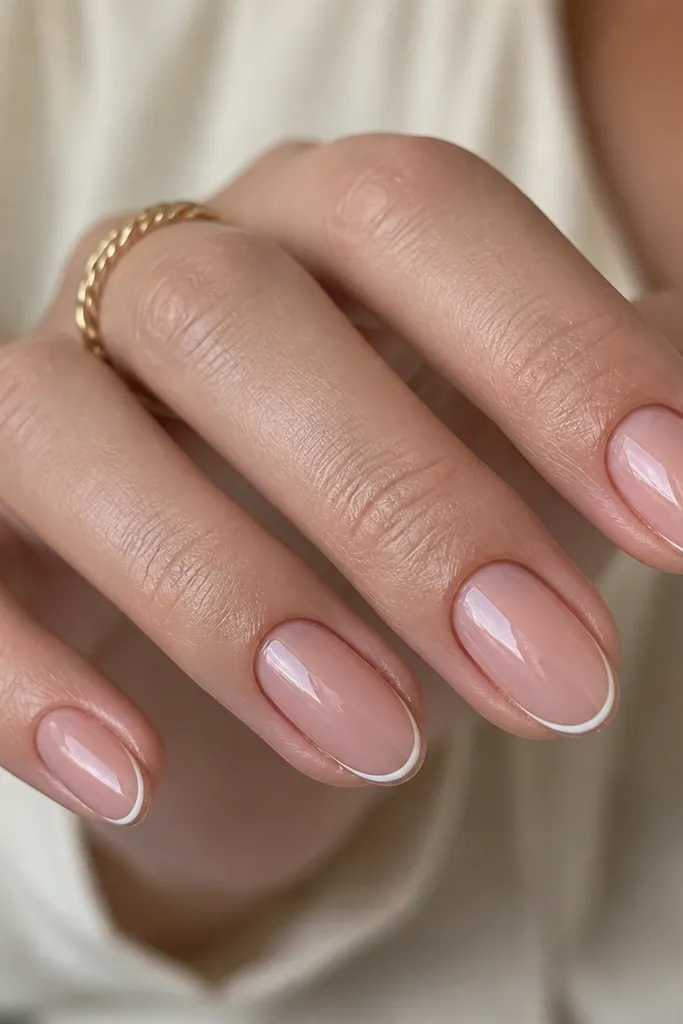
This design is the one I reach for when someone wants “polished” but hates obvious nail art. The base is rose nude, so it flatters fair to light skin with pink undertones and makes the nail look naturally healthy. The micro French line is only 0.5 to 0.7 mm wide, which keeps the contrast subtle on short lengths. It also makes fingers look longer because the line stays crisp and doesn’t widen toward the sides. Glossy finish is key here — matte makes the nude look a little dry and less fresh.
Editor's noteIf your line looks shaky, paint the French in two passes: a faint guide line, cure briefly, then go over it with the final width.
Start by applying a thin rose nude builder layer and curing it, then shape the free edge with a gentle almond curve. Wipe dispersion if your system needs it, then map the French line with a striping brush: place the center first, then mirror to both sides. Keep the white line narrow and slightly rounded at the corners so it doesn’t look like a sticker. Add a second thin nude layer if you need opacity, then cap with clear top coat and cure. Finally, clean up the sidewalls with a small brush dipped in slip solution or builder gel remover, then finish with glossy top coat.
Skip thisAvoid making the French line wider than the tip — on short nails it reads bulky fast.
2. Honey Nude with Barely-There Tip Tint
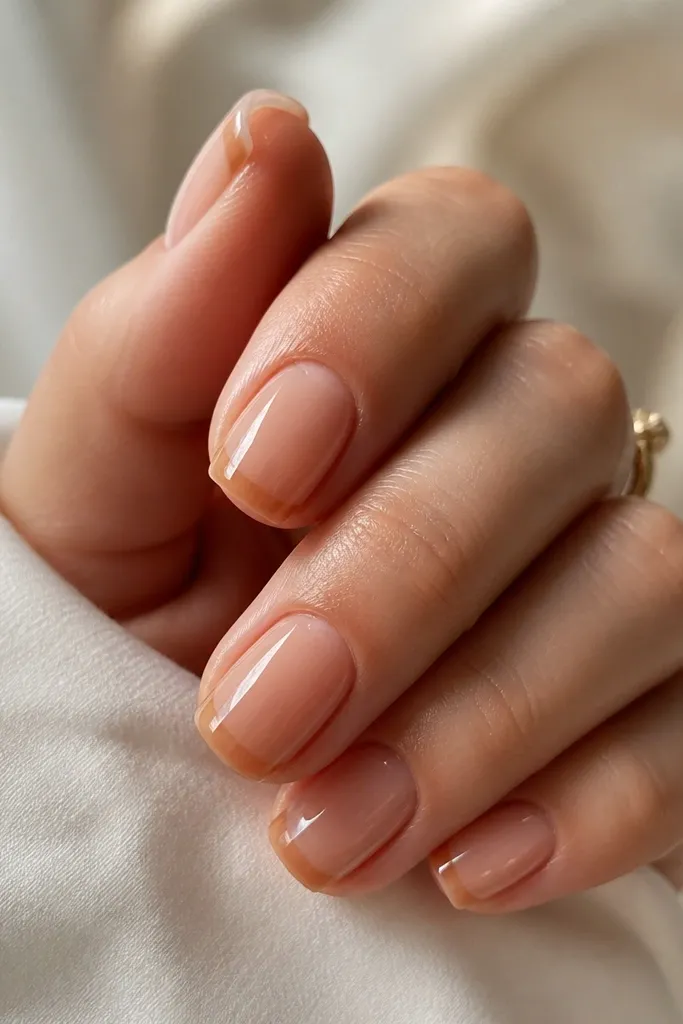
This is the “my nails look naturally good” set. Honey nude flatters medium to deep skin tones with golden or olive undertones because it warms the whole nail bed. Instead of a hard line, the tint fades from the tip upward, so the nail looks smooth and lengthened. Because there’s no white or heavy contrast, it works for everyday wear, job interviews, and even formal events where you want subtle polish. This one is also forgiving if your extension shape isn’t perfect, because the gradient hides tiny asymmetry.
Apply honey nude builder gel as your base and cure. Then take a small amount of translucent caramel nude (or a tint gel) and tap it onto the outermost tip area only, blending upward with a clean brush. Keep the gradient height to around 1 mm so it stays truly “there but not there.” Cure again, then check from the side — the tint should look like a soft shadow, not a stripe. Seal with clear top coat and cure, then wipe and polish the surface lightly with a 400-grit buffer to remove any texture.
Use a fan brush after blending to pull the tint upward in a feathered way, not a streaky way.
Skip opaque tint blobs — if you can see a solid patch at the tip, it will look thick on short nails.
3. Nude Ombré with Milky Fade
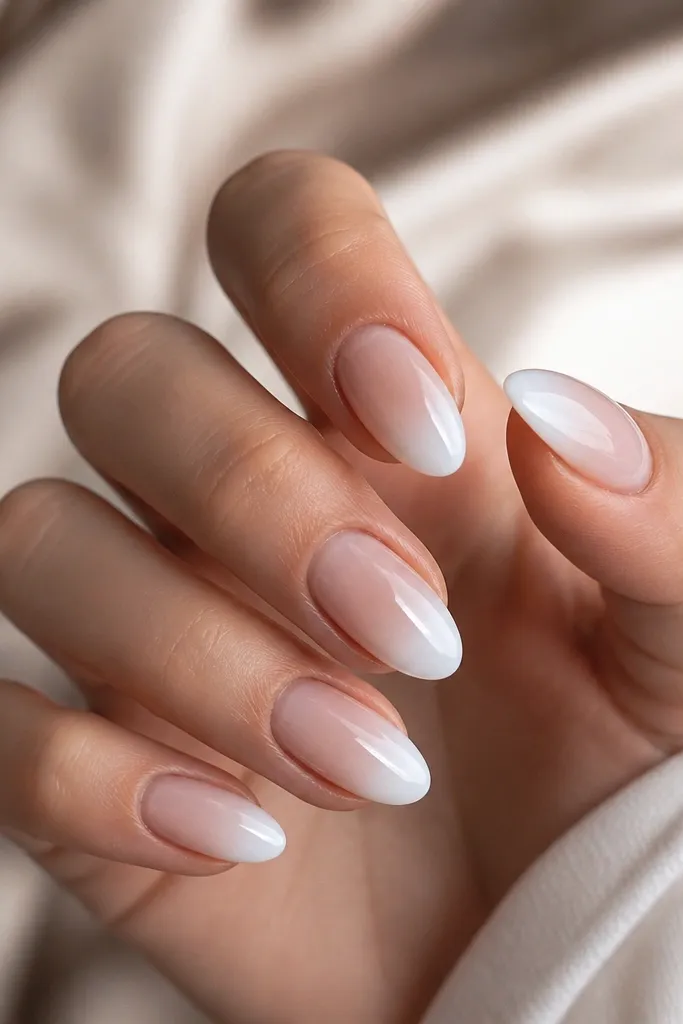
Milky ombré makes short nude extensions feel soft and airy instead of flat. I use it a lot for clients who want something feminine without the sharpness of full French tips. The milky white edge reflects light and makes the nail look smoother and slightly longer. This design works on almost every skin tone because the milky part is translucent and not stark. If your nude base matches your undertone, the fade will look like a natural glow.
Editor's noteFor a cleaner blend, wipe your brush once with cleanser, then blend again — it stops milky gels from dragging.
Build a nude base first, then cure and shape the apex so the highest point sits slightly forward of center. For the ombré, use a milky white gel that is semi-translucent, and apply it only to the tip third. Blend downward with a damp ombré brush in slow, sweeping motions until you get a foggy gradient. Cure fully, then add a thin clear builder layer if you need smoothing. Finish with glossy top coat and clean the cuticle edges with a detail brush.
Skip thisDon’t overbuild the white — milky ombré should look like a veil, not a thick cap.
4. Taupe Nude with Tiny Diagonal Dot
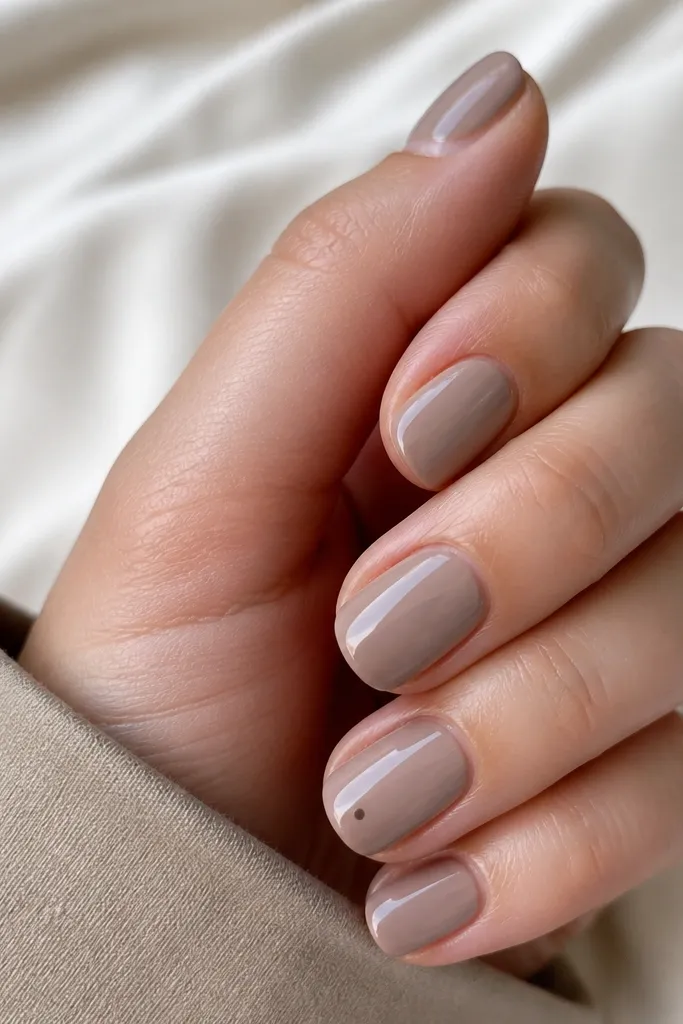
Taupe nude is a sneaky way to look elegant without using pink or white. It flatters cool undertones and also looks amazing on deeper skin because it adds depth without turning ashy. The tiny diagonal dot gives movement and draws the eye across the nail, which makes the short length look more intentional. I place it near the center of the nail, slightly off to one side, so it looks modern instead of childish. This design is also beginner-friendly because you only need one dot per nail.
Editor's noteIf the dot spreads, reduce gel on your tool and cure in a shorter flash before full cure.
Start with a taupe nude builder gel and cure, then shape into a short oval with smooth corners. Place a micro dot using a dotting tool or a toothpick: dip into a darker taupe gel, then touch lightly to the nail. Position the dot near the upper half of the tip area, about 1.5 mm from the free edge. Cure, then top coat over everything, making sure the dot is fully sealed so it doesn’t snag. On accent nails, keep the dot alone — no lines, no extra gems.
Skip thisAvoid placing the dot too close to the cuticle — it makes the nail look crowded on short length.
5. Nude Base with One-Side Micro Line
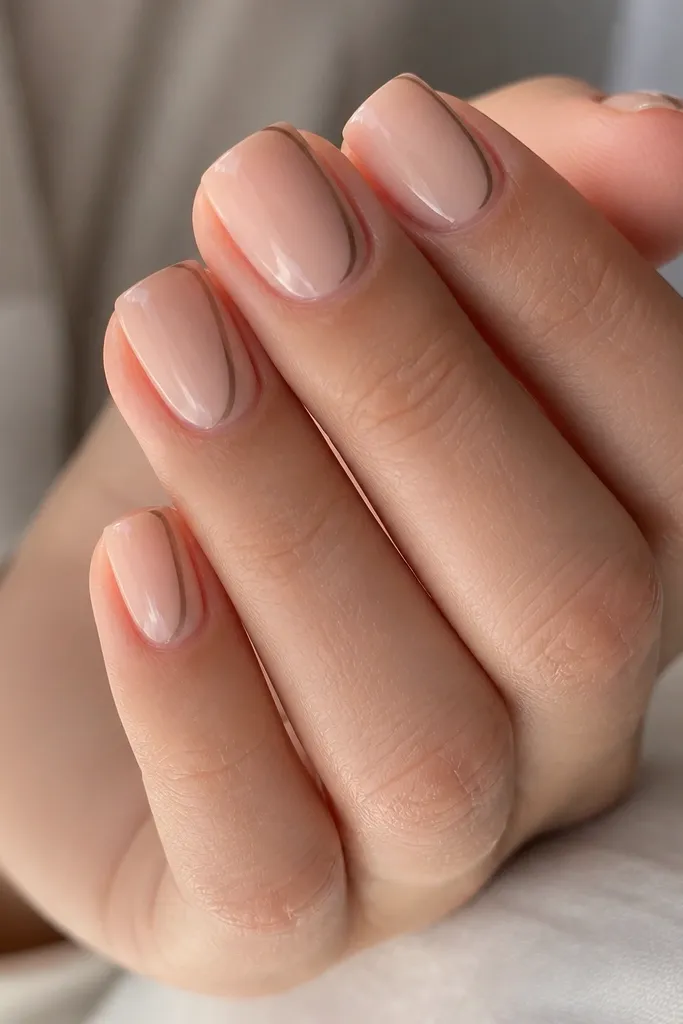
One-side micro line gives that “clean design” vibe without stealing attention from your fingers. I use a dark brown-beige line because it looks softer than black and still reads crisp. This flatters hands with shorter nail beds because the line guides the eye to the tip. It also works on both warm and cool skin tones since the brown-beige sits neutral. Keep the line thin and close to the sidewall — that’s what makes it look salon-done.
Editor's noteUse gel polish striping rather than paint — it levels more cleanly on short nails.
Apply your nude builder base and cure, then shape the free edge and lightly file the sidewalls smooth. With a striping brush, draw a line on one side starting about 1 mm above the free edge and ending right at the tip corner. Keep the line width under 0.5 mm and avoid touching the cuticle — leave a small gap so it stays airy. Cure, then cap with clear top coat and cure again. Clean around the line edges with a brush and remover so you don’t get fuzzy gel near the skin.
Skip thisDon’t draw the line all the way to the cuticle — it shrinks the nail visually.
6. Blush Nude with Tiny Center Star
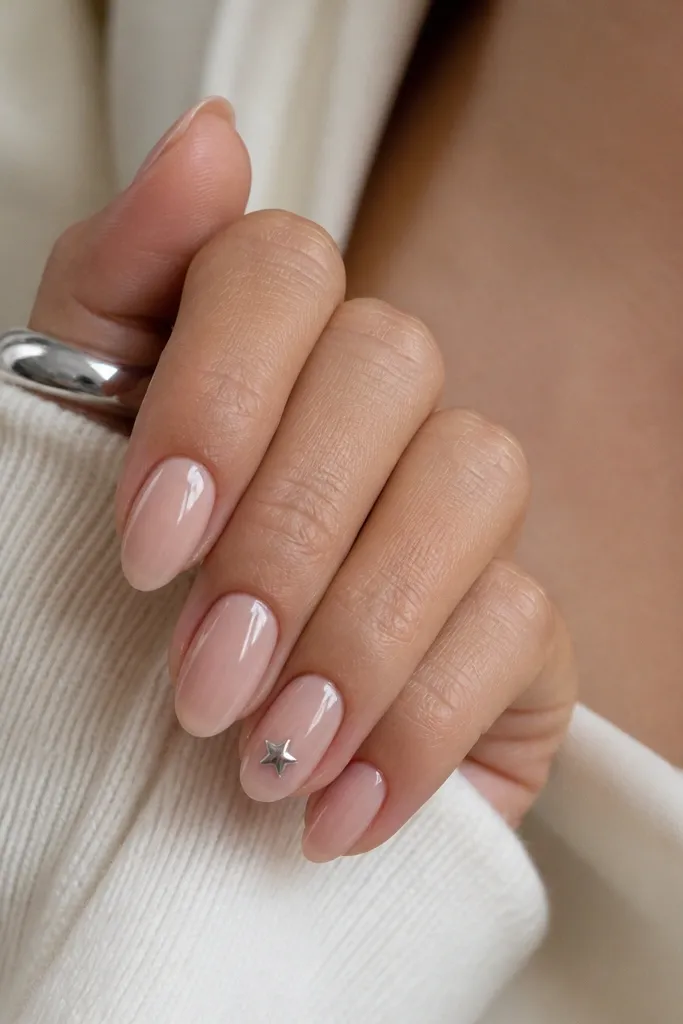
A tiny star on blush nude looks playful but still grown-up when you keep it small. Blush nude suits fair to medium skin with neutral-pink undertones, and it makes the chrome pop without looking harsh. I like placing the star near the center of the tip because it balances the nail and keeps the design from feeling random. Chrome is reflective, so it creates dimension even on short nails. This is a great option for beginners who want a “wow” detail but don’t want to do full art.
Build your blush nude base and cure, then shape short almond with a smooth apex. Use a fine detail brush or a star stencil to place the star: apply a tiny amount of silver chrome gel at the center point near the free edge. Cure, then add a small layer of clear builder or top coat over the star to smooth the surface. Finish with glossy top coat and wipe dispersion. If you want extra sparkle, add chrome powder only to the star lines, not the whole nail.
If your star looks too big, scale it down by using the smallest dotting tool tip as your guide point.
Avoid full chrome nails — on short length it can look like glitter overload.
7. Nude Jelly Base with Clear Tip Cap
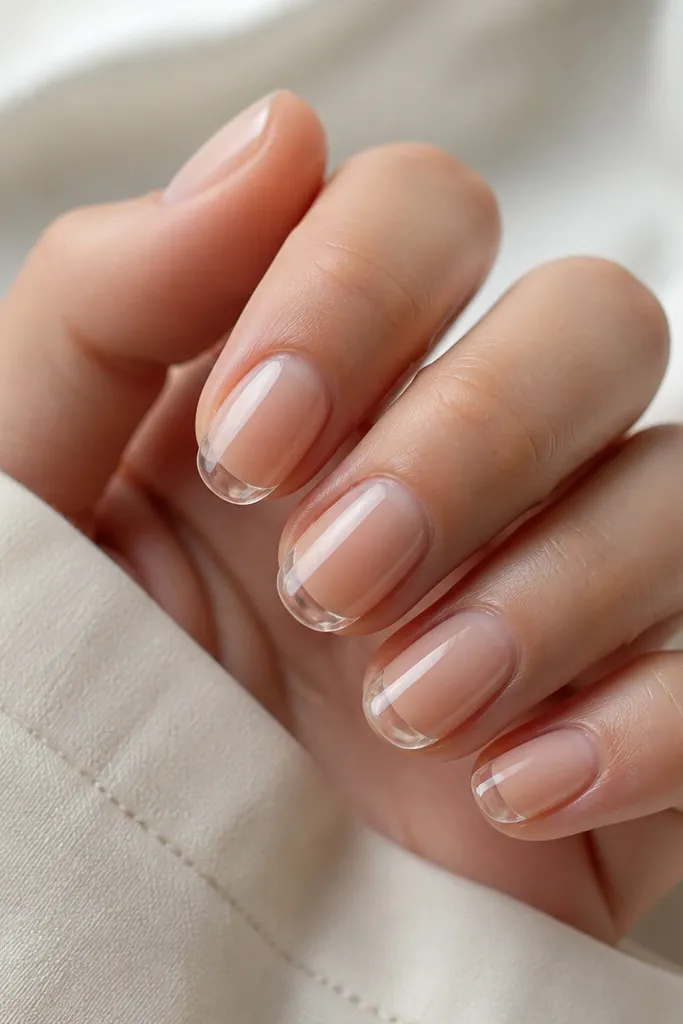
This design looks like “glass nails” without needing long length. A nude jelly base gives you that see-through, healthy look, and the clear tip cap adds a crisp boundary that makes the nail look sharper. It flatters hands because the jelly base doesn’t hide skin tone — it softens it. This is ideal for beginners because it hides small filing imperfections under the jelly layer. It also works for any occasion since the look is clean and modern.
Apply a nude jelly builder gel thinly and cure, then add a second thin layer only if you need more coverage. Shape your short oval and keep the free edge defined. For the clear cap, apply clear builder gel or clear gel polish to the tip area, then blend it slightly into the jelly base with a light brush. Cure, then file lightly to even the surface while keeping the cap glossy. Seal with a high-shine top coat so the clear section looks like a glass window.
Use a slightly thicker clear cap on the center so it doesn’t look flat from the side.
Skip thick jelly — too much opacity kills the glass effect on short nails.
8. Cream Nude with Tiny Heart Outline
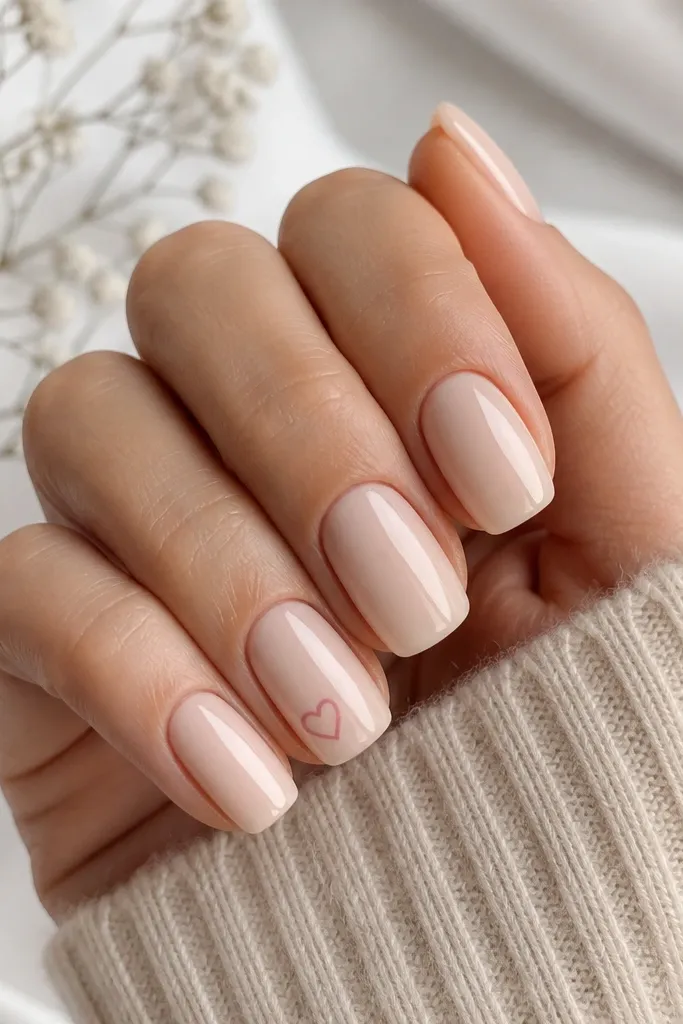
Cream nude is my pick when you want a soft, clean base that still looks bright on the nail. The tiny heart outline adds sweetness without turning the set into full-on valentines art. It flatters medium to deep skin because the cream nude has enough brightness to lift the hand. I place the heart outline slightly above the free edge so it looks like it’s floating. This is also a great design for events because it reads cute in photos.
Editor's noteIf your outline bleeds, cure the line first for a shorter cycle, then do a second pass for thickness.
Apply creamy nude builder gel and cure, then shape a short squoval with rounded corners. Add the heart outline using a fine liner brush: draw a small heart with open space in the middle, about the size of a sesame seed. Place it near the center of the tip area, leaving 1 mm from the free edge. Cure, then clean around the heart with a detail brush and remover. Finish with glossy top coat, making sure the outline stays crisp — avoid flooding the heart area with too much gel.
Skip thisAvoid filled hearts — filled shapes look chunky on short length.
9. Nude Marble Swipe Accent
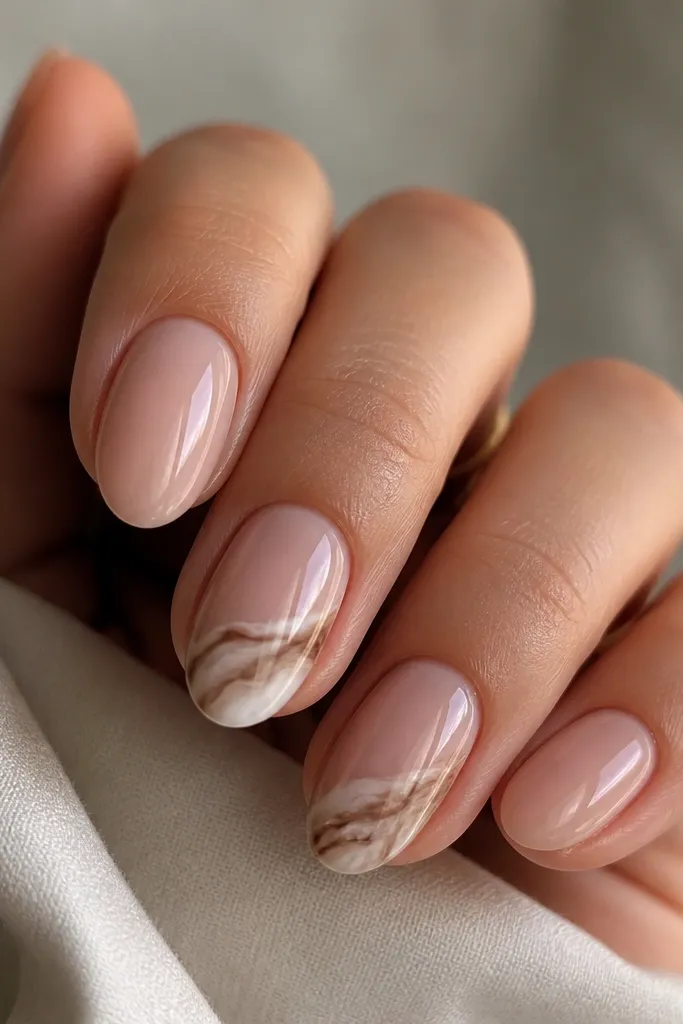
Marble swipe makes nude extensions look custom without you spending hours drawing. I keep it to two accent nails so the set stays elegant and not busy. The off-white and taupe marble colors look natural against a sheer nude base, and it flatters almost any skin tone. Marble also hides tiny bumps because the pattern breaks up reflections. On short nails, a swipe across the tip elongates the nail visually, especially when the swipe angles slightly upward.
Start with a sheer nude base (thin coats) and cure. For the marble, use a thin liner brush and create 3 to 5 wispy lines in taupe, then pull one or two off-white lines through them. Blend the edges lightly with a clean brush so it looks like a swipe, not separate stripes. Keep the marble area limited to the top third of the nail. Cure, then top coat and seal well so the marbling stays smooth under the shine.
Angle your wisps from lower-left to upper-right — it makes short nails look longer.
Don’t cover the entire nail — full marble on short length reads heavy.
10. Nude Base with Soft Pearl Bead
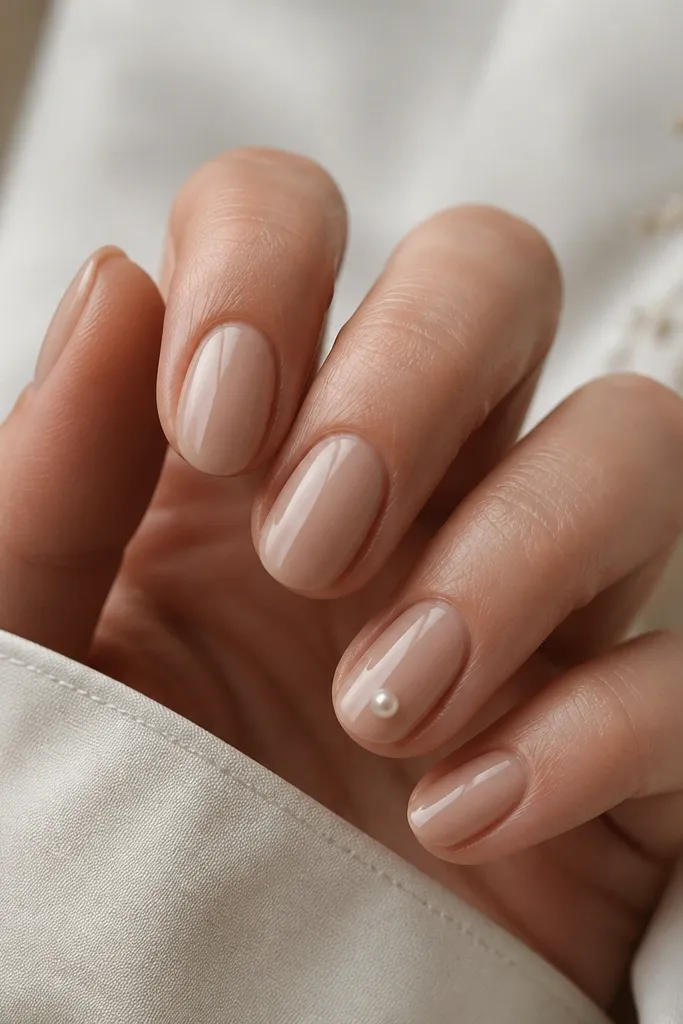
A single pearl bead is one of the cleanest ways to add elegance to short nude nails. The pearl looks dimensional against nude beige, and it doesn’t require painting skills. This works beautifully for fair to deep skin because the pearl color is neutral and reflective. I place it near the center of the nail tip so it looks intentional, not like an afterthought. The raised bead also catches light in photos, which makes the set look higher-end than the design size suggests.
Editor's noteSeal the bead with gel, not just top coat — that’s what stops it from popping off after a few days.
Build your nude beige base and cure, then shape short oval. Dab a tiny amount of gel or nail glue where you want the bead, usually about 1.5 mm from the free edge. Press the pearl bead in and cap over it with a thin clear gel so the surface feels smooth when you run your finger over it. Cure fully, then file lightly around the bead base if needed. Finish with glossy top coat on the whole nail for a uniform shine.
Skip thisAvoid placing pearls too close to the sidewalls — they catch on hair and fabric.
11. Nude Chrome Arc at the Tip
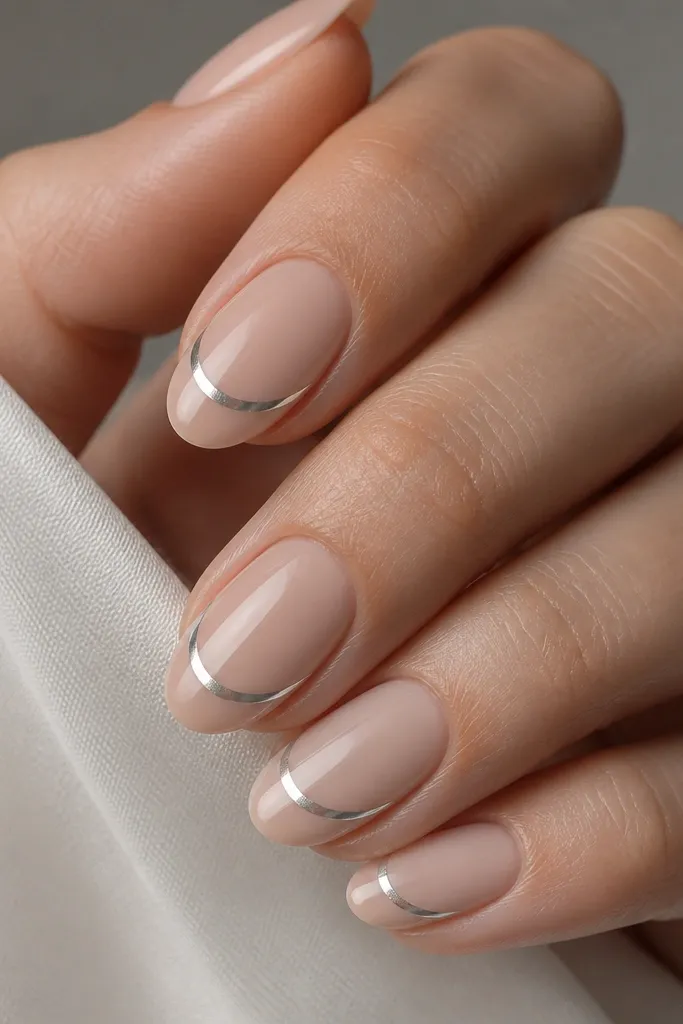
The chrome arc is my go-to when someone wants a luxe look but still wants short nails. The arc sits at the tip and follows the natural curve, so it visually lifts the nail and makes it look shaped. On nude beige, silver chrome reads clean and modern instead of overly blingy. This design flatters hands because the arc creates a “frame” effect that draws attention to the nail shape. It also works for both casual and dressy outfits since it’s subtle until it hits light.
Editor's noteIf your arc looks wobbly, draw it with a striping brush using the natural smile line as a guide, then refine once before curing.
Apply nude beige builder gel and cure, then file to a smooth almond curve. Use a fine liner brush to paint a thin arc just below the free edge, keeping the arc width under 1 mm. Apply chrome gel or chrome adhesive where you want reflection, then dust with silver chrome powder and press lightly. Cure if your system needs it, then brush off excess powder. Cap with clear top coat to lock it in, and cure again for a glossy, glassy finish.
Skip thisDon’t make the arc too thick — chunky chrome on short nails looks like a stripe.
12. Warm Nude with Two-Row Micro Glitter
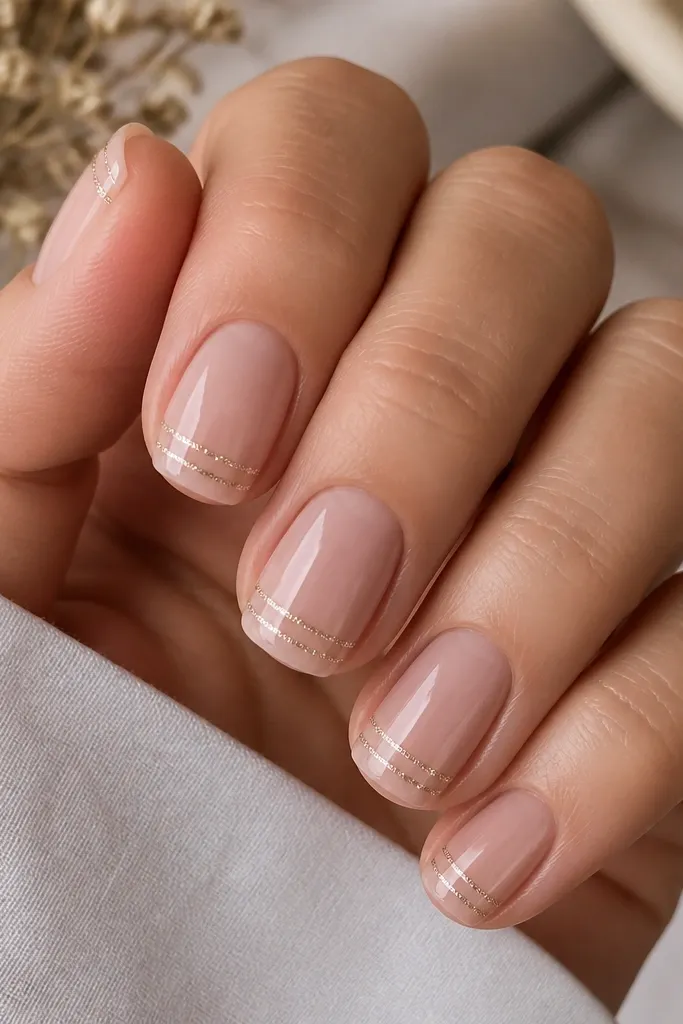
Micro glitter rows look festive without turning into full glitter nails. The warm nude base keeps it flattering, especially on medium to deep skin tones where champagne glitter pops. Two thin rows create a “speed line” effect that makes the nail look longer and sharper. I keep the glitter tiny so it reads like a refined detail in real life, not like chunky flakes. This is great for holidays, birthdays, or any time you want sparkle but still want a clean look.
Editor's noteFor crisp rows, do one nail at a time and cure right after each row so glitter doesn’t drift.
Apply warm nude builder gel and cure, then shape your short squoval. Take a thin striping brush and paint a small band at the tip for glitter placement, leaving a narrow space between where row one and row two will go. Add micro glitter gel or glitter mix for row one, cure, then repeat for row two. Use a clean brush to remove any glitter that strays into the nude area so the lines stay crisp. Cap with clear top coat and cure, then check the edges by running a finger along the tip.
Skip thisSkip chunky glitter — it makes short tips look uneven and thick.
13. Rose Nude with Negative Space Half-Moon
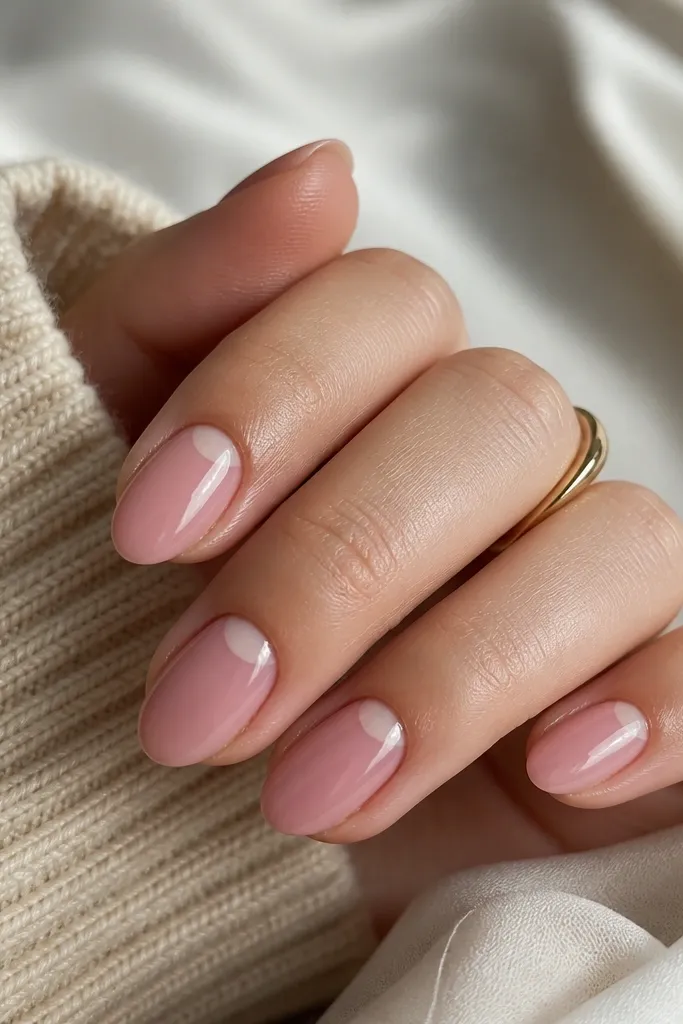
Negative space half-moons make short nude nails look modern and clean. The sheer rose nude base keeps the set soft and feminine, while the cuticle half-moon gives a neat break in the color. This design flatters fingers because it elongates the nail visually and draws attention to the cuticle area. It also works if your nail bed has a slightly uneven shape since the negative space hides minor blending issues. I like doing this when the client wants something different from French tips but still wants nude.
Editor's noteUse a stencil that matches your nail width — half-moons look best when they’re proportional, not oversized.
Start with a sheer rose nude base, cured thin so you can control the cuticle area. Use a half-moon stencil or a small piece of latex-free tape to mask the cuticle opening — the opening should be about 2 mm tall. Apply nude builder gel around the mask, cure, then remove the stencil carefully. Clean any edge with a detail brush and remover. Seal with glossy top coat, and if the negative space edge looks rough, file gently around the opening then top coat again.
Skip thisAvoid flooding the cuticle with nude — if the mask edge gets messy, the negative space loses its crisp shape.
14. Nude Base with Micro Bow Accent
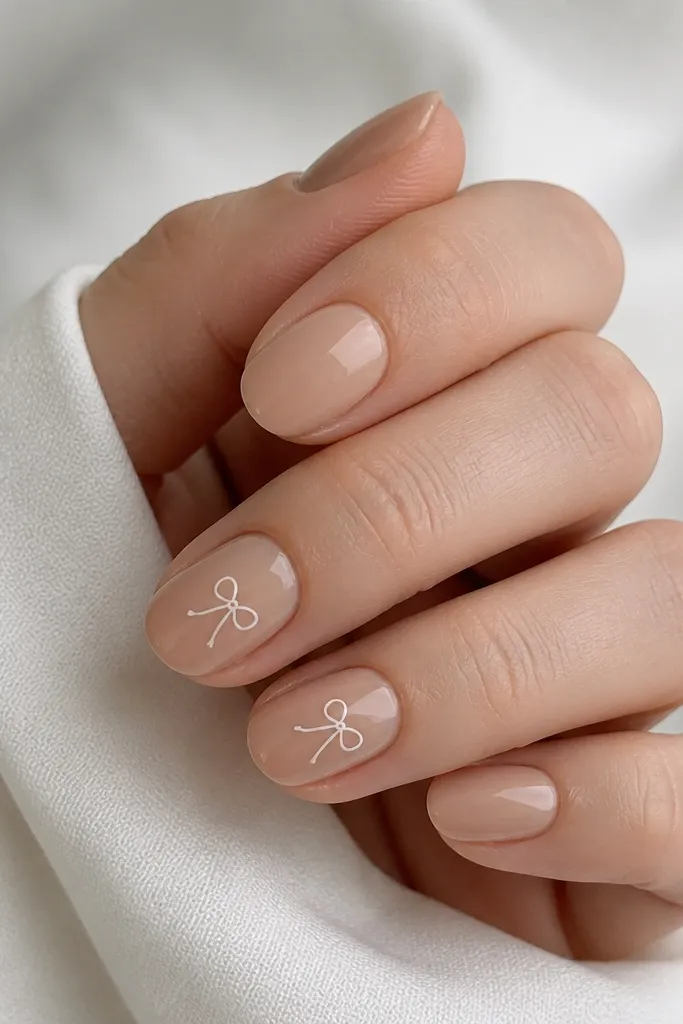
A micro bow looks cute without going childish when you keep it tiny and use clean lines. Nude beige grounds it so the white bow reads like a detail, not a full design. This works on fair through deep skin because white gel lines stay crisp against nude. I place the bow near the center of the nail tip, about 1.5 mm from the free edge, so it frames the nail shape. It’s also great for beginners because you can copy a simple bow shape with two loops and a small knot.
Editor's noteIf your bow lines spread, let the base cure fully, then paint over dry gel with a slightly thicker gel for control.
Apply nude beige builder gel and cure, then shape short oval. For the bow, use a fine liner brush: draw two small loop lines that meet at the top, then add a tiny knot in the center. Keep the bow width around 2.5 to 3 mm so it stays micro on short nails. Cure, then add a thin top coat over the bow to level the surface. Finish with a glossy top coat on every nail for a uniform look.
Skip thisAvoid big bows — on short nails they take over the nail and look heavy.
15. Sheer Nude with Fine Vertical Pinstripe
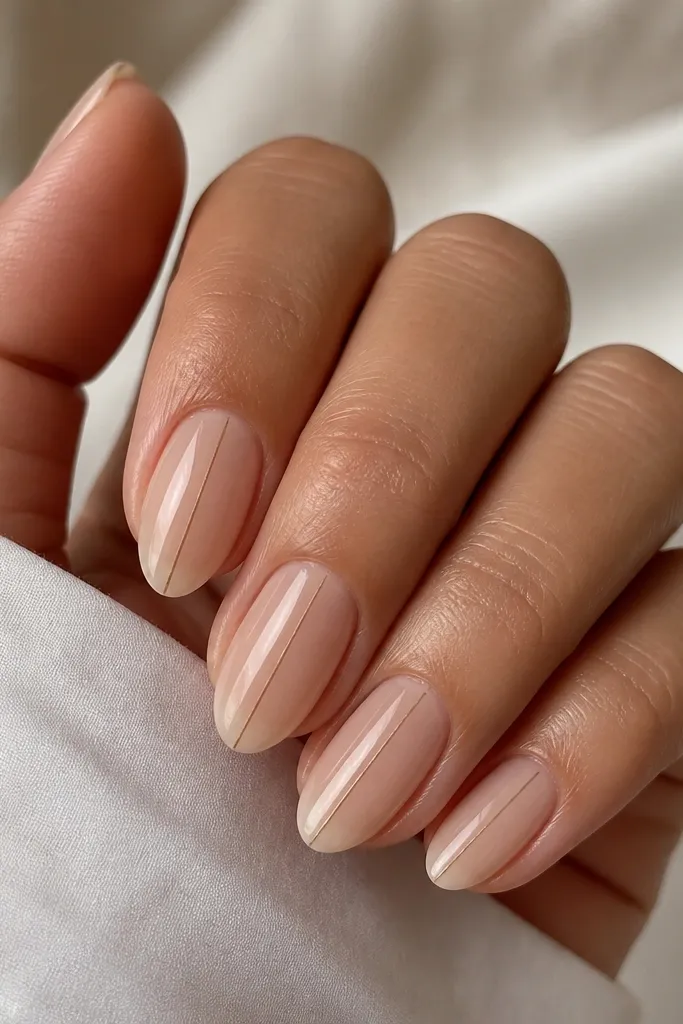
Vertical pinstripe is my favorite trick for making short nails look longer without changing your length. Sheer nude keeps it light and airy, and the vertical line creates a clean guide from cuticle to tip. Taupe is softer than black, so it flatters warm and cool undertones without looking harsh. This design is also forgiving if your nail shape is slightly different from finger to finger, because the line draws the eye along one direction. It’s subtle enough for daily wear and still looks “styled” in close-up photos.
Editor's noteIf the line looks too bold, cure and then file the surface lightly — the stripe reads finer after a smooth cap.
Apply a sheer nude builder gel in thin layers and cure. Use striping tape or a fine liner brush to place a vertical line centered on the nail, starting about 1 mm below the cuticle and stopping about 0.5 mm above the free edge. Keep the stripe width under 0.3 to 0.4 mm for a pinstripe look. Cure, then cap with clear top coat, making sure the line stays crisp and doesn’t smear. Wipe any texture after curing and finish with glossy top coat.
Skip thisDon’t use thick gel for the stripe — it turns into a bar instead of a pin line.