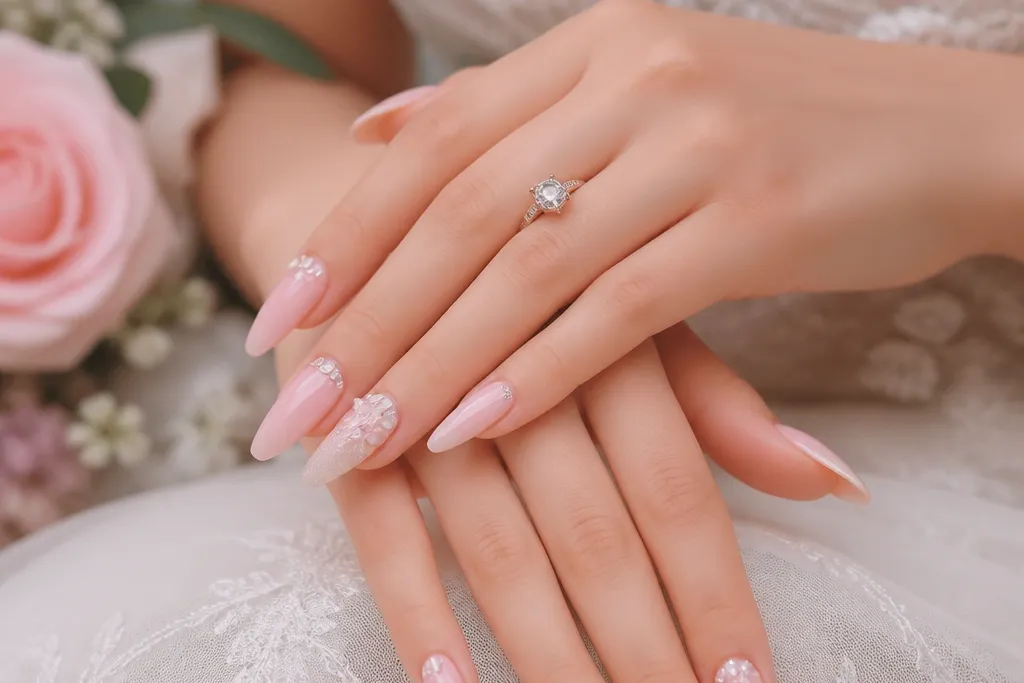
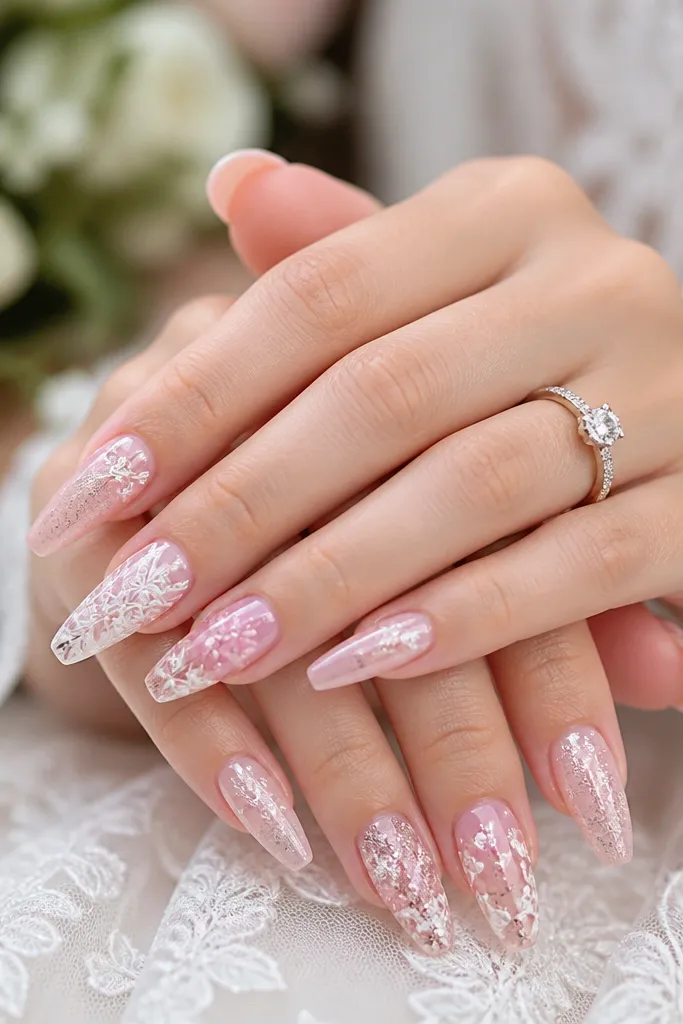
1. Blush French with Micro-Glitter Smile Line
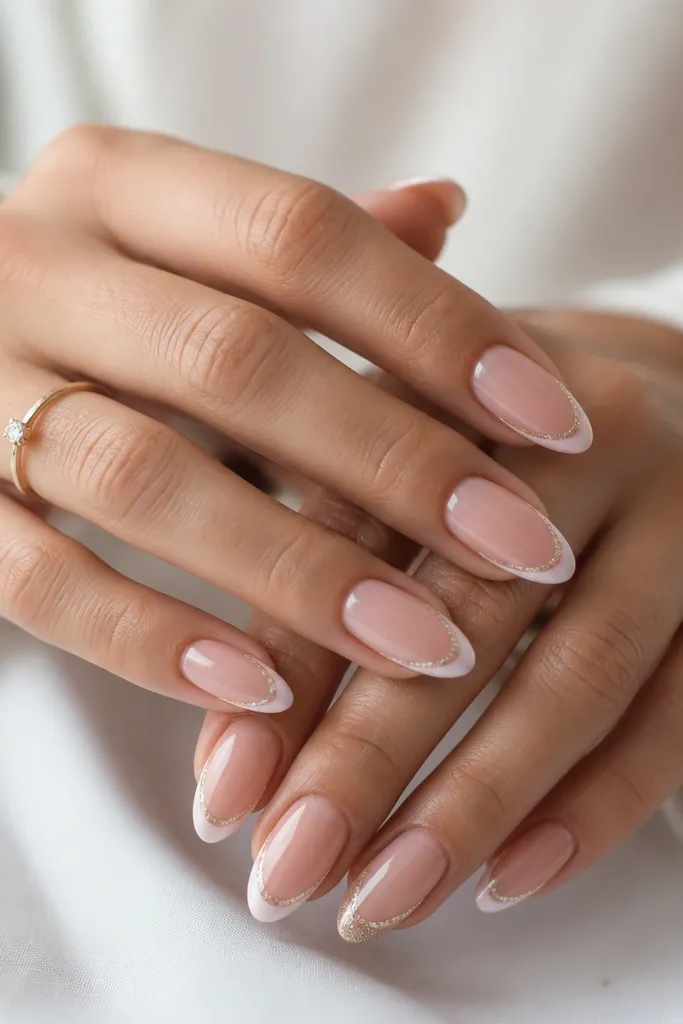
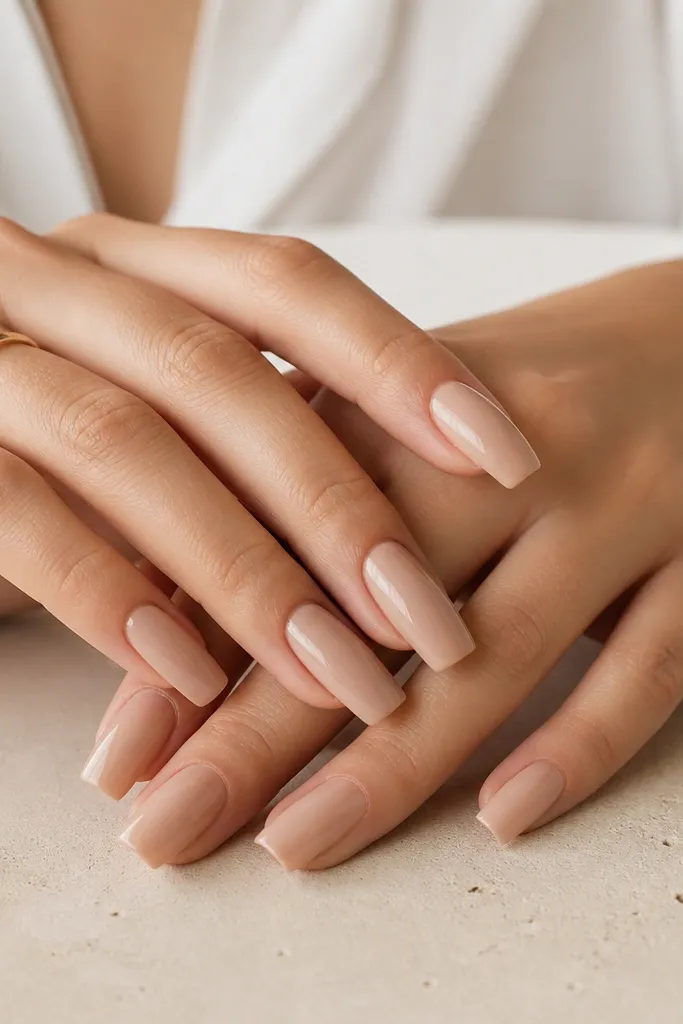
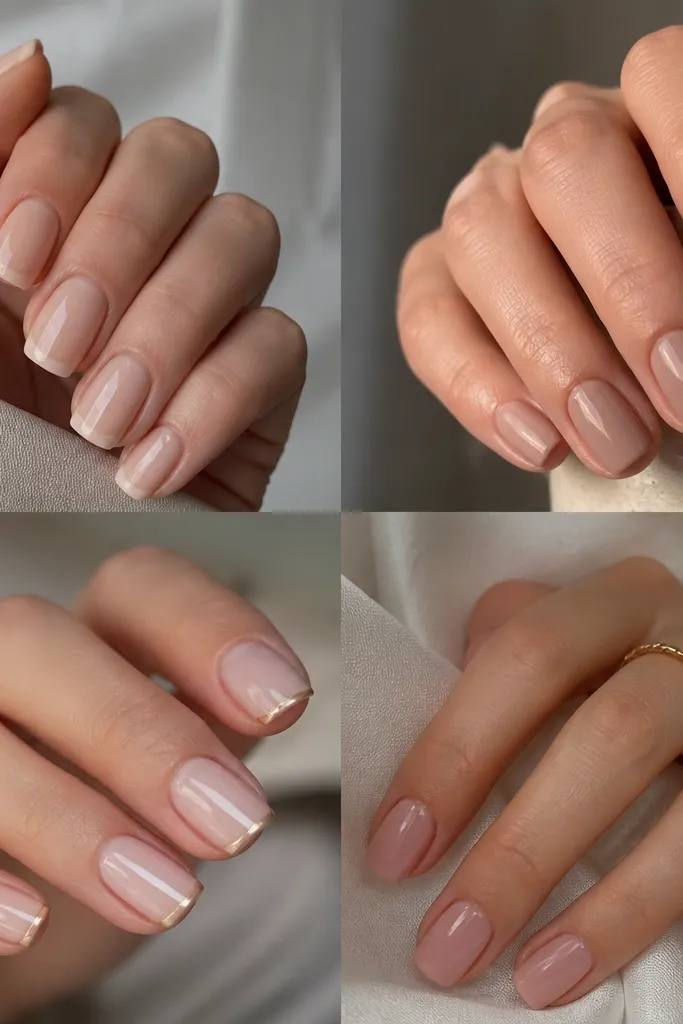
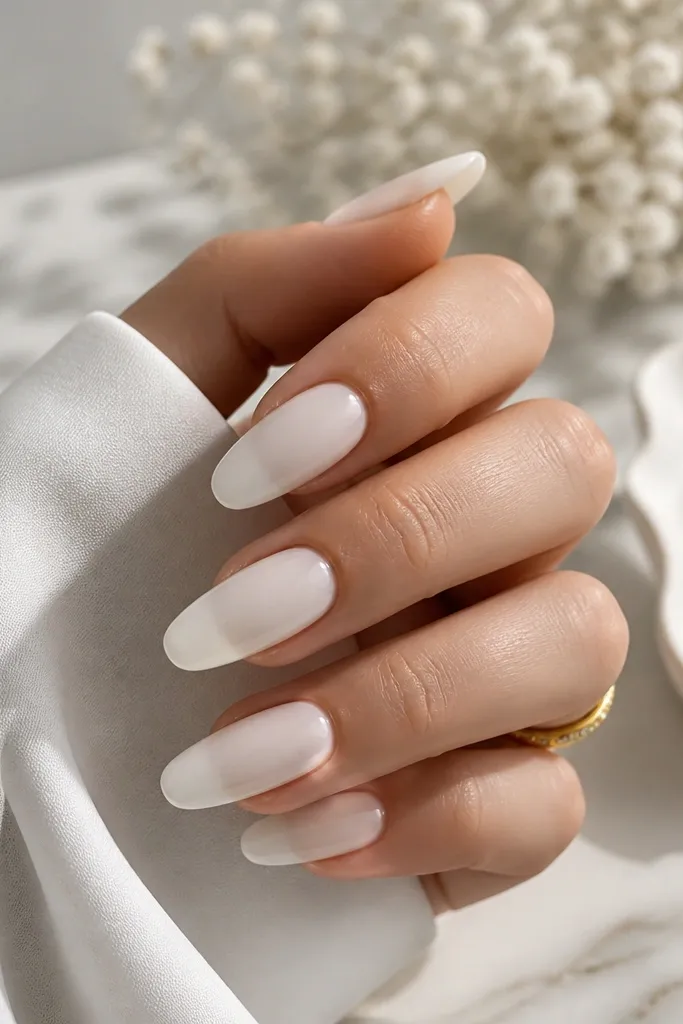
This design is what I reach for when a bride wants “wedding nails” without a lot of fuss. The sheer blush base makes the nails look like your own, and the micro-glitter smile line adds sparkle only where your hands naturally show it in photos. It flatters most skin tones because the pink is light and the tip line is narrow, not thick. If your fingers look short, the almond shape plus a thin French line visually adds length without making the nail look heavy. The styling principle is restraint — thin tip, controlled sparkle, and no glitter near the cuticle.
Start by applying extensions in a medium almond and build a smooth apex. Then paint a sheer blush gel over the entire nail, curing fully. Use a fine striping brush to draw a thin French smile line in white-pink, keeping it about 1.5-2 mm from the sidewalls. Add micro-glitter gel only along the smile line on the accent nail, and keep the rest of the glitter minimal. Finish with a glossy top coat on every nail so the glitter looks like it’s suspended under glass.
Editor's noteUse a striping brush that’s 2-3 mm wide at the tip — it keeps the French line hair-thin and stops the look from turning chunky.
2. Rosy Pink Ombre with Clear Crystal Cuticle Halo
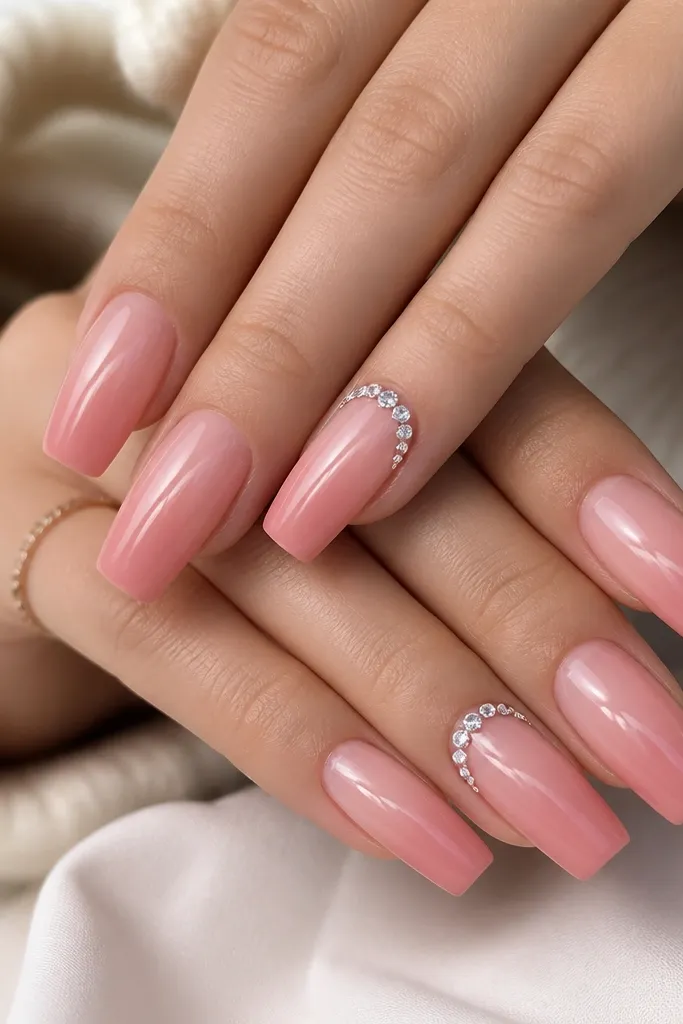
Ombre reads bridal because it looks like a gradient manicure, not a hard line. The crystal cuticle halo gives you that “bling” moment right where your hands show it when you adjust jewelry or hold the bouquet. I’ve seen this look work on fair to deep skin tones because the gradient stays in pink family — it doesn’t shift into orange. Soft-square shape also keeps the crystals from sitting on a point that catches fabric. The key behind it is placement: crystals are concentrated at the cuticle crescent so you get sparkle without weight.
Start with extensions in soft-square and prep the surface so the ombre blends cleanly. Apply a sheer base first, then build the pink ombre by sponge-painting a deeper blush at the free edge and blending upward. Cure each layer so the gradient stays smooth instead of streaky. On two accent nails, place a thin line of clear crystal gel along the cuticle crescent and pick up individual crystals with tweezers. Finally, seal everything with a glossy top coat, making sure you cap the crystal edges so they don’t snag.
Editor's noteIf you’re worried about crystals shifting, dot a tiny amount of crystal gel under each one instead of using one thick smear.
3. Powder Pink Solid with Pearly 3D Bead on Ring Finger
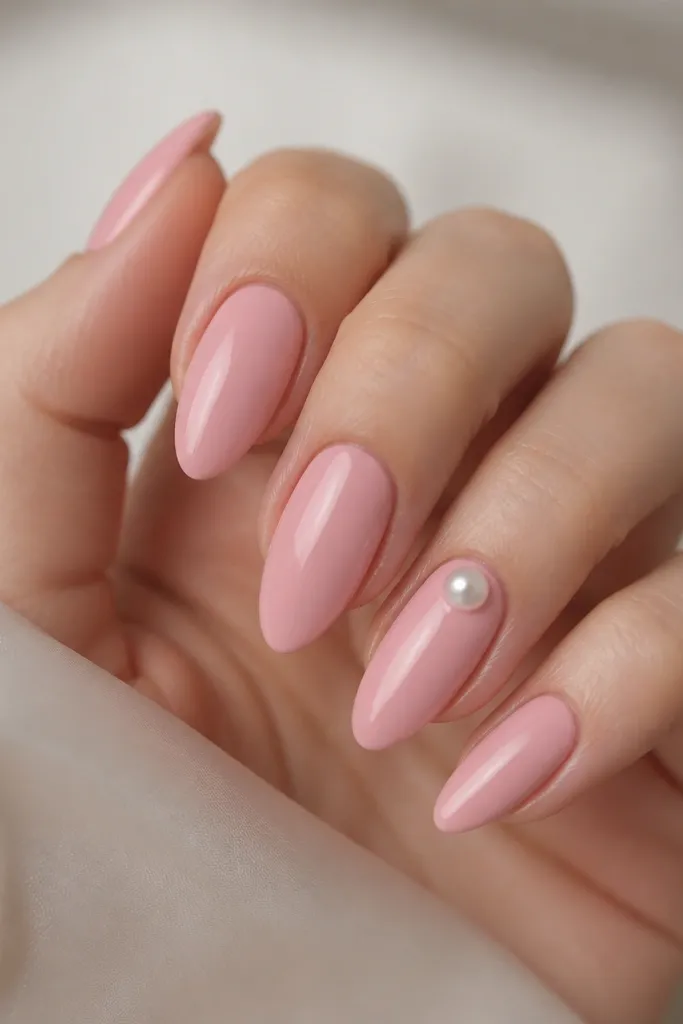
This set is simple but still bridal because the texture contrast does the work. A powder pink satin base hides imperfections and looks soft in daylight, while the raised pearl bead adds a tactile focal point. It flatters hands with slimmer fingers because the solid color reads clean and elongated. If you’re doing a wedding with pearls or a pearl headband, this design matches without trying too hard. The principle here is one statement element — one bead, not a whole scatter.
Start by applying medium almond extensions, then buff the surface lightly so gel grips. Paint a powder pink satin-finish gel over all nails and cure. On the ring finger only, place a small bead of pearl gel near the cuticle center — about 1-2 mm away from the skin line — then cap around it with clear gel. Cure, then file any sharp edges so the bead doesn’t feel rough. Finish with a glossy top coat over the rest of the nails, and a light top coat over the bead so it stays domed.
Editor's noteChoose a pearl bead size that’s about the same width as your ring finger nail’s center — too big looks like costume jewelry.
4. Blush Marble Swirl Over Sheer Pink
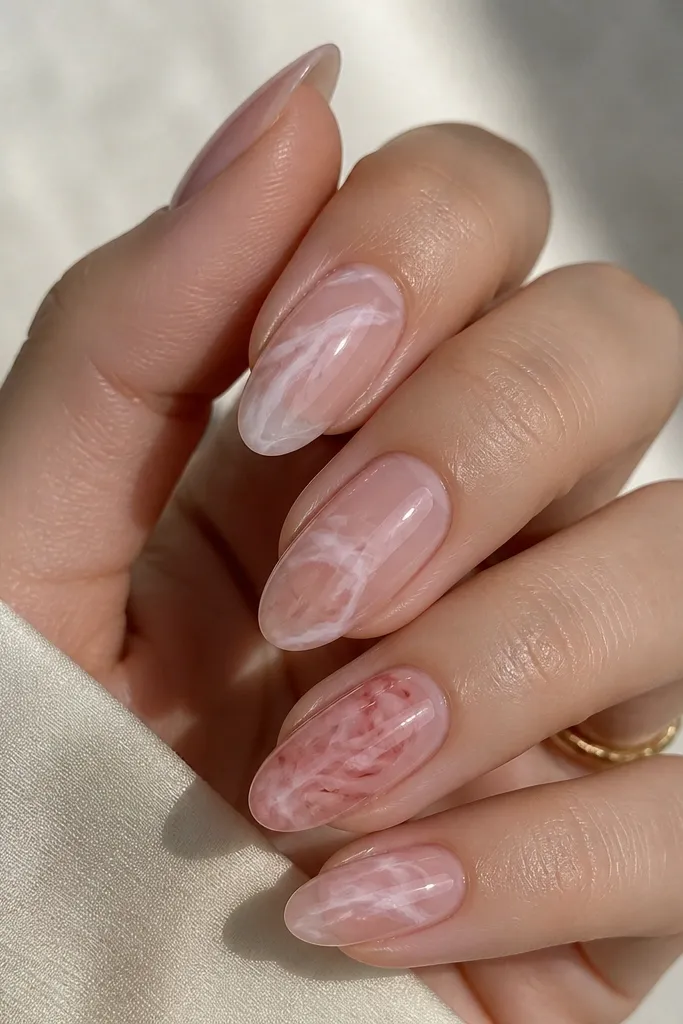
Marble nails photograph beautifully because the pattern has movement. This blush marble version stays romantic because the swirls are thin and the base is sheer, so your nails still look like nails. It works well if your dress has abstract lace patterns or modern embroidery because it echoes texture without being literal. I like it for brides with medium skin tones too — the white-pink swirls pop without looking stark. The styling principle is opacity control: keep marble lines semi-transparent and let the pink base show through.
Apply extensions in a medium almond or short almond depending on your comfort. Paint a sheer pink base and cure. For the marble, use a thin dotting tool to place a few tiny drops of white-pink gel on the nail, then drag each drop into wisps with a clean brush. Blend lightly so you avoid hard edges and thick streaks. Cure, then add one more thin layer of sheer pink over parts of the marble if you want it softer. Seal with a glossy top coat for a glassy marble finish.
Use less product than you think — marble looks best when the swirls are faint, not painted solid.
5. Romantic Pink Micro-French with Clear Negative Space
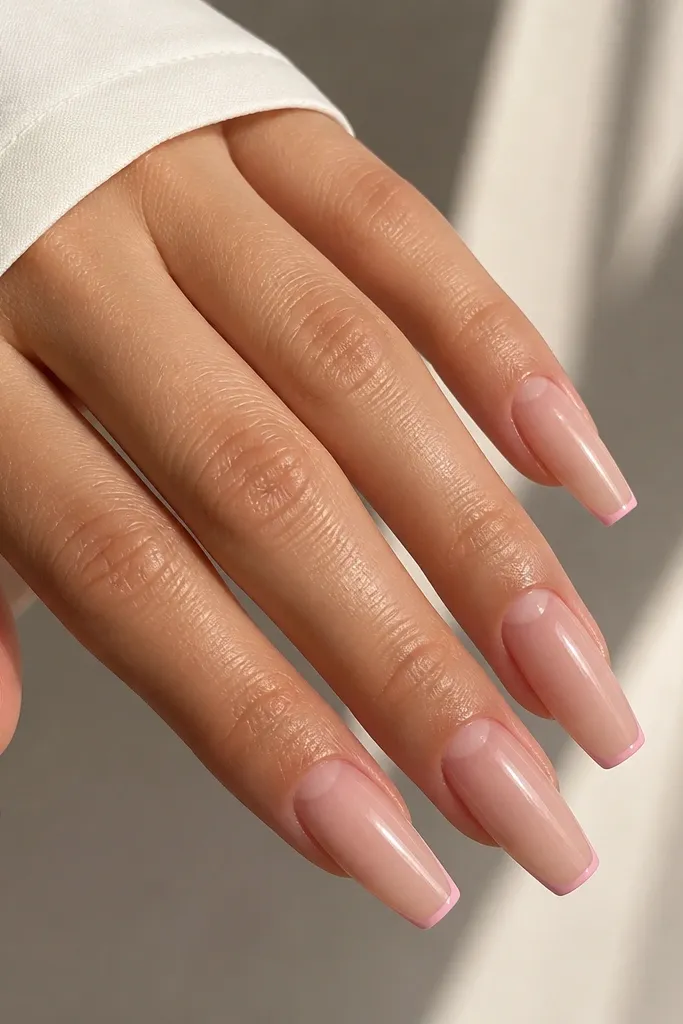
This design is for brides who want pink but hate when nails look like they’re wearing “tip stickers.” The micro-French line keeps it airy, and the clear negative space on a couple nails adds a modern romantic touch. It’s flattering because the sheer base matches your skin tone and the thin line elongates the nail. If your hands are on the shorter side, micro-French works better than a wide French because it doesn’t cut the nail into thick bands. The principle is negative space — it makes the set feel lighter and more expensive.
Start by applying extensions in tapered square, keeping them slightly shorter than you’d think — around 6-7 mm free edge for a bridal look. Paint a sheer nude-pink base and cure. Use a fine brush to draw a micro French line in soft pink, keeping the curve tight and the line thickness under 1 mm. On two accent nails, leave a small clear crescent near the cuticle by painting around that area with a clear gel barrier. Cure all, then top coat with a glossy finish, making sure the negative-space area stays clean and not flooded.
Editor's noteWhen drawing the micro French, rest your hand on the table so the line stays steady and doesn’t thicken at the corners.
6. Pink Aura Nails with White Hot-Spot Glow
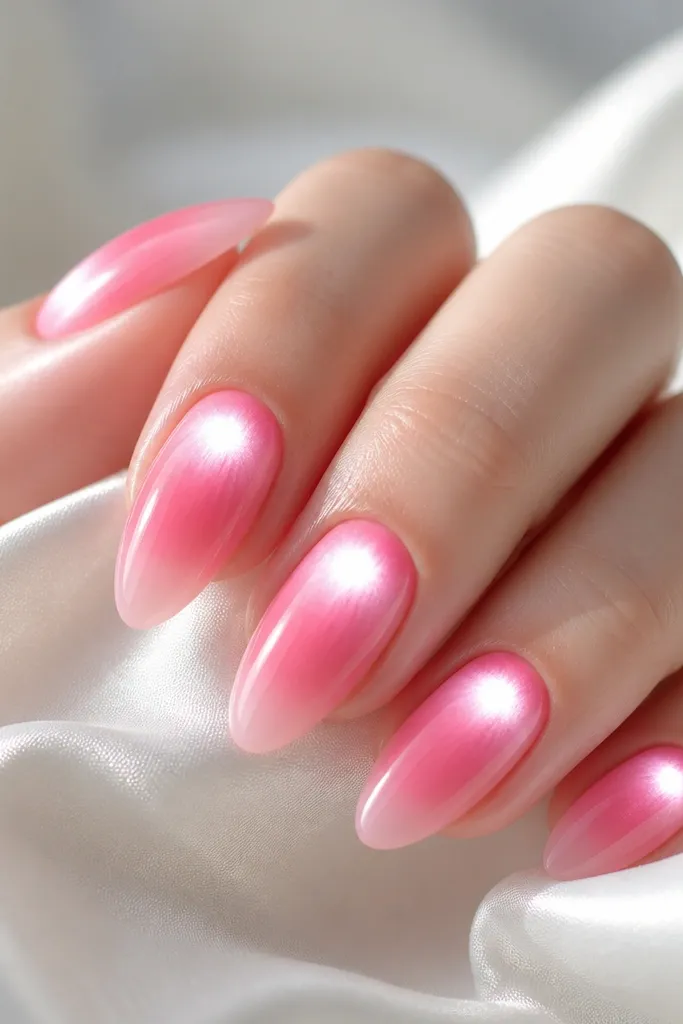
Aura nails look like soft lighting on your fingertips, which is exactly what you want for wedding photos. The white hot-spot gives a “glow from within” effect without needing glitter. It flatters a wide range of skin tones because the glow sits near the cuticle and visually brightens your hand. I’ve done this on both warm and cool undertones and it still reads bridal as long as the pink stays light. The principle is gradient blending — the aura should look like a cloud, not a circle.
Apply extensions in a medium almond and prep the surface. Paint a sheer pink base and cure. For the aura, sponge a slightly deeper rosy pink starting from the mid-nail and blend upward toward the cuticle. Then add a tiny amount of white-pink gel right at the cuticle center and sponge outward just enough to blur the edges. Cure, then wipe any residue so the aura stays clean. Finish with glossy top coat and do not add extra glitter — the glow is the star.
Use a makeup sponge cut into a small wedge so you can control how far the aura spreads.
7. Sheer Pink Base with Thin Rose-Gold Line Art
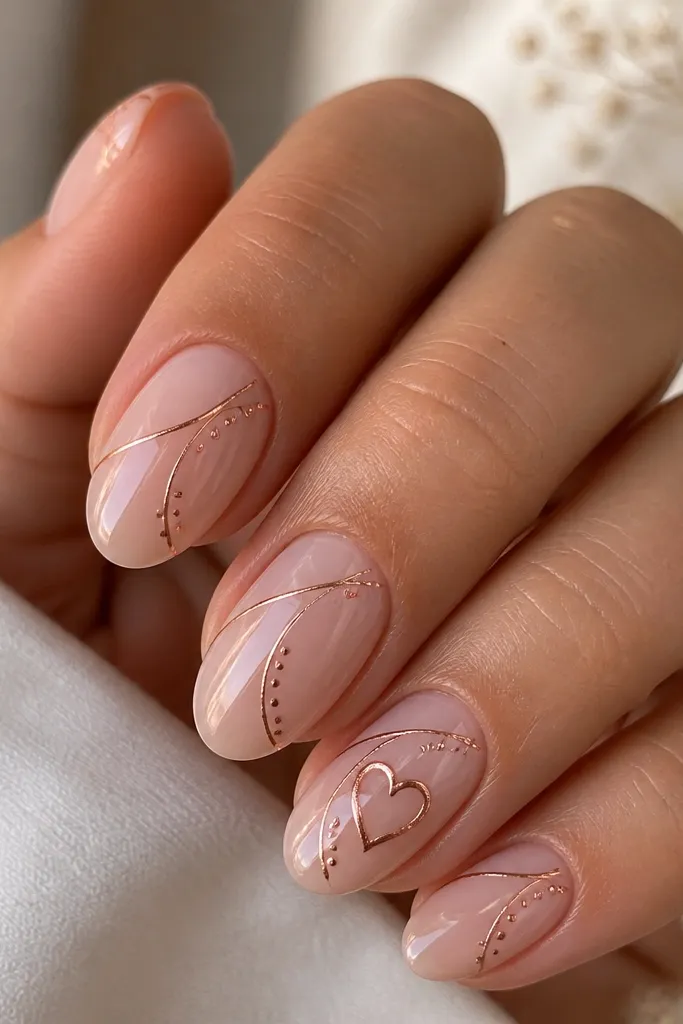
If your wedding style is minimalist but still romantic, thin line art is the fastest way to get there. The rose-gold line gel looks like jewelry and ties into gold rings, hair clips, and belt hardware. It flatters hands because the lines are narrow and don’t add visual bulk. I’ve used this for brides who hate sparkles — the shine comes from the gel top coat and the metallic line, not glitter. The principle is spacing: keep lines separated and thin so your nails still look clean.
Apply extensions in short almond or medium almond for a comfortable bridal length. Paint a sheer pink base and cure completely. Use a striping brush or nail art pen with rose-gold line gel to draw tiny arcs near the sides and a few dots — keep them under 1 mm thick. On the ring finger, draw a small heart outline or a curved rose shape using two smooth lines, then fill nothing — the heart is just the outline. Cure and seal with a glossy top coat in thin layers so the metallic doesn’t smear.
Editor's noteCure line art for the full recommended time — under-cured gel lines peel when you file the edges.
8. Pink Velvet Matte with Glossy French Tips
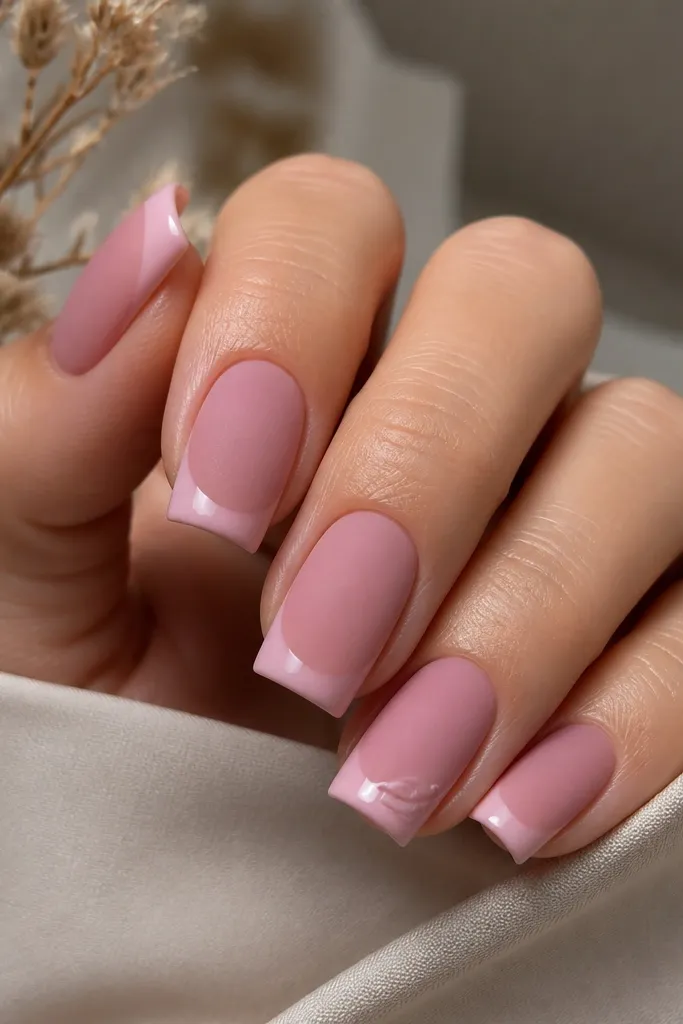
This is the set I recommend when you want “bridal” without shimmer. The matte velvet pink hides ridges and looks plush in wedding portraits, while the glossy French tip gives you that crisp finished look. It flatters hands with a bit of natural texture because matte finishes soften the appearance. Medium square also looks great with wide rings because the nail surface stays sturdy. The principle is finish contrast: matte base, glossy edges, and one small glossy detail for interest.
Apply extensions in medium square and build a smooth apex so the matte doesn’t show bumps. Paint a velvet matte pink gel on all nails and cure. For the French, use a lighter pink glossy gel and paint only the tip area, keeping the line sharp and even. Cure again, then add a final top coat — matte for the base and glossy only on the French sections. On one accent nail, add a tiny glossy swirl near the tip with a dotting tool and cure. File lightly only on the free edge so you don’t scuff the matte texture.
Editor's noteSeal matte with the right matte top coat, not regular gloss — gloss over matte turns it sticky and changes the look.
9. Soft Pink Glazed Donut Nails with Tiny Pearl Dots
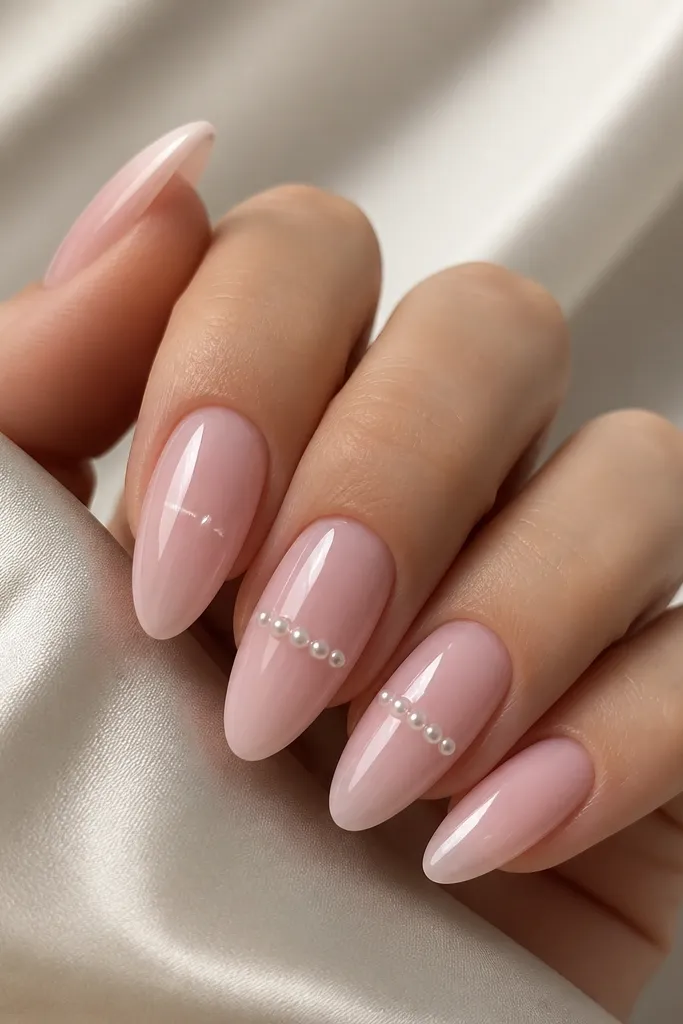
Glazed donut nails look like the inside of a pastry case — shiny, dimensional, and very photo-friendly. The soft pink base keeps it bridal, and the tiny pearl dots add a sweet detail without going full 3D. This flatters most hand shapes because the glaze highlights sit in the center and make the nail look slightly thicker in a good way. I like it for brides who want glam but still want the nails to look wearable at dinner afterward. The principle is shine control — a smooth gel glaze with minimal texture so it stays clean.
Start with long almond extensions but keep them not too sharp — a softer almond looks more romantic. Apply a soft pink gel base and cure. For the glaze effect, paint a thin layer of clear-pink gel in a circular motion in the center, then lightly drag outward to create a highlight band. Cure and wipe if your system requires it. Add tiny pearl dots on two accent nails using a dotting tool with pearl gel, placing them in a short line across the mid-nail. Finish with a high-gloss top coat so the glaze looks like it’s under a dome.
If the pearls look too heavy, use fewer dots — three well-placed pearls beat five scattered ones.
10. Pink Lace-Effect Nails with Beaded Edge on One Finger
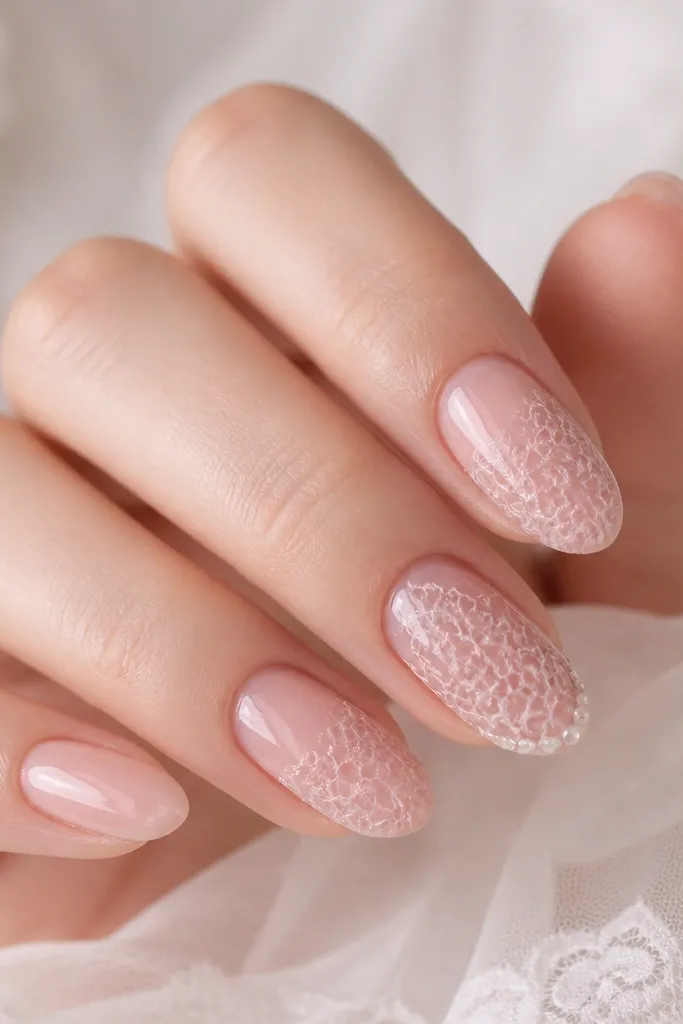
Lace-effect nails match wedding dresses that have lace sleeves, illusion bodice, or embroidered overlay. The key is keeping the lace lines thin and airy so it doesn’t look like printed stickers. The beaded edge on one finger makes it feel special without covering every nail in heavy texture. This flatters hands because the sheer pink base keeps it light and the lace pattern creates vertical visual interest. I’ve worn this style on brides with both warm and cool skin tones — it still reads romantic as long as the lace is white-pink, not stark white.
Apply medium almond extensions and prep the surface thoroughly. Paint a sheer pink base and cure. For the lace effect, use a lace gel pattern brush or a fine liner to draw a delicate net — start with vertical lines, then add diagonal cross lines, keeping the spacing even. Strengthen the pattern only on the ring finger and middle finger so the set stays cohesive. On the ring finger tip edge, place a short row of tiny clear beads using bead gel, leaving the cuticle area bare. Cure and seal with glossy top coat in thin layers so the lace doesn’t look flat.
Work in sections when drawing lace lines — finish one nail fully before moving on so the gel doesn’t start to set early.