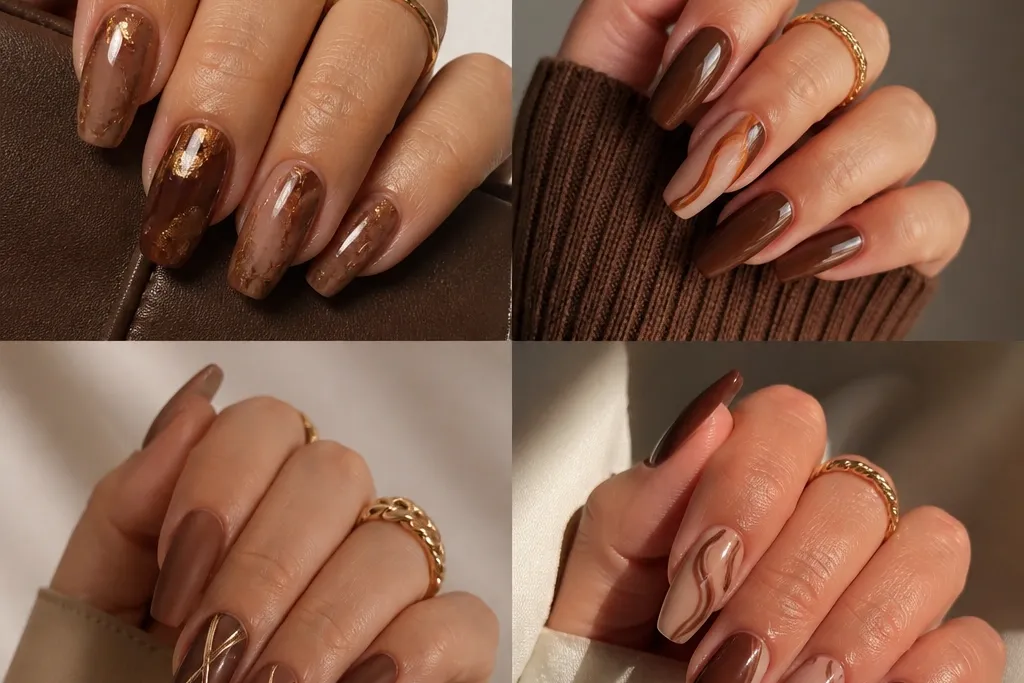
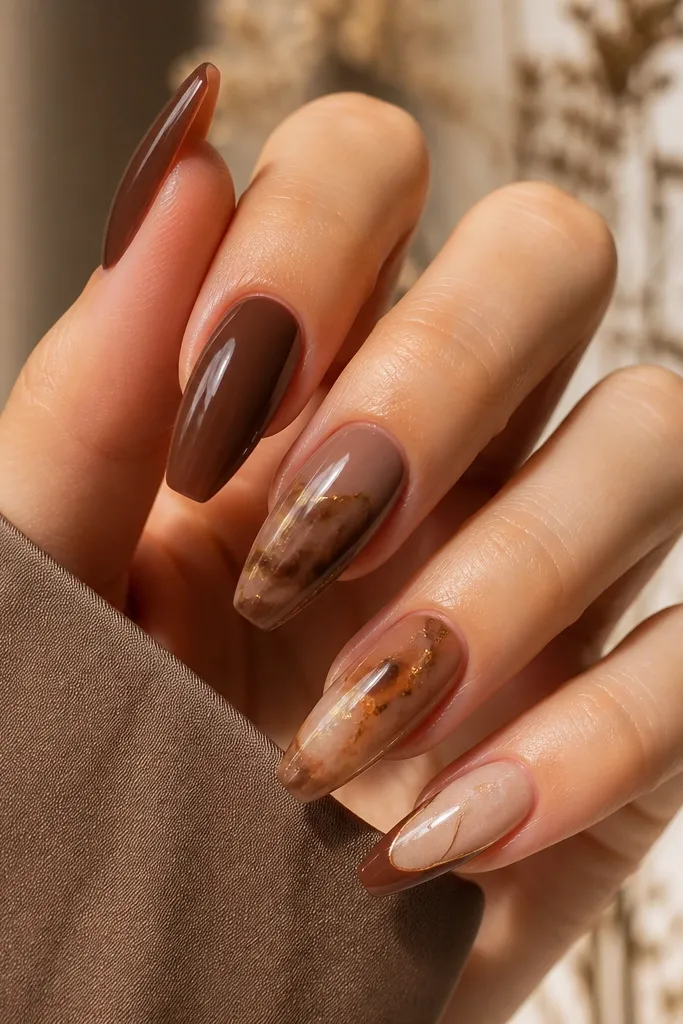
1. Caramel French with Micro Gold Tips
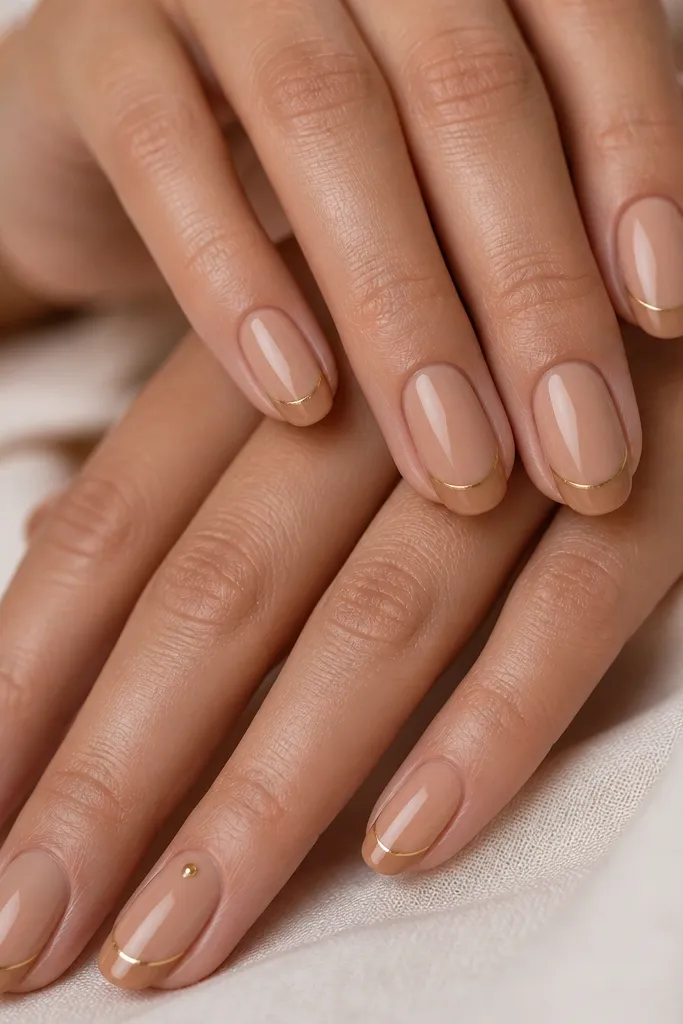
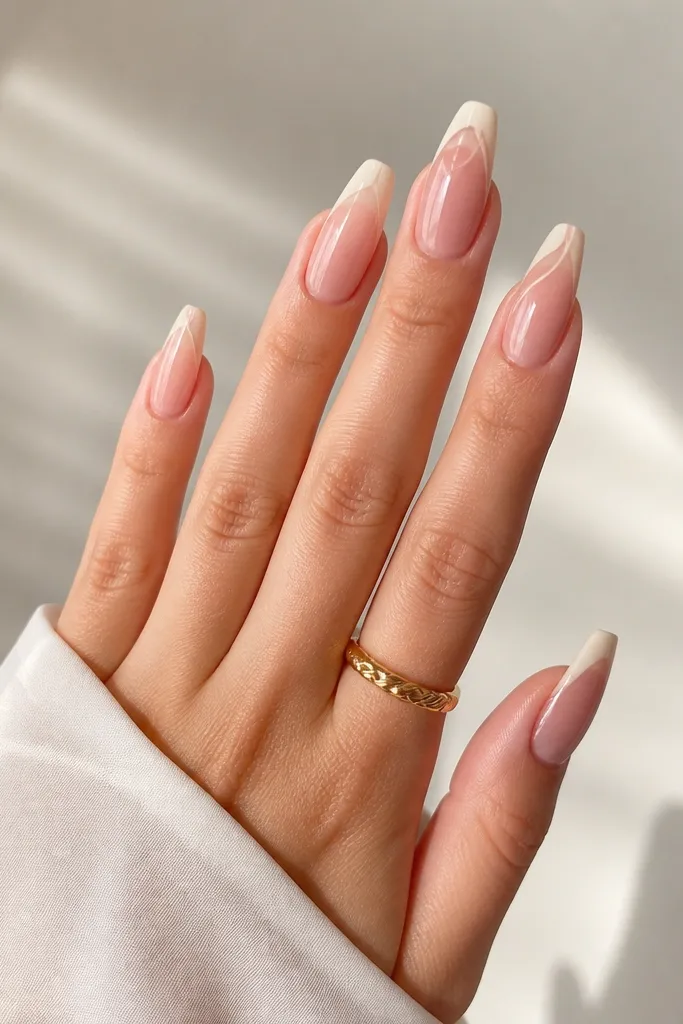
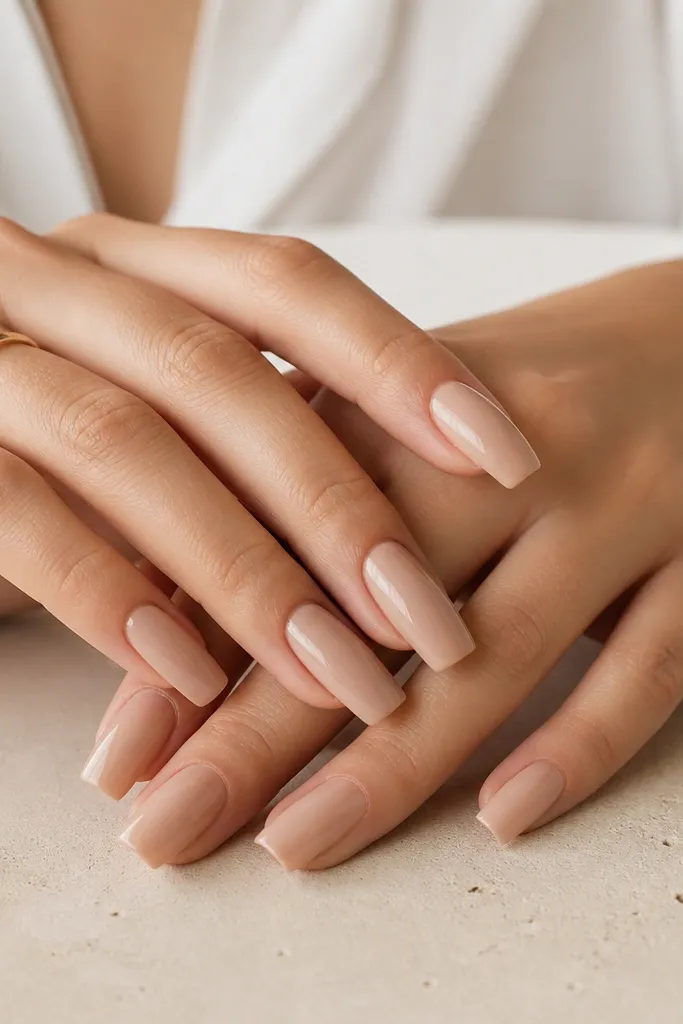
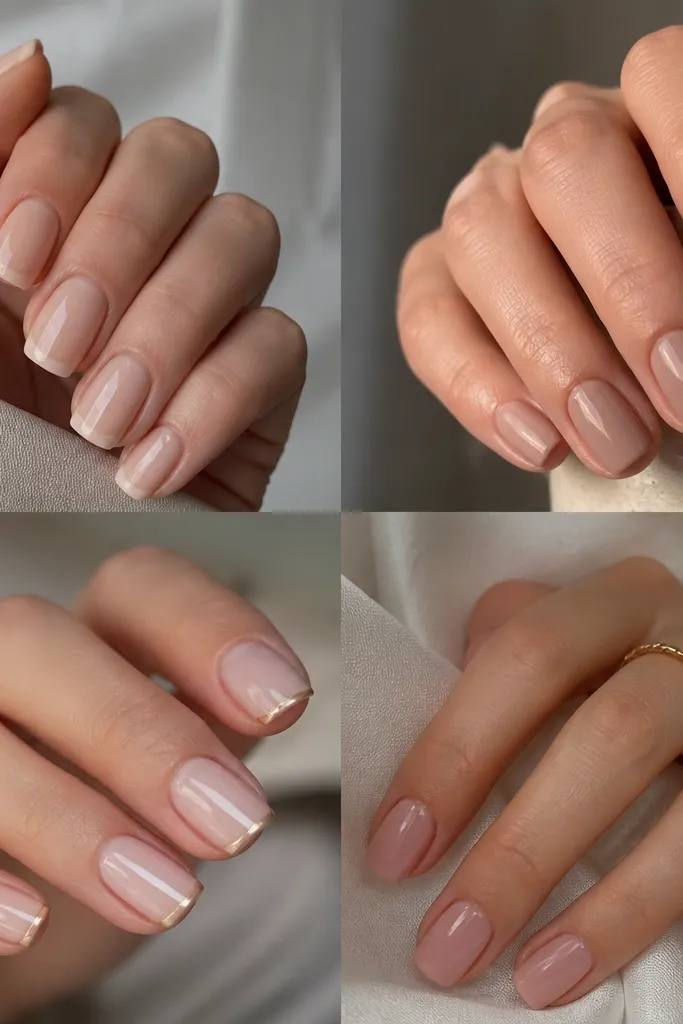
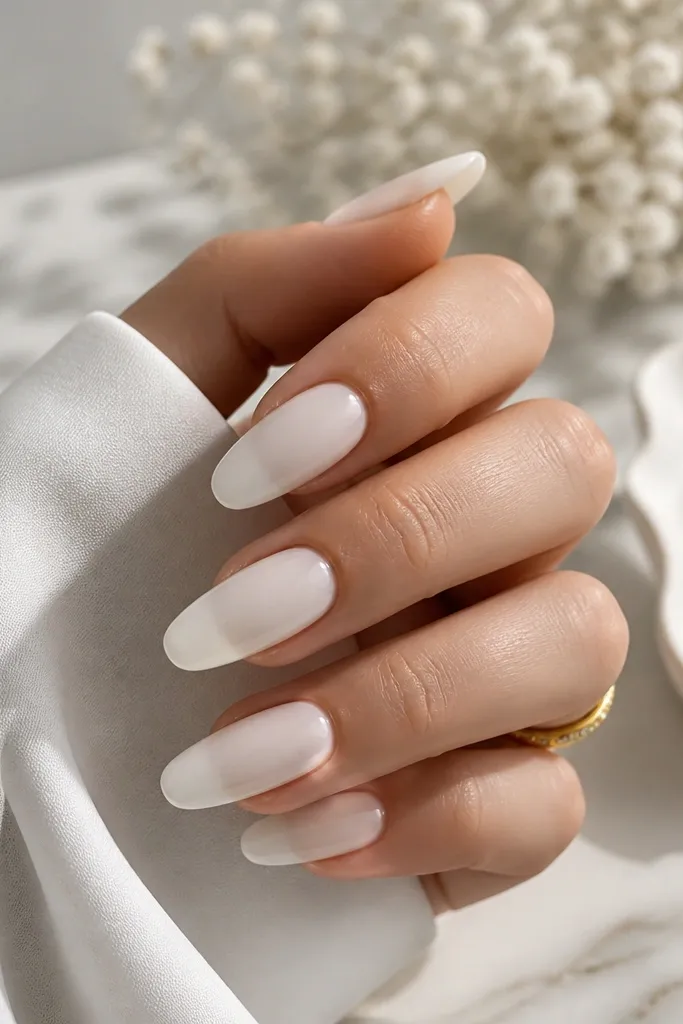
This design is my go-to when someone asks for brown that looks neat on day one and still looks good after two weeks. Start with a caramel nude base — it reads soft, not heavy. The French line stays crisp because the brown is opaque enough to cover in one to two thin layers, then you cap it with shine. Micro gold on the extreme tip catches light when you move your hands, which makes the set look styled without adding bulk. It flatters most skin tones, especially warm undertones, and it’s perfect for office outfits or a “my nails are done” everyday look.
Editor's noteIf your gold looks chunky, clean the striping brush on a lint-free wipe and reapply with lighter pressure so the line stays hair-thin.
Start by building your extensions to a medium almond shape, with the tip length about 3-4 mm past the natural nail. Apply a caramel nude builder gel or gel polish as the full base and cure. Use a fine striping brush to paint a French smile line in caramel, keeping the smile about 1/3 of the nail width from the center and slightly lower on the sides. Then take a gold foil transfer sheet or gold gel liner and place a strip only on the very edge of the tip — you want it thinner than the French line. Finish with two thin coats of glossy top coat, curing fully between coats.
Skip thisAvoid a thick gold tip — it makes the set look like costume jewelry and it lifts faster at the edges.
2. Espresso Swirl Half-Moons on Clear Brown Nude
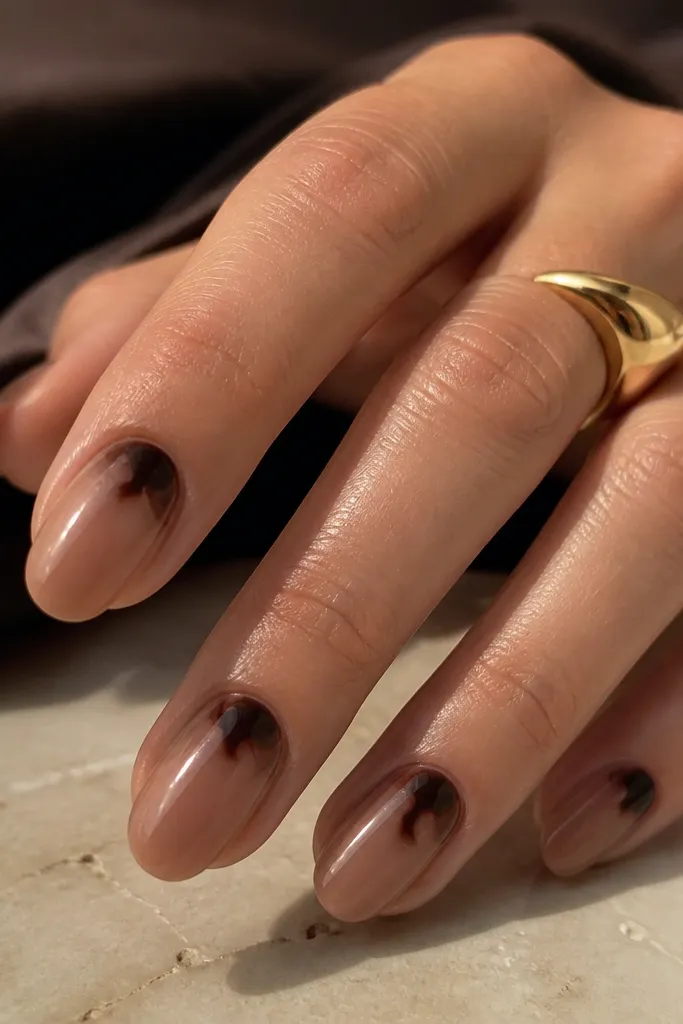
Half-moons in espresso look sharp because they frame the nail bed without covering it. The key is the base: clear brown nude so your nail still looks like skin, not a solid block. The espresso swirl adds movement and keeps the set from feeling like a basic manicure. I like this on shorter-to-medium lengths because the swirl stays delicate and doesn’t overwhelm the nail. It looks especially flattering on hands with longer nail beds, and it’s a great choice for anyone who thinks brown will look too dark — the sheer base prevents that.
Build your extensions with a soft square or short almond, keeping the nail length under 6 mm. Apply a clear brown nude base in thin layers, curing until it looks glossy and juicy, not streaky. Paint the cuticle half-moon in espresso, using a dotting tool to place the curve first, then refine with a small angled brush. Add the swirl by dragging the brush tip from the center of the half-moon outward for a short, controlled curve — stop before it reaches the mid-nail. Cap with top coat, then do a second top coat only on the swirl area so it stays crisp.
Use a gel liner that’s slightly thicker than your base gel so the swirl holds its shape instead of bleeding.
Don’t paint the half-moon too high — if it climbs past the cuticle arc, it looks harsh and grows out awkwardly.
3. Mocha Marble with Coffee Latte Veins
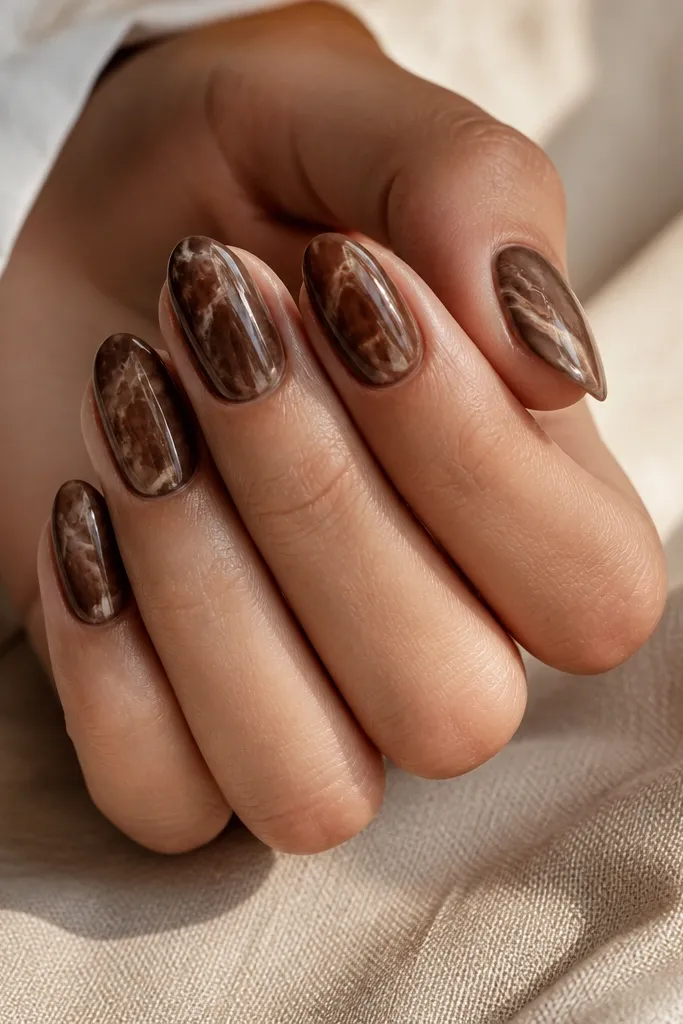
Marble is where brown looks the most expensive, because it creates depth even when the design is simple. I use a mocha base for the cloudy swirls, then pull thin latte-beige veins through it so the set looks like layered coffee. The latte color keeps it warm and stops the marble from turning gray-brown. This works well for medium almond and stiletto because the swirl lines can follow the nail’s natural curve. It looks great on medium to deep skin tones because the contrast is visible, but on fair skin it still works when you keep the beige veins thin and bright.
Start with a smooth mocha brown base and cure. For the marble, use a small striping brush and a second shade of mocha diluted with a clear gel to create softer edges — touch down lightly so you get cloud movement instead of hard lines. Add latte-beige veins using a gel liner; drag two or three thin lines across the nail, then break them with tiny offshoots so they look natural. If you want extra dimension, add a very thin layer of clear gel over the marble veins before top coat. Cap with glossy top coat and cure thoroughly, then clean up the sidewalls with a brush dipped in cleanser.
If your marble looks muddy, increase contrast: add slightly more latte-beige and keep the mocha swirls narrower.
Avoid thick marble lines — they look painted on top and can chip on the free edge.
4. Chocolate Gel Tips with Frosted Nude Gradient
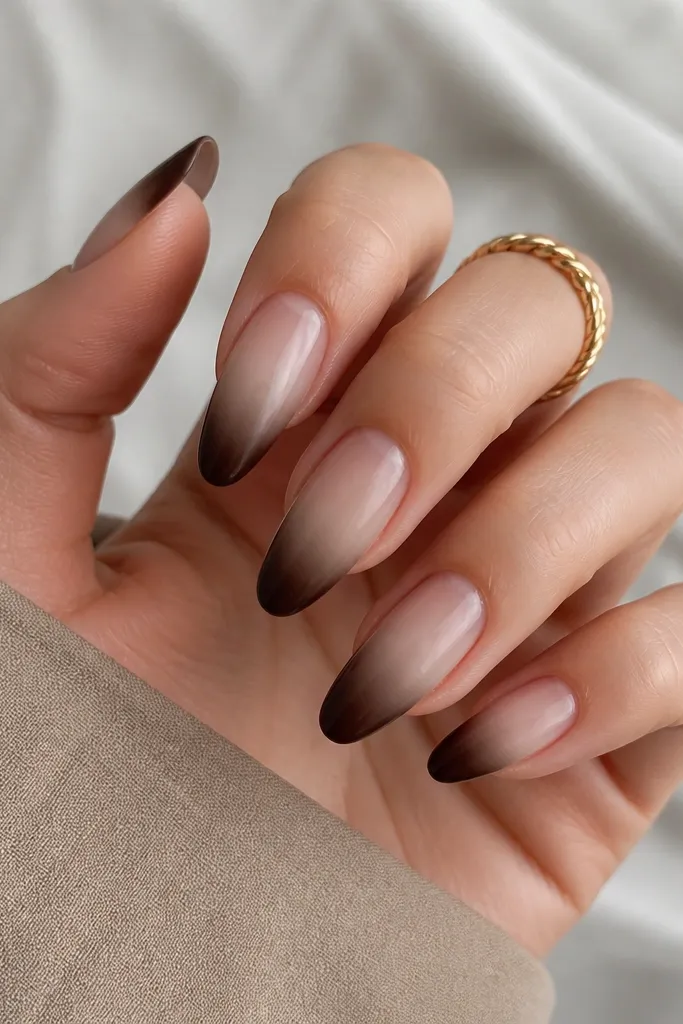
This design is for when you want brown but you don’t want a heavy full brown look. The frosted nude gradient gives you that creamy, “latte foam” vibe, while the chocolate tips bring the sophistication. The blend line is everything: it has to fade, not stop. I love this on oval and almond shapes because the gradient follows the nail curve and makes fingers look longer. It’s also a flattering option for people who have shorter nail beds, since the sheer cuticle visually extends the nail.
Editor's noteUse a milky nude that looks pink-beige, not pure white — pure white can make brown look dirty.
Apply extensions in a soft oval shape, keeping the tip narrow so the chocolate doesn’t look bulky. Paint a frosted nude gradient by starting with a sheer nude at the cuticle, then adding white-nude or milky pink toward the center — keep it thin and cure. Add chocolate brown only on the last 1/3 of the nail, then use a clean makeup sponge or a small flat brush to blend the edge where chocolate meets nude. Wipe the brush with cleanser, then lightly feather the transition line so it disappears. Finish with glossy top coat to lock the blend and smooth any texture.
Skip thisDon’t paint a hard straight line at the blend — it reads like a sticker and grows out visibly.
5. Warm Brown Aura Nails with Copper Glow
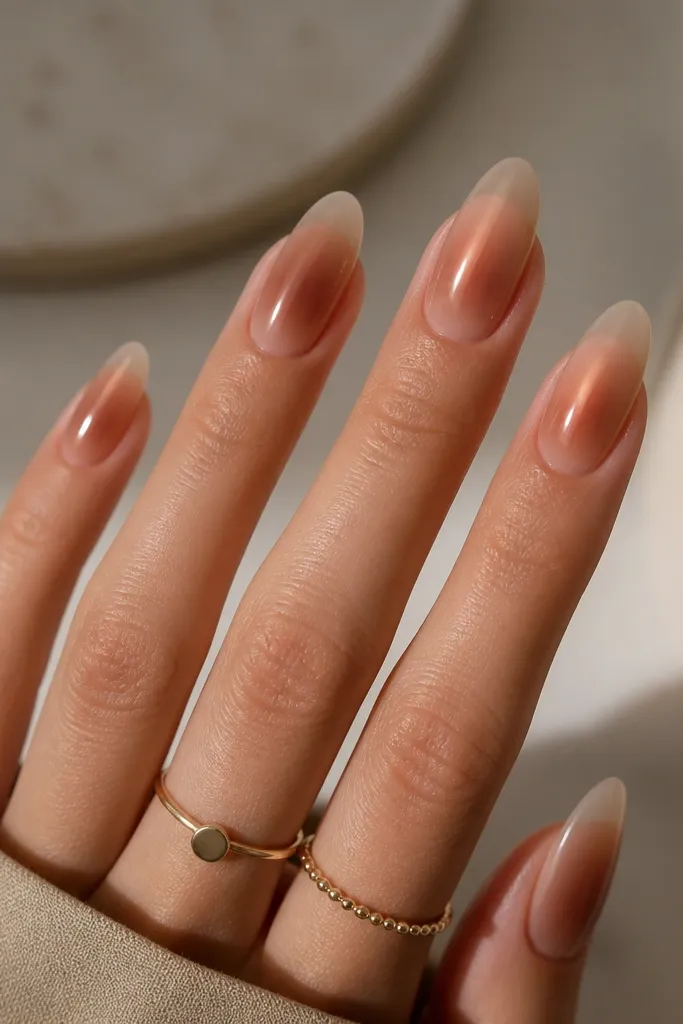
Aura nails look like you did nail art with a magic trick, but they are just controlled blending. Warm brown around the center makes your nail look lit from within, and copper glow adds that “autumn sunset” warmth. I do this when clients want something modern but still wearable. It flatters hands of all lengths; on shorter nails, the aura stays tight so it doesn’t swallow the nail. If you like shimmer but hate glitter, copper aura is the compromise.
Editor's noteTo keep the aura clean, trace the center placement first with a dotting tool, then blend between the dots.
Start with a sheer nude base and cure. With an airbrush or a makeup sponge, apply warm brown gel in the center area — think oval shape, about the width of your iris in a close-up photo. Add copper shimmer gel right in the center, then blend outward with a clean sponge until the edges fade into nude. If you don’t have airbrush, sponge blending works — use light taps, cure, then repeat in thin layers. Seal with glossy top coat in two thin coats for a glassy finish.
Skip thisAvoid over-darkening the edges — brown that creeps too far makes the aura look like a stain.
6. Caramel Checkered Accent with Matte Top Coat
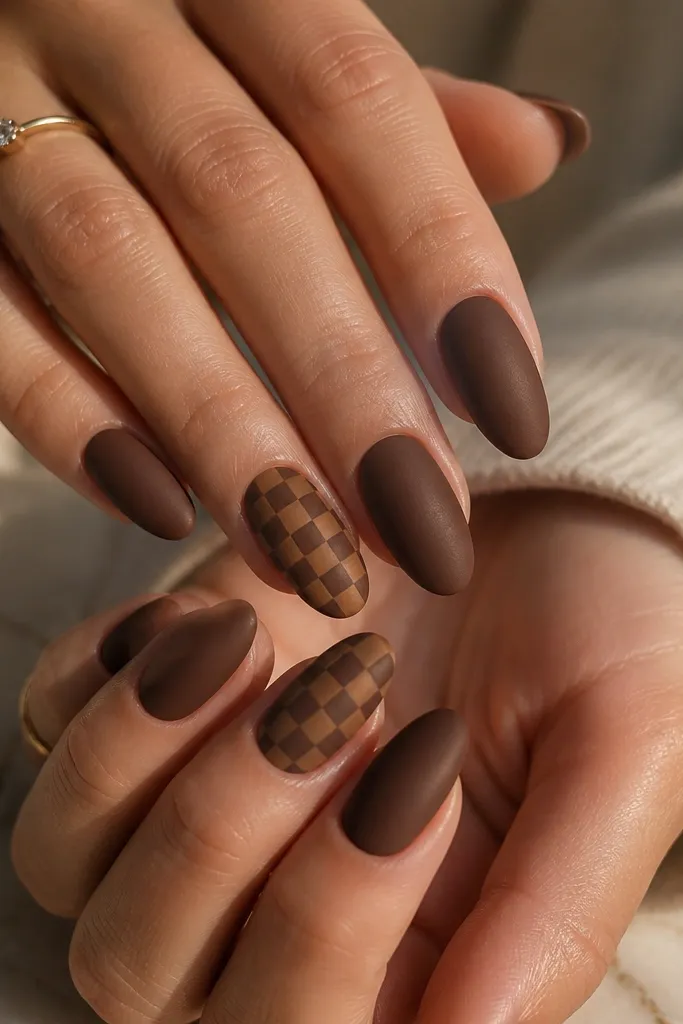
Checkers look playful, but brown makes them feel grown-up instead of kiddy. I keep the pattern only on the ring and middle fingers (or two nails total) so the set stays sophisticated. Matte top coat turns caramel into a soft, suede-like finish, which makes the checkered squares stand out even more. This design looks especially good on warm skin tones and works for casual outfits, fall sweaters, and even holiday parties when you pair it with gold jewelry. The key is crisp squares — messy checkers ruin the whole vibe.
Build your extensions in a short almond or squoval shape, about 5-6 mm long. Paint the full nails in caramel nude and cure. Apply matte top coat to all non-accent nails. For the accent nails, use a striping brush and warm beige gel to draw a grid near the tip — place the first horizontal line, cure, then add vertical lines to form small squares. Keep each square about the width of a fine pen line, and space them evenly. Finish accents with a thin glossy top coat only on the checkers so the squares look slightly dimensional against the matte base.
If your lines wobble, use a thin nail art tape as a guide for one direction, then remove it before curing.
Avoid putting checkers on every nail — it makes the set look busy instead of intentional.
7. Espresso Leaf Outline with Nude Base
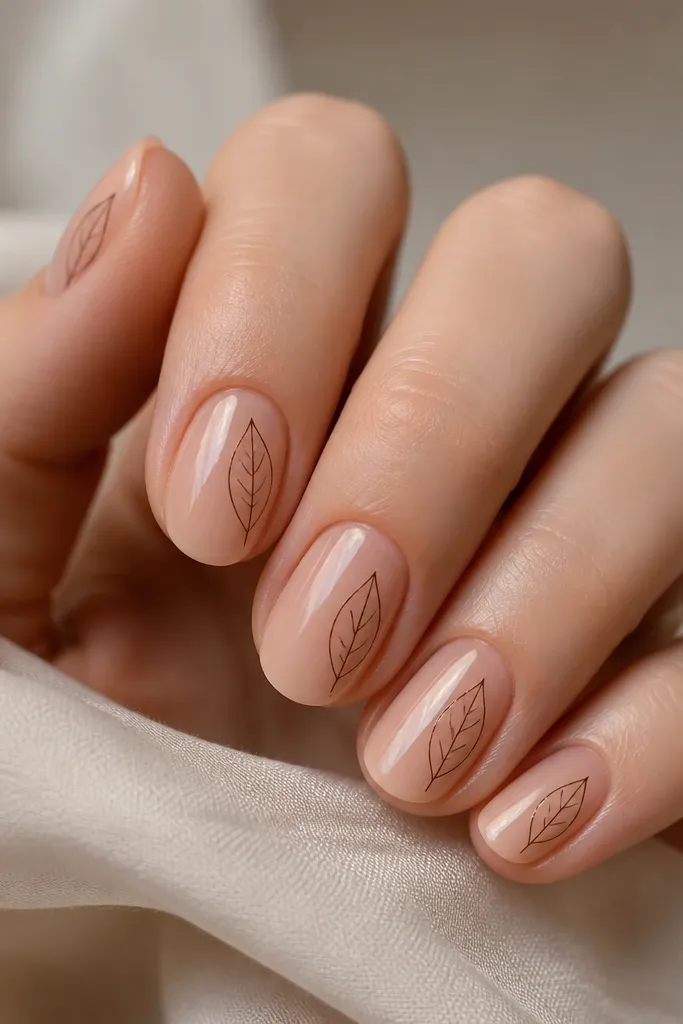
Outline nail art is the fastest way to make brown look light and airy. A nude base keeps everything clean, and espresso leaf lines add that “botanical but minimal” feel. I like this when someone wants something seasonal without going full autumn orange. Because the leaf is only an outline, it works on short nails too — no thick fill means less bulk and fewer chips. It also looks good on hands with wider nails because the lines pull the eye up and create a slimmer look.
Editor's notePractice the leaf on a paper swatch first — your line pressure is the difference between “clean” and “wobbly.”
Start with a nude base that matches your undertone — peachy nude for warm skin, pink-beige nude for cool skin. Cure and apply one thin top coat so the surface is smooth. Use a fine liner brush and espresso gel to draw a leaf outline: start at the stem point, curve the outer edge, then bring it back to form the tip. Add two or three short vein lines from the stem outward, keeping them under half the leaf length. Place the leaf either centered or slightly angled toward the sidewall for a more natural look. Seal with glossy top coat, making sure the brush doesn’t flood the linework.
Skip thisAvoid filling the leaf with thick espresso — filled outlines turn heavy and can look like a stamp.
8. Mocha Ombré with Rose-Taupe Edge
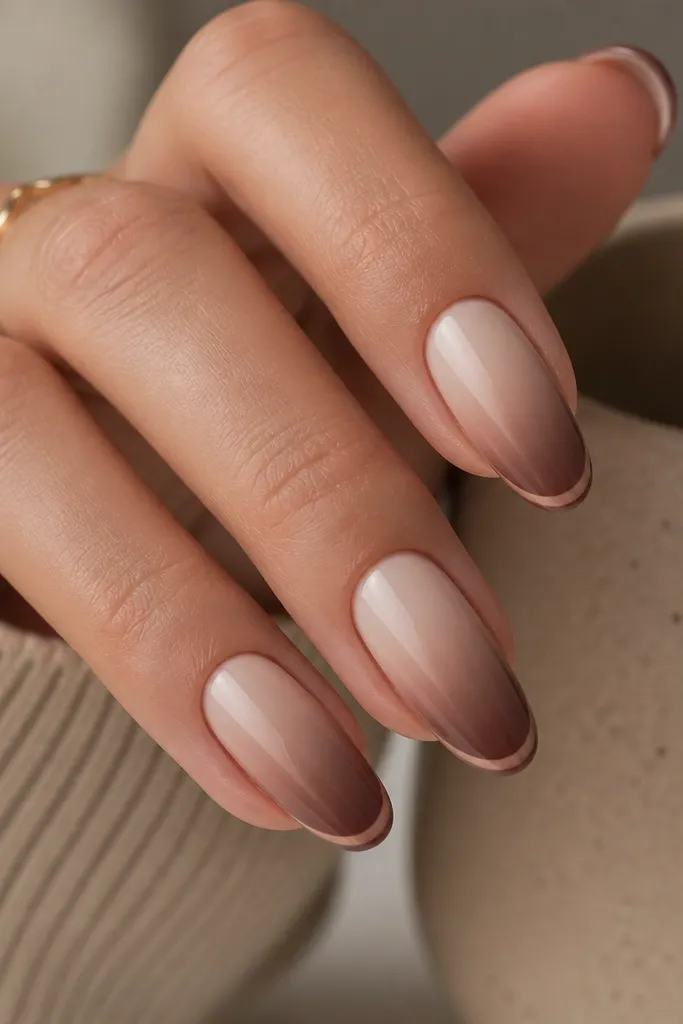
This is the “brown that flatters everything” combo because the rose-taupe edge brings a hint of softness. The ombré does the heavy lifting by creating a smooth transition, and the thin edge line makes the tips look intentional. I use this for dates, dinners, and anytime you want nails that look polished even when you’re not wearing full glam makeup. It works on fair through deep skin tones because the rose-taupe line adds contrast without going loud. If your brown often looks too dark on you, this edge lightens the whole set visually.
Editor's noteWhen blending, stop one millimeter before you reach the sidewalls so you keep the ombré centered and neat.
Apply extensions in almond or oval, and keep the tip length moderate so the ombré has room to breathe. Paint a milky nude at the cuticle, then blend into mocha brown using a sponge or ombré brush — keep the darkest area in the last 1/4 of the nail. Cure between layers so you don’t muddy the blend. Add rose-taupe gel as a thin line along the very edge of the tip — the line should be thinner than a striping brush width. Clean the line with a brush dipped in cleanser, then finish with glossy top coat.
Skip thisAvoid a thick rose-taupe border — it makes the set look like a sticker border.
9. Brown Chrome Half-Sheen on Nude Almonds
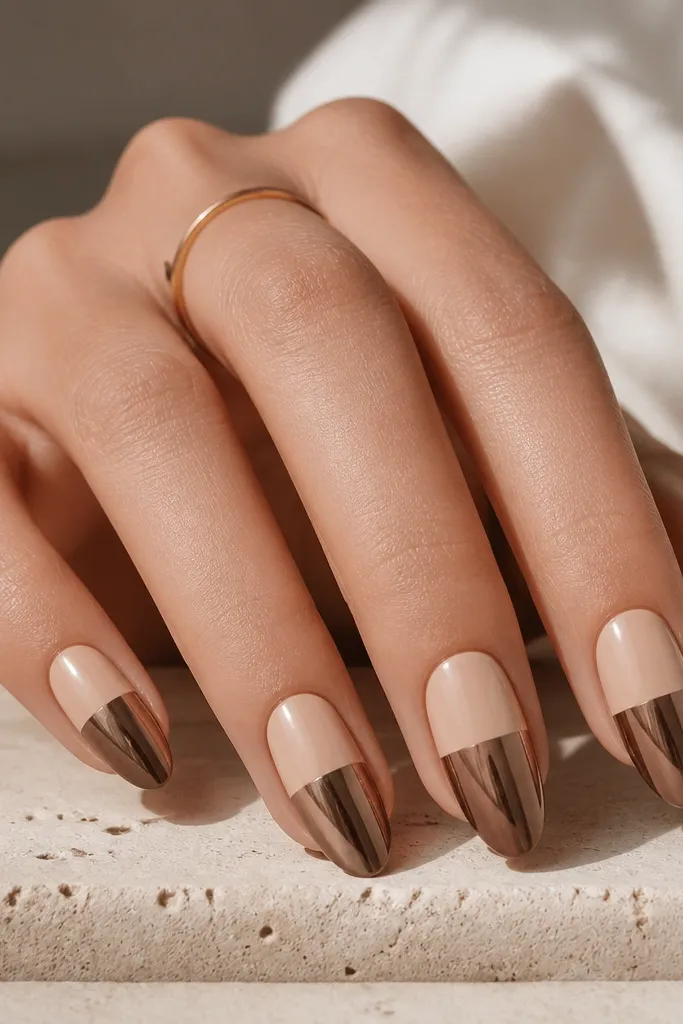
Chrome makes brown look futuristic and expensive, but only when you control the coverage. A half-sheen layout is cleaner than full chrome because it leaves room for the nail to look natural and elegant. The nude top half keeps it wearable, and the mirror brown bottom half gives that “warm metal” look. This design is great for parties, holiday events, and nights out because it reflects light in a way regular polish can’t. It looks best on medium almond or long squoval where you have enough space for the horizontal split.
Start with extensions in medium almond. Apply a nude base and cure, then apply one glossy top coat layer and cure. For chrome, use brown chrome powder and a chrome applicator sponge — press it only on the lower half of the nail, leaving the upper half nude. Use a clean brush to remove extra chrome so the boundary stays crisp. If you want the split line even sharper, paint a thin line of clear gel at the boundary, cure, then apply chrome up to that line. Seal with a chrome-safe top coat or a light layer over the chrome if your system allows it.
Press chrome in small sections instead of one big swipe — it keeps the surface even and less streaky.
Avoid matte top coat over chrome — it kills the reflective effect and turns it flat.
10. Satin Cocoa Nails with Tiny Gold Studs
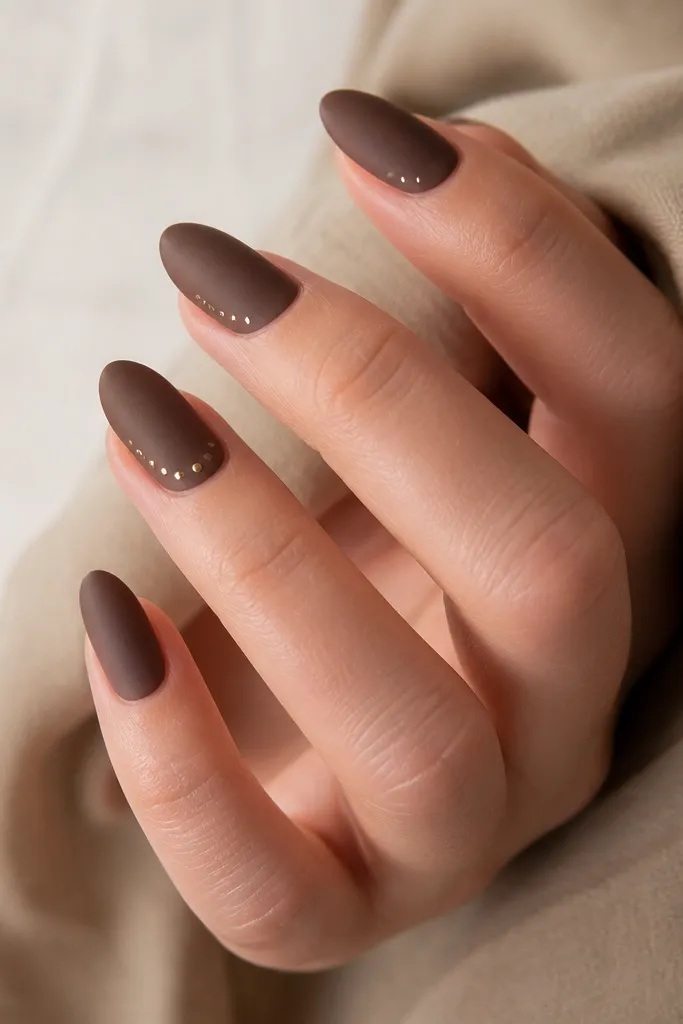
Satin cocoa is the “quiet luxury” version of brown. Instead of shine, the surface looks smooth and velvety, which makes the color feel deeper without looking heavy. Tiny gold studs at the cuticle add just enough sparkle when your hands move. I like this for fall weddings and events because it looks intentional even in low lighting. It flatters hands with strong nail beds because the satin finish shows off the shape. If you get tired of glitter, studs on a satin base is the clean alternative that still reads special.
Editor's noteIf studs snag on sweaters, cap the surrounding area with gel but leave the top of each stud slightly exposed.
Build your extensions in squoval or soft square with a medium length. Apply cocoa brown gel and cure in thin layers until it’s opaque — satin finishes show patchiness fast. Do not use glossy top coat. Instead, apply a satin/matte top coat and cure. For the stud nails, place two or three micro gold studs using a dotting tool and a small amount of gel under each stud, then cure. Keep the studs close to the cuticle, about 1-2 mm away, and angle them diagonally so the set looks dynamic. Finish with one more thin satin top coat around the studs, avoiding direct coverage on top if the studs lose their shine.
Skip thisAvoid large studs — big hardware on satin cocoa looks bulky and can lift at the edges.